Bare Blåbær - 5.8 Trad Climb
Crag - Bare Blåbær
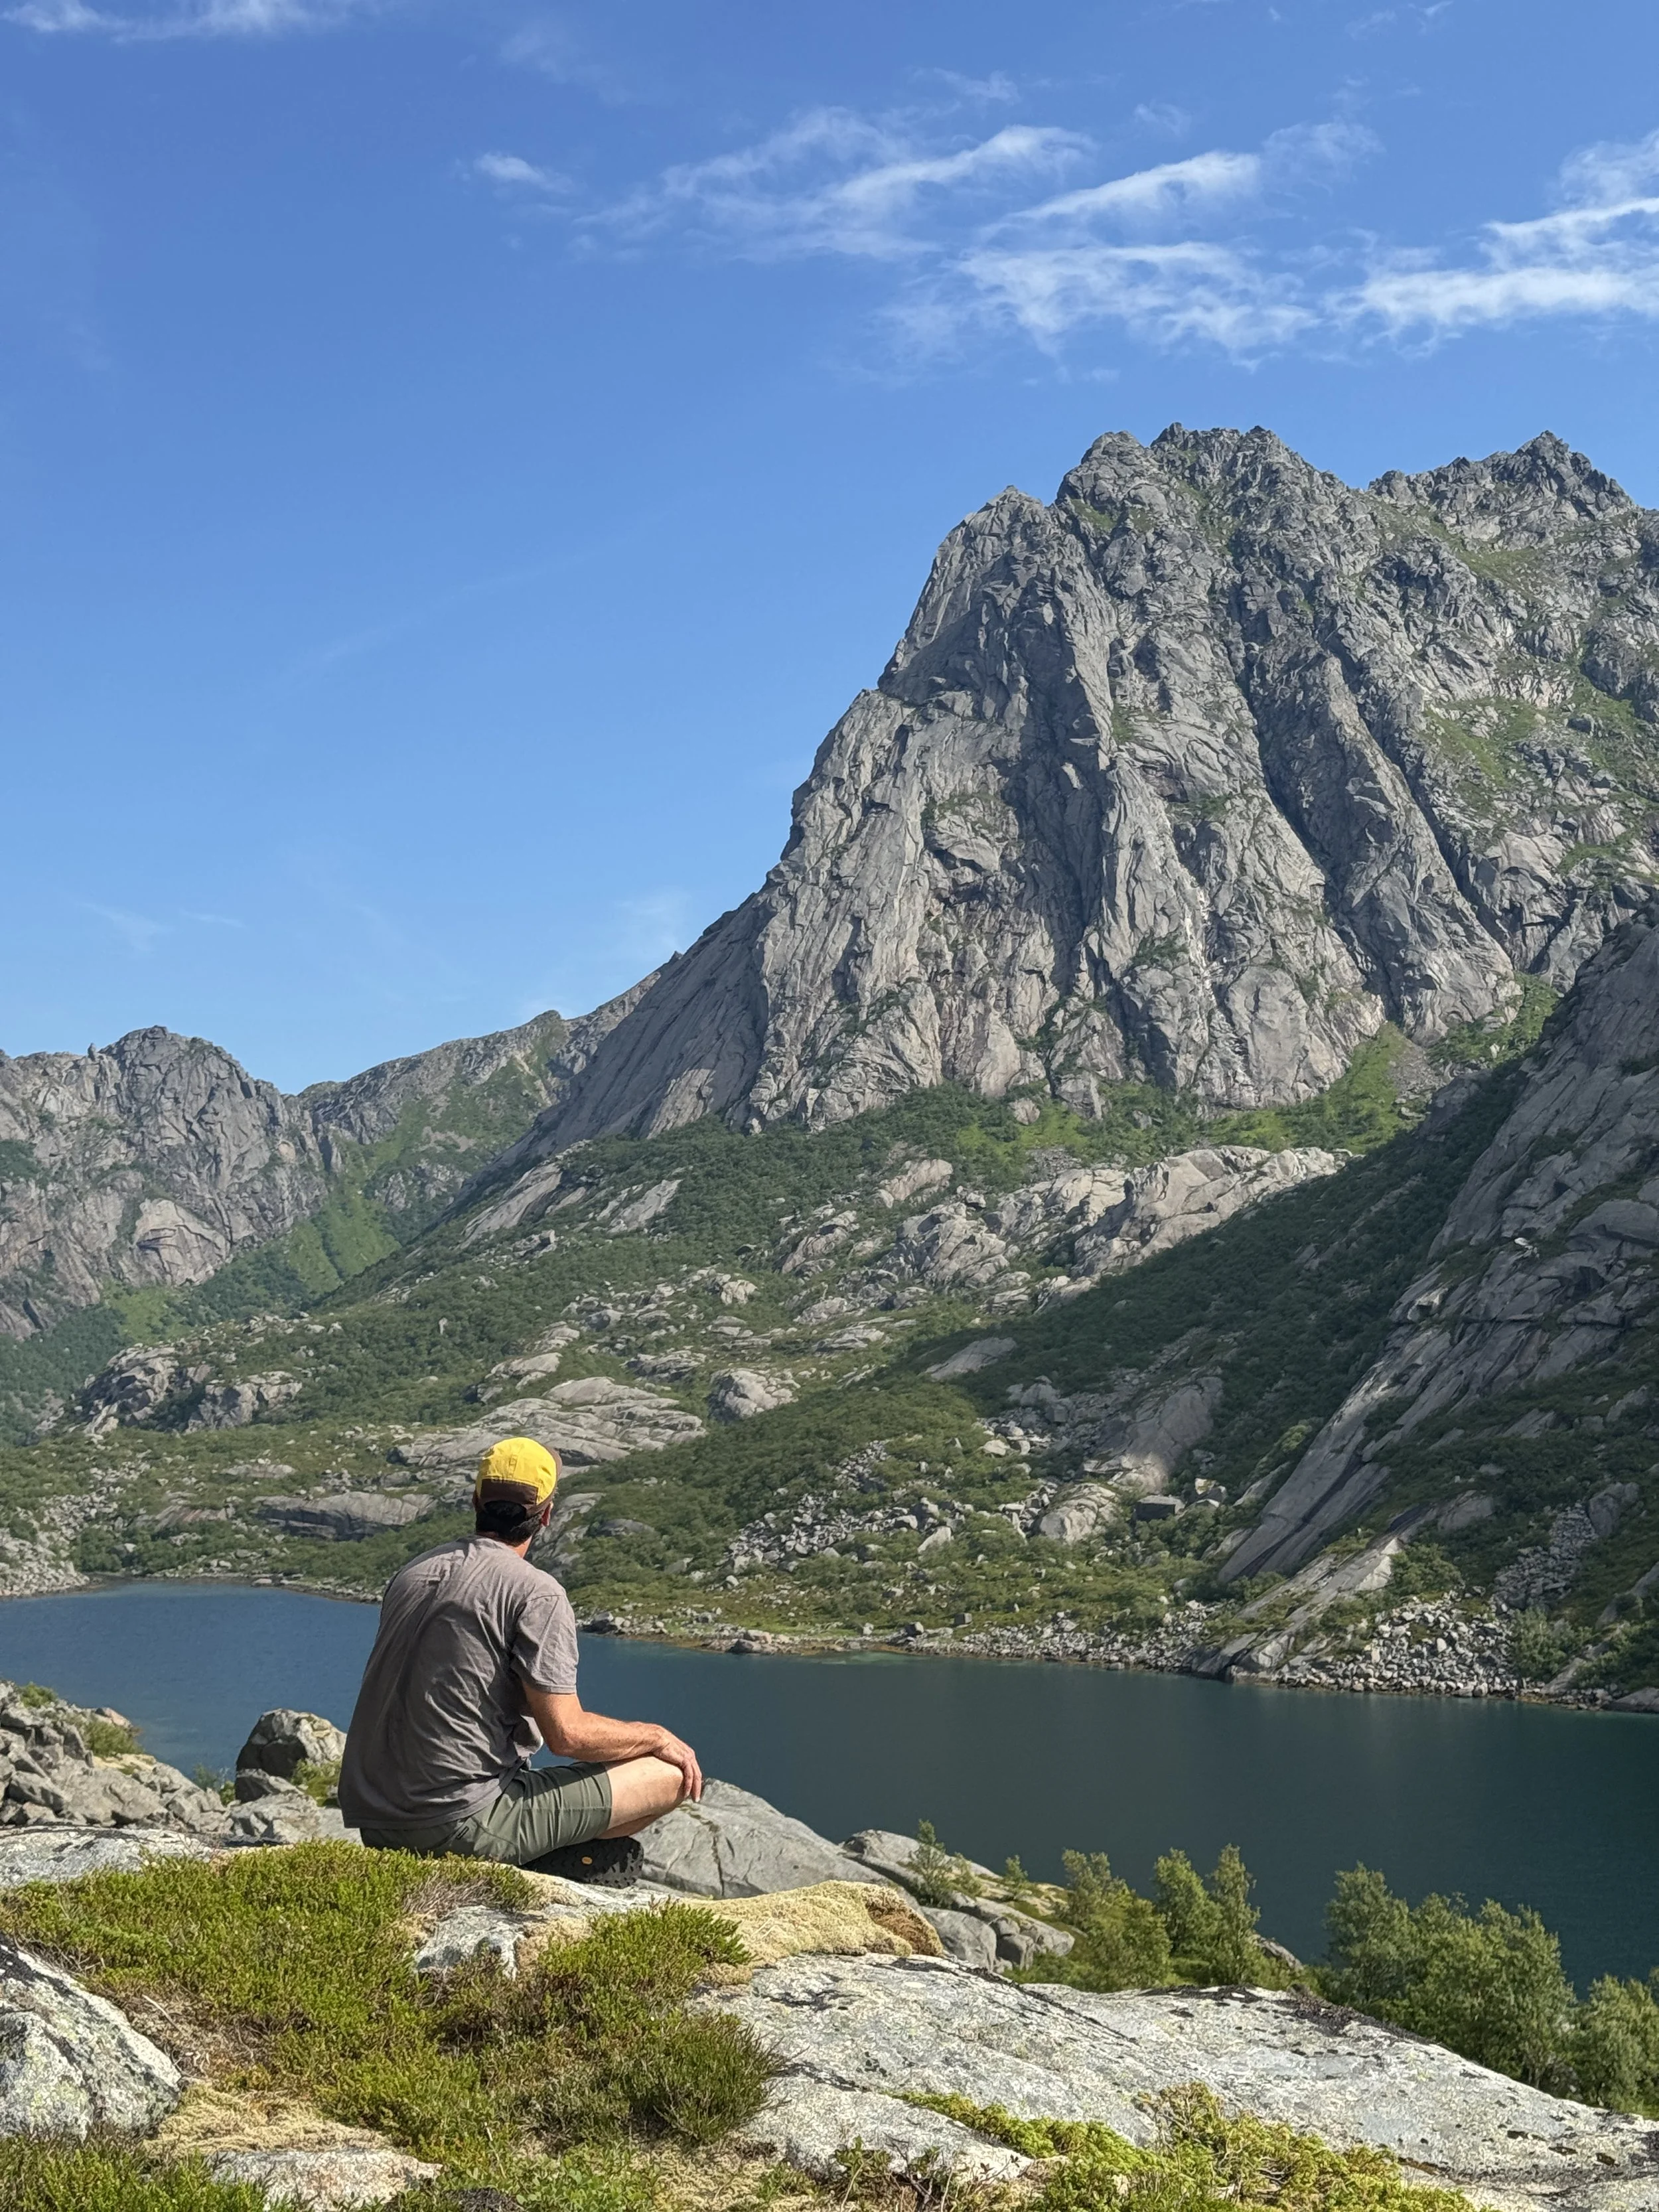
Lofoten, Norway
Approach - 1 Hr hike, Moderate
Pitches - 7 Medium to Long.
Climb Time - 6 Hrs
Rappels - 5 double rope rappels
Decent - 1 Hr hike, Moderate
Gear Recomendation -
-Standard Rack up to #3.
-Double 60 meter ropes (required for decent).
-About 10 60 cm slings and a few doubles and quads for anchors/extensions.
-Radios are nice to have on the longer pitches.
-Crack gloves are nice for the 500 feet of cracks.
-ATC device for Rappels
-LOTS of water for the long hike and long day
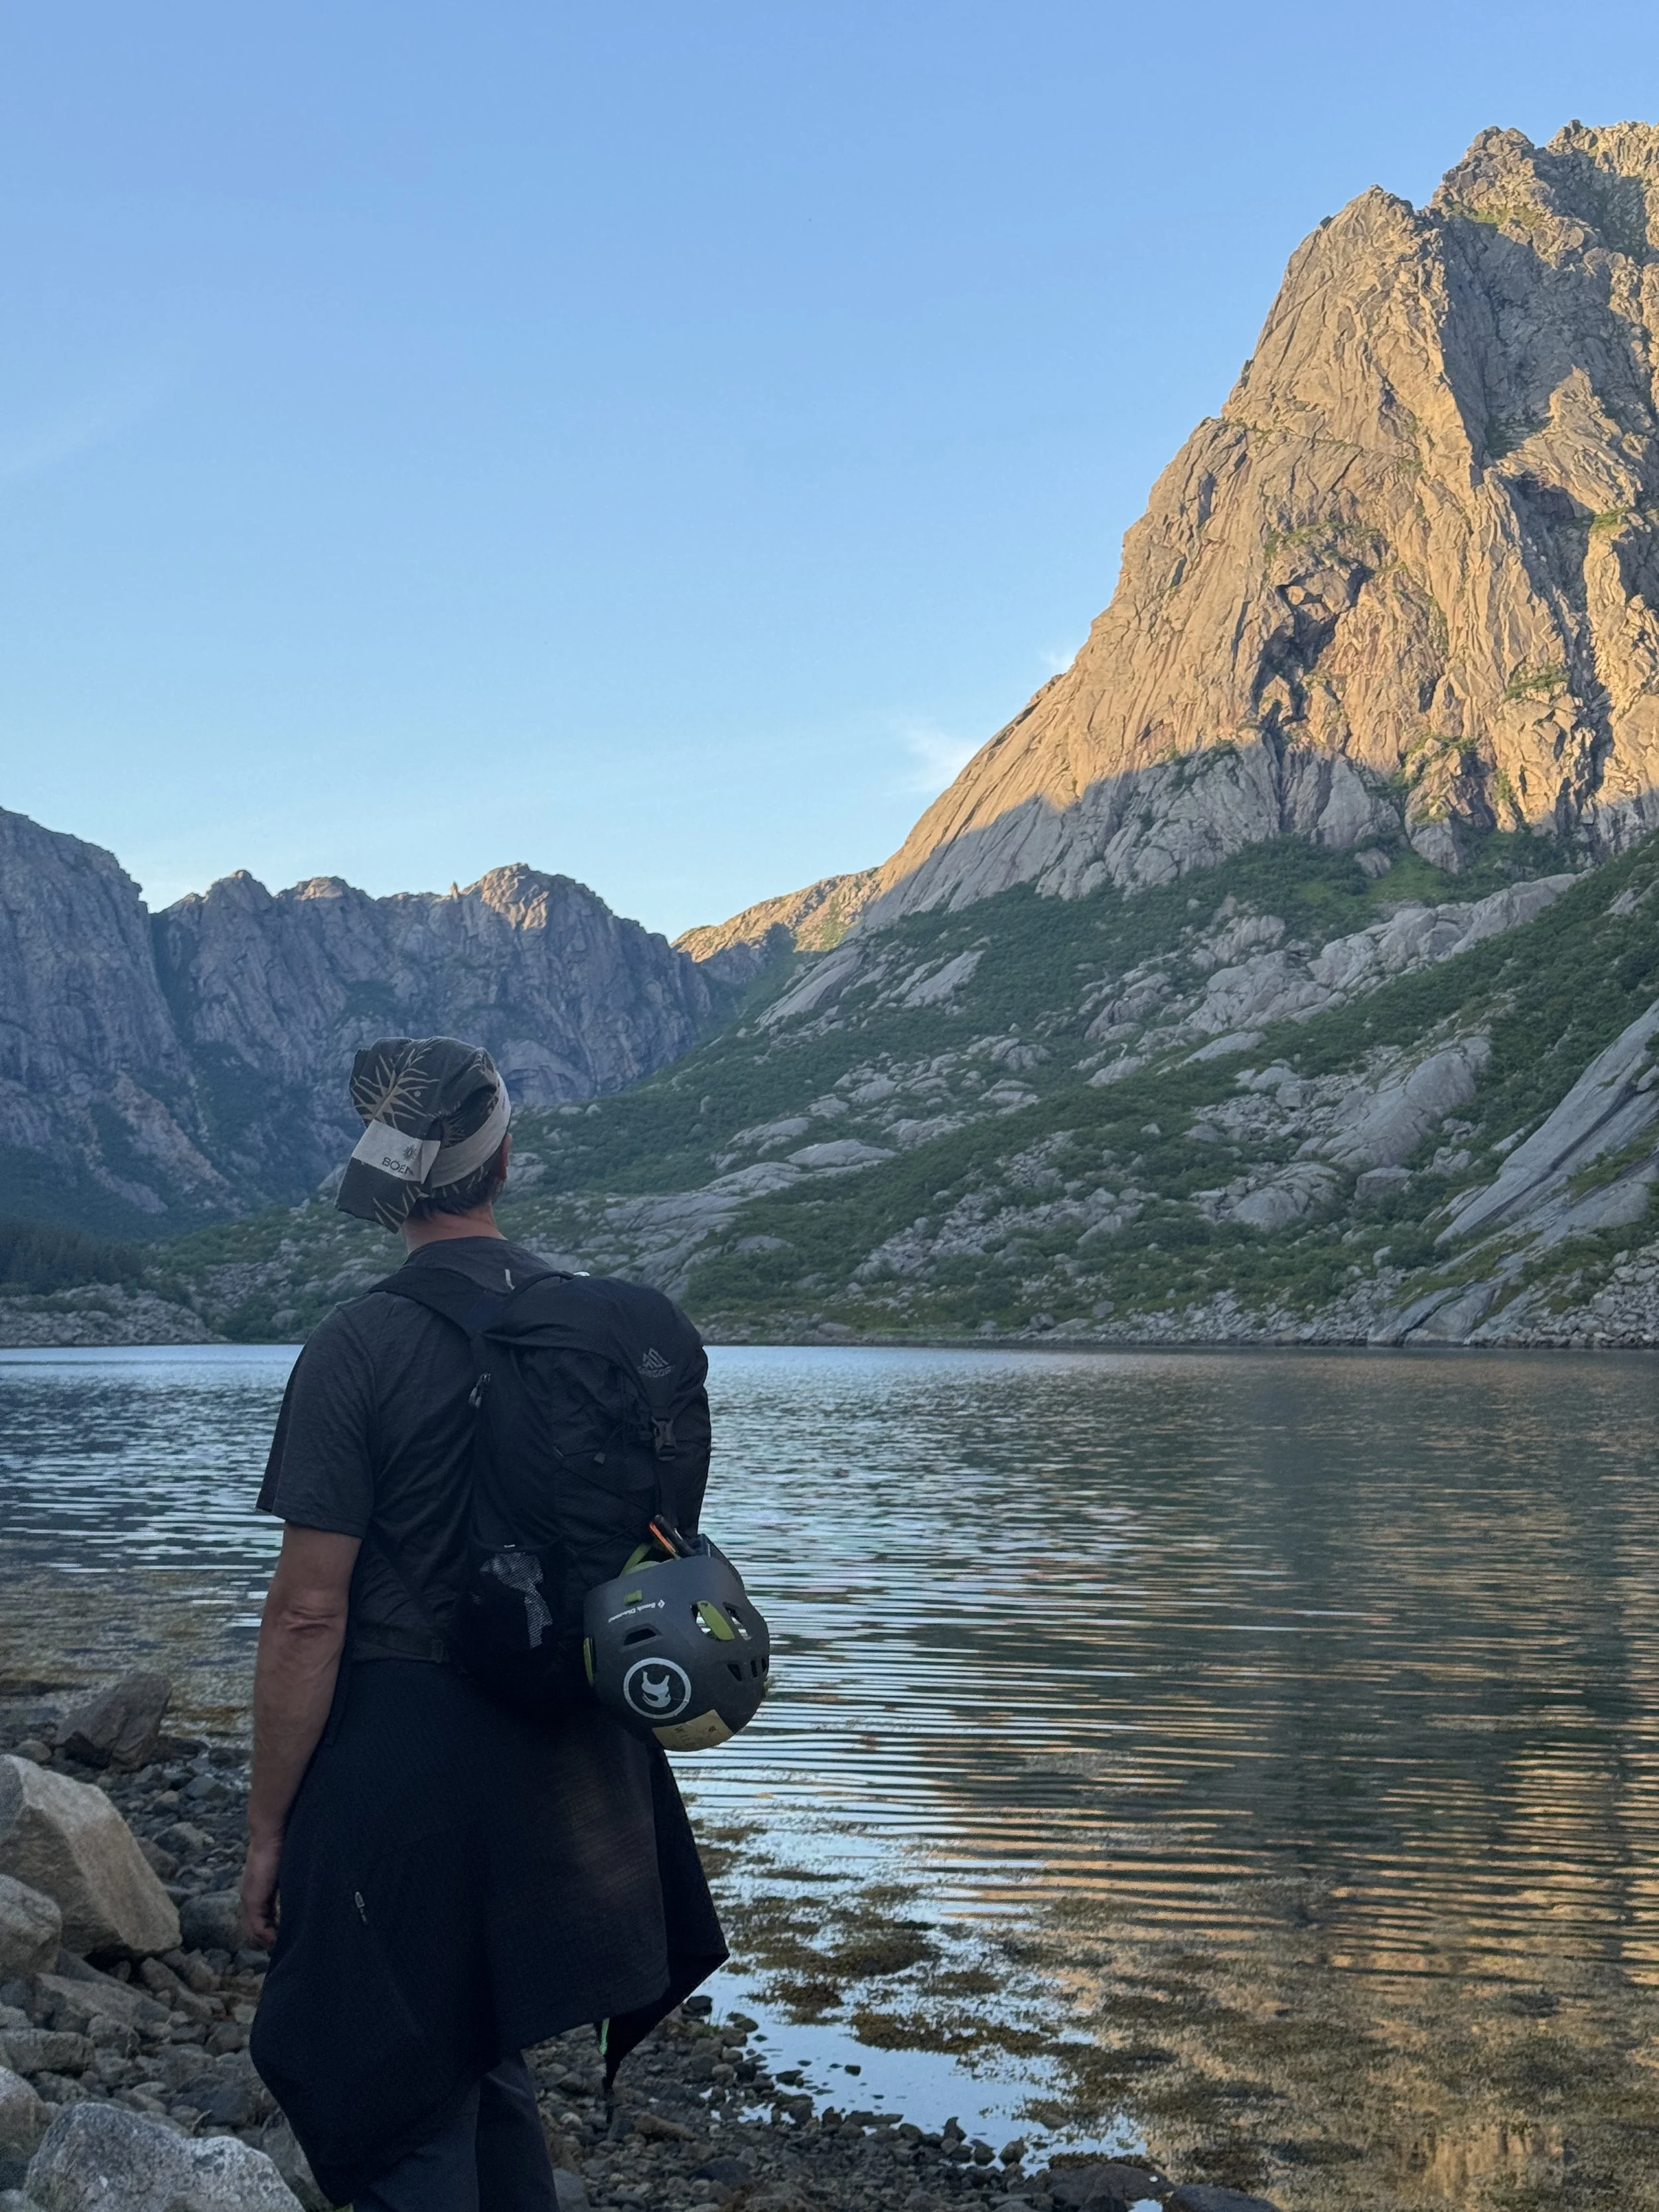
Written Report
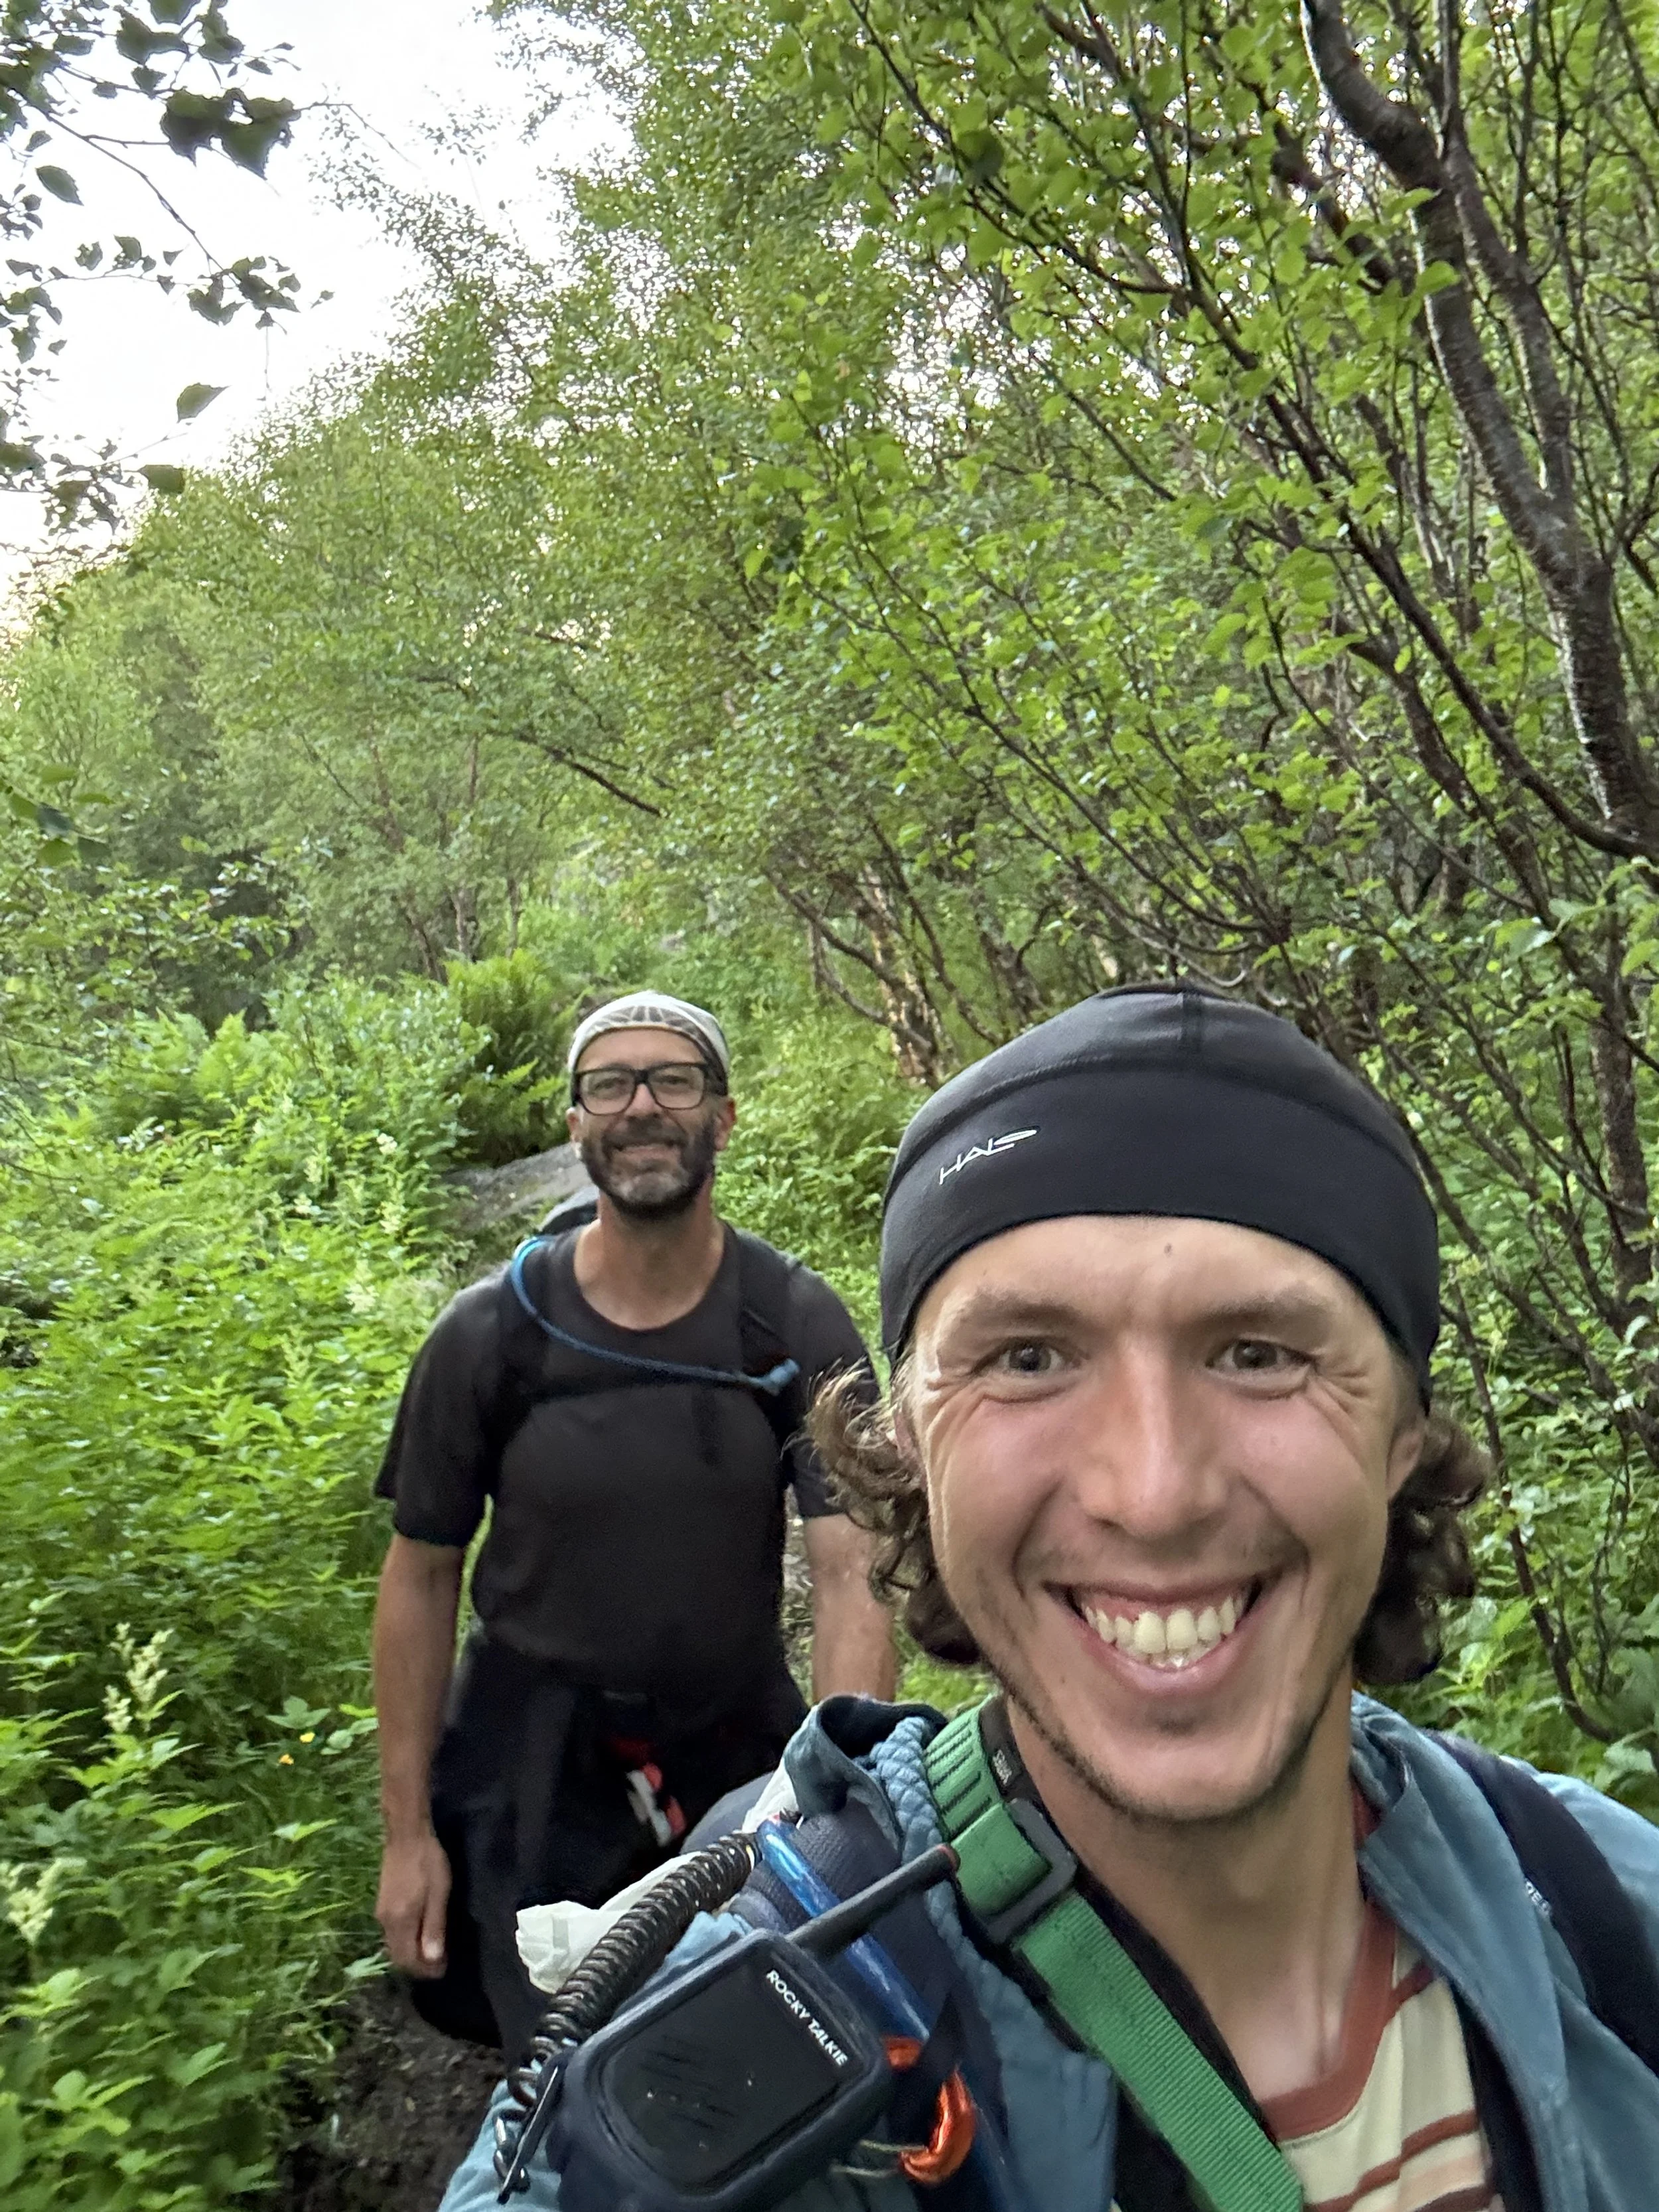
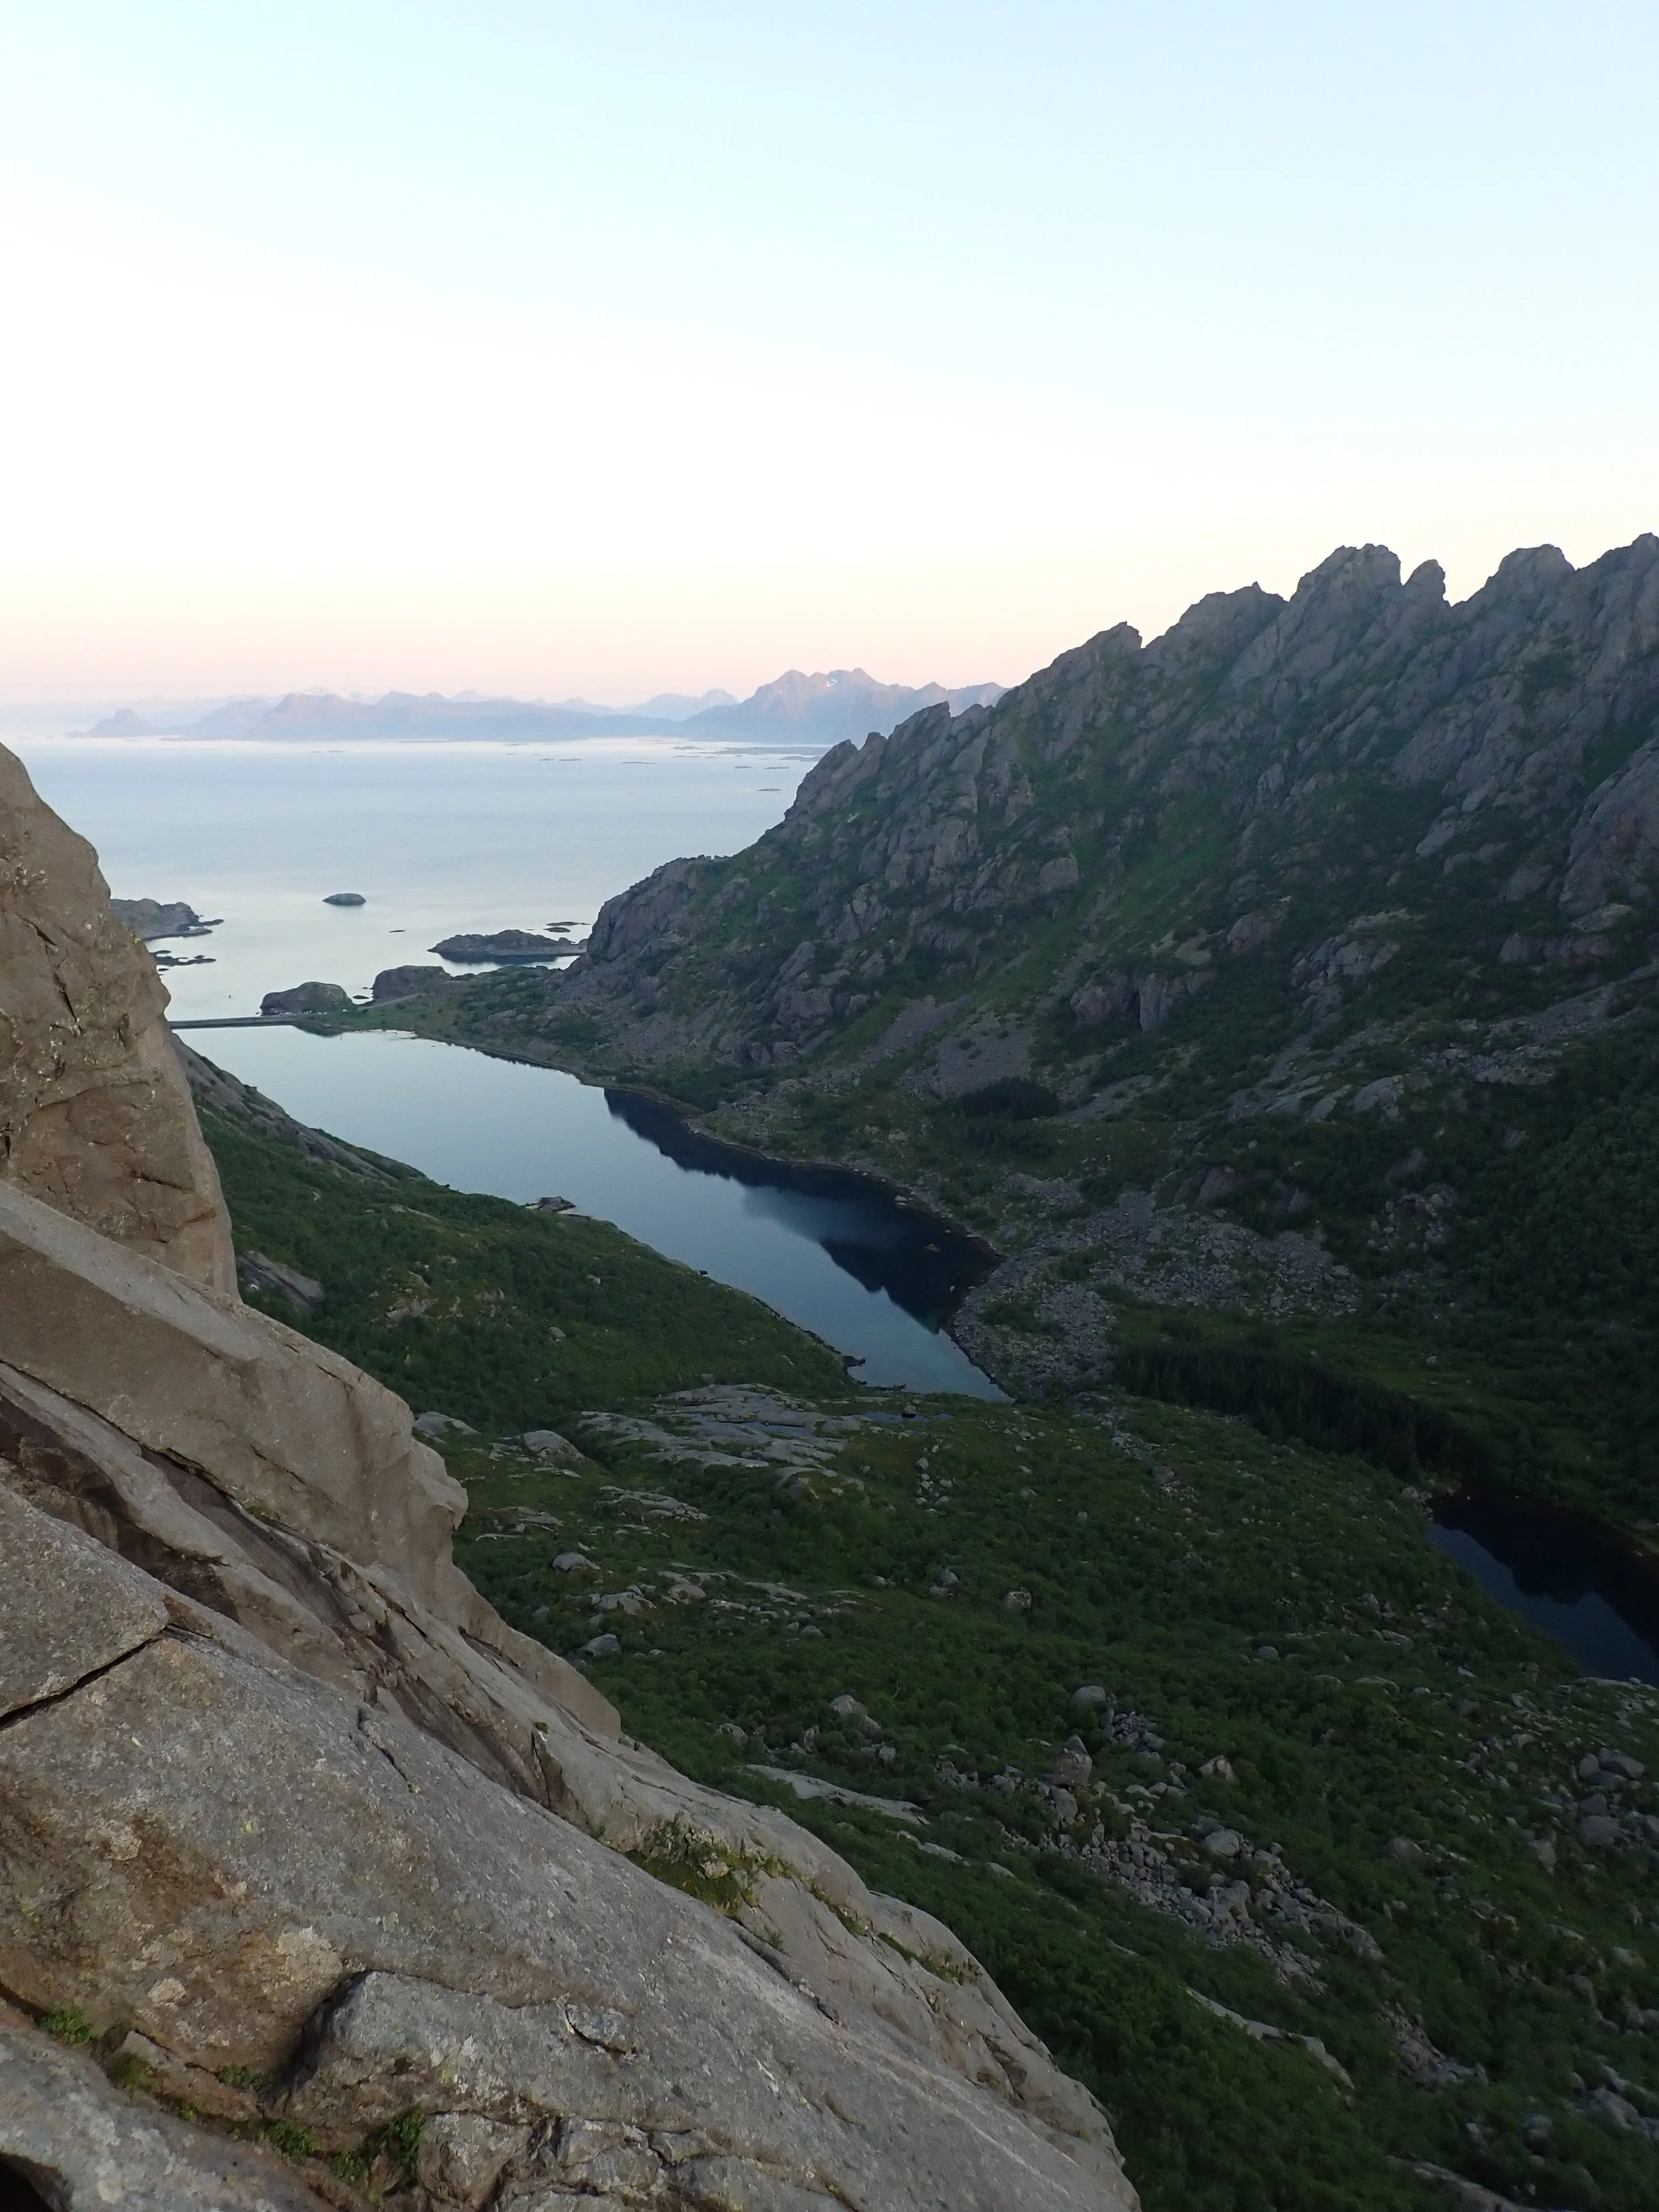
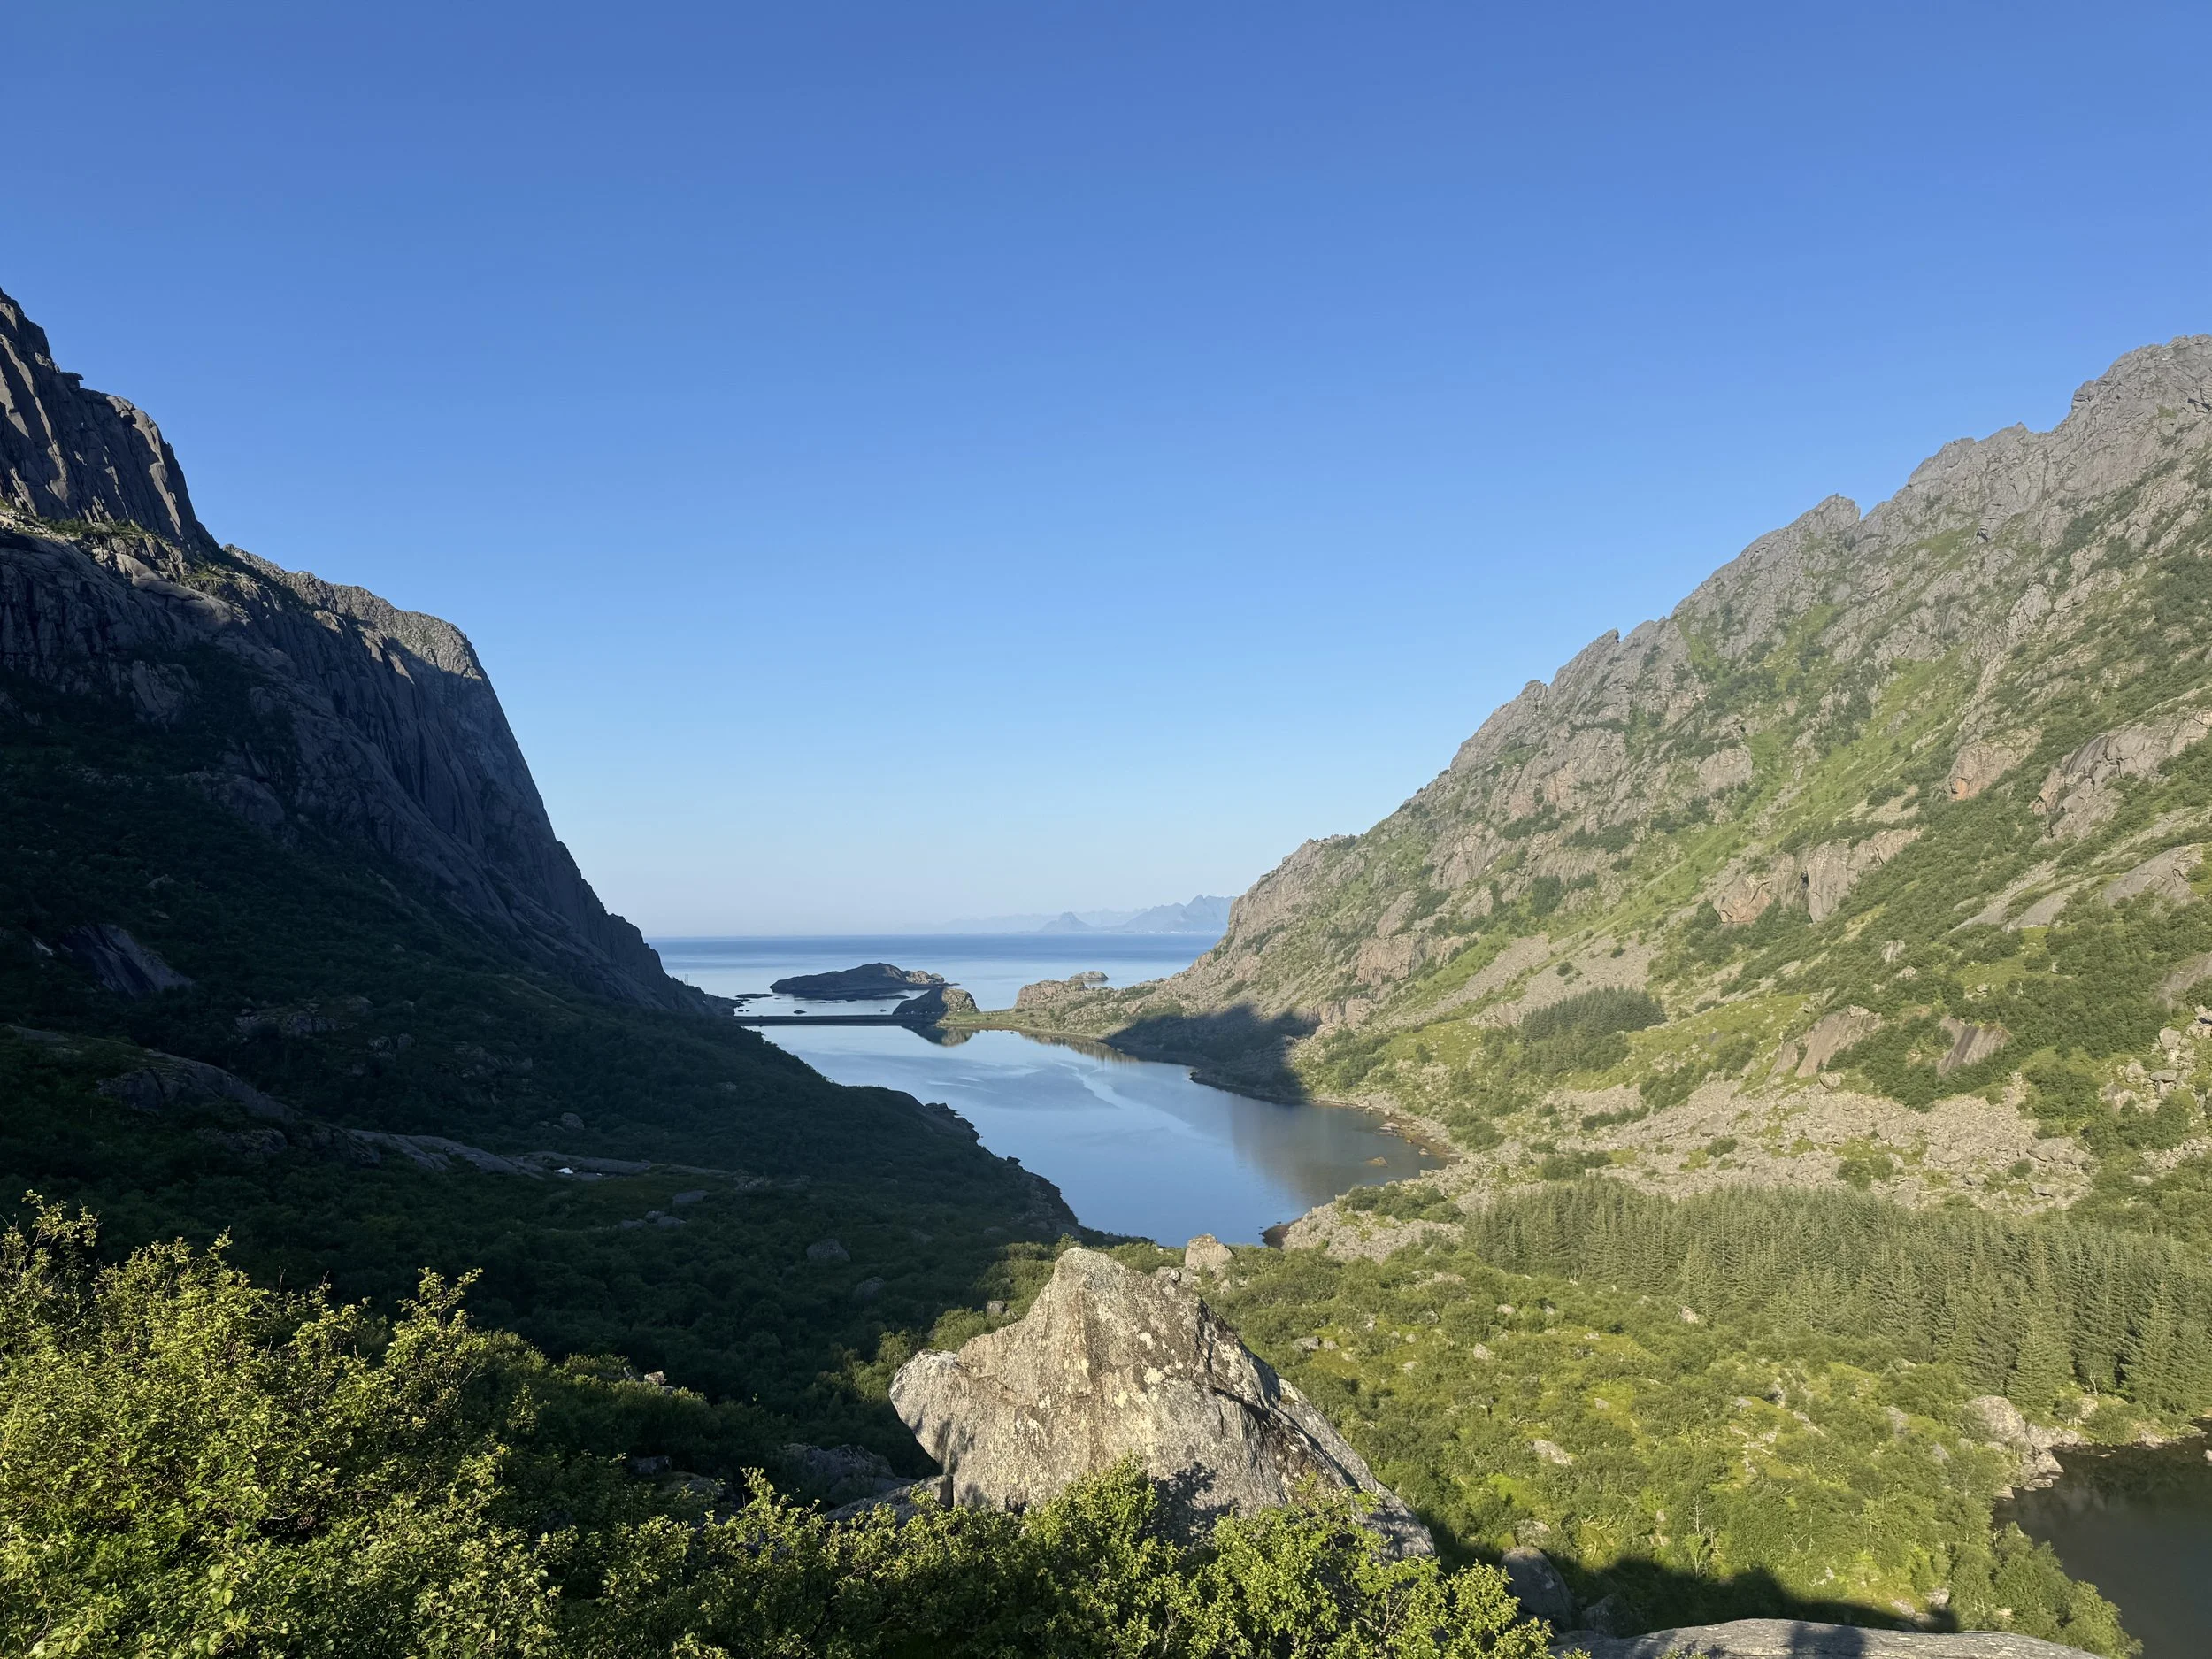
leaving our cabin at around 9pm on July 21st, we drove to the approach trail at the end of the fjord. Where we started the long and sustained approach to the base of the crag. This hike took about an hour and follows a well worn climbers trail along the bank of a fjord. Eventually crossing over a stream between the second further fjord and the first. From here the trail steepens and begins to get more and more dificult as you hop accross boulders and scramble up the loose gravely trails upwards. Follow the trail for another 20 minutes or so until you finally reach the base of the enourmous crag.
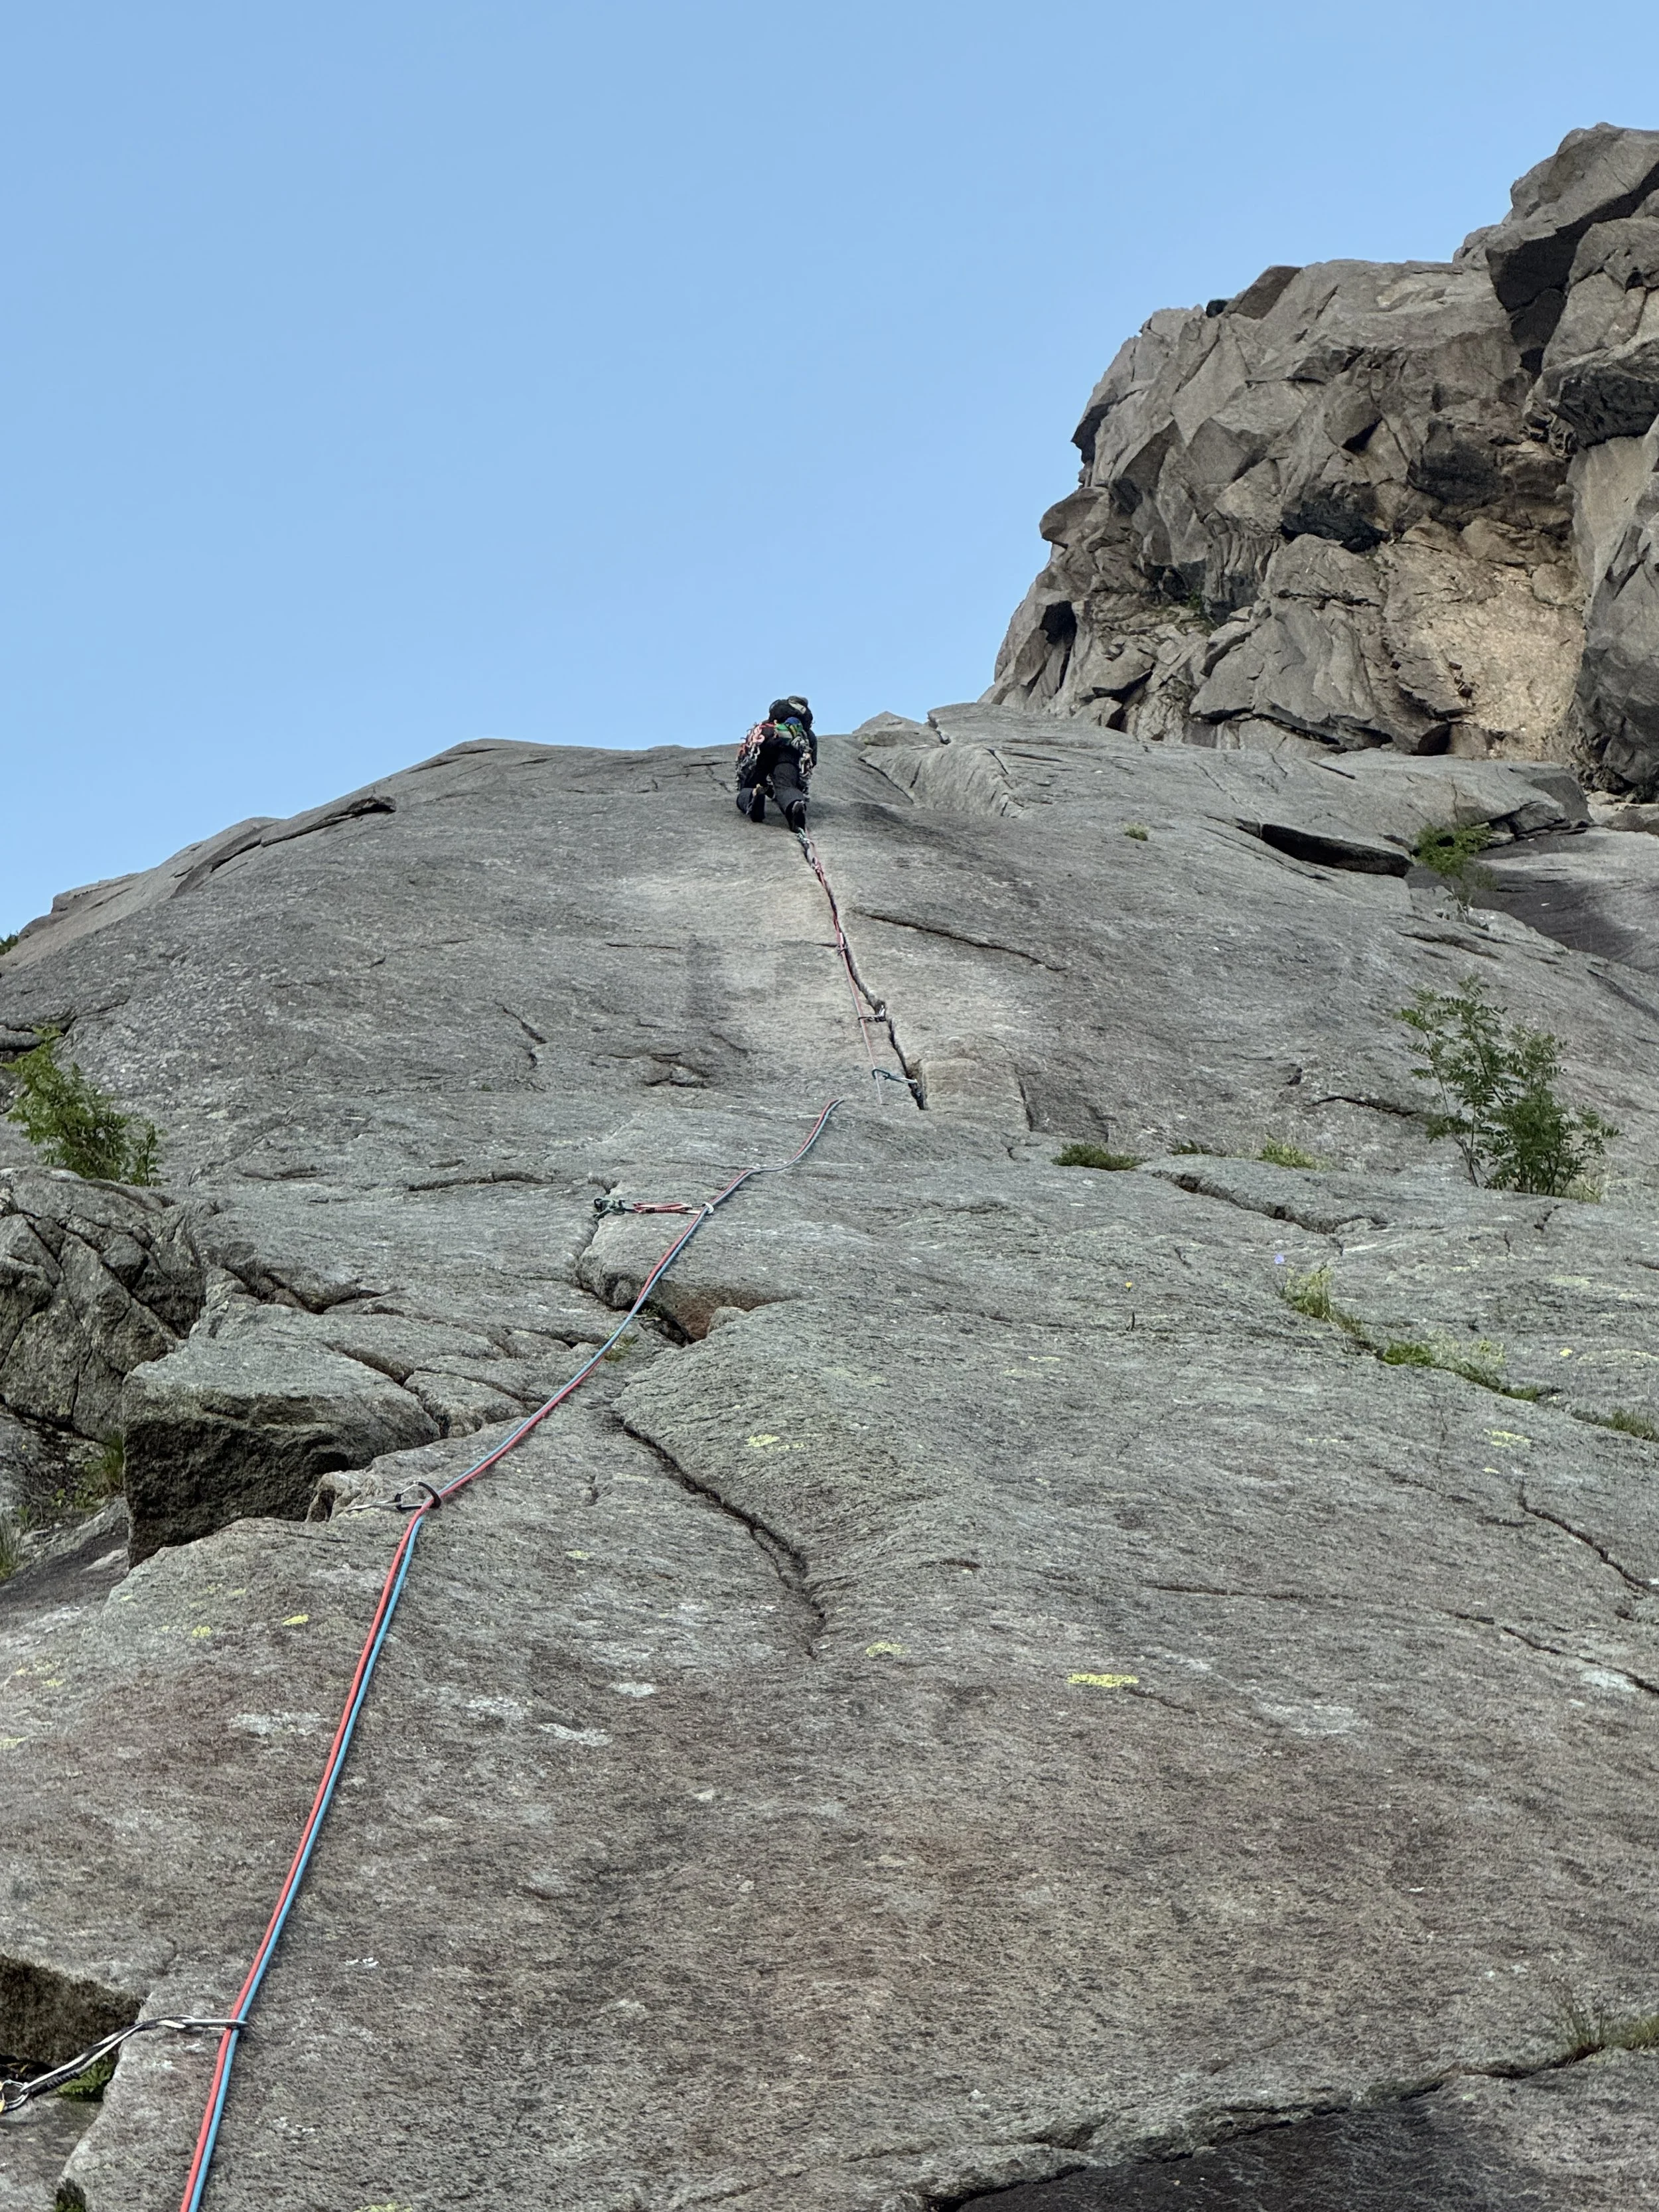
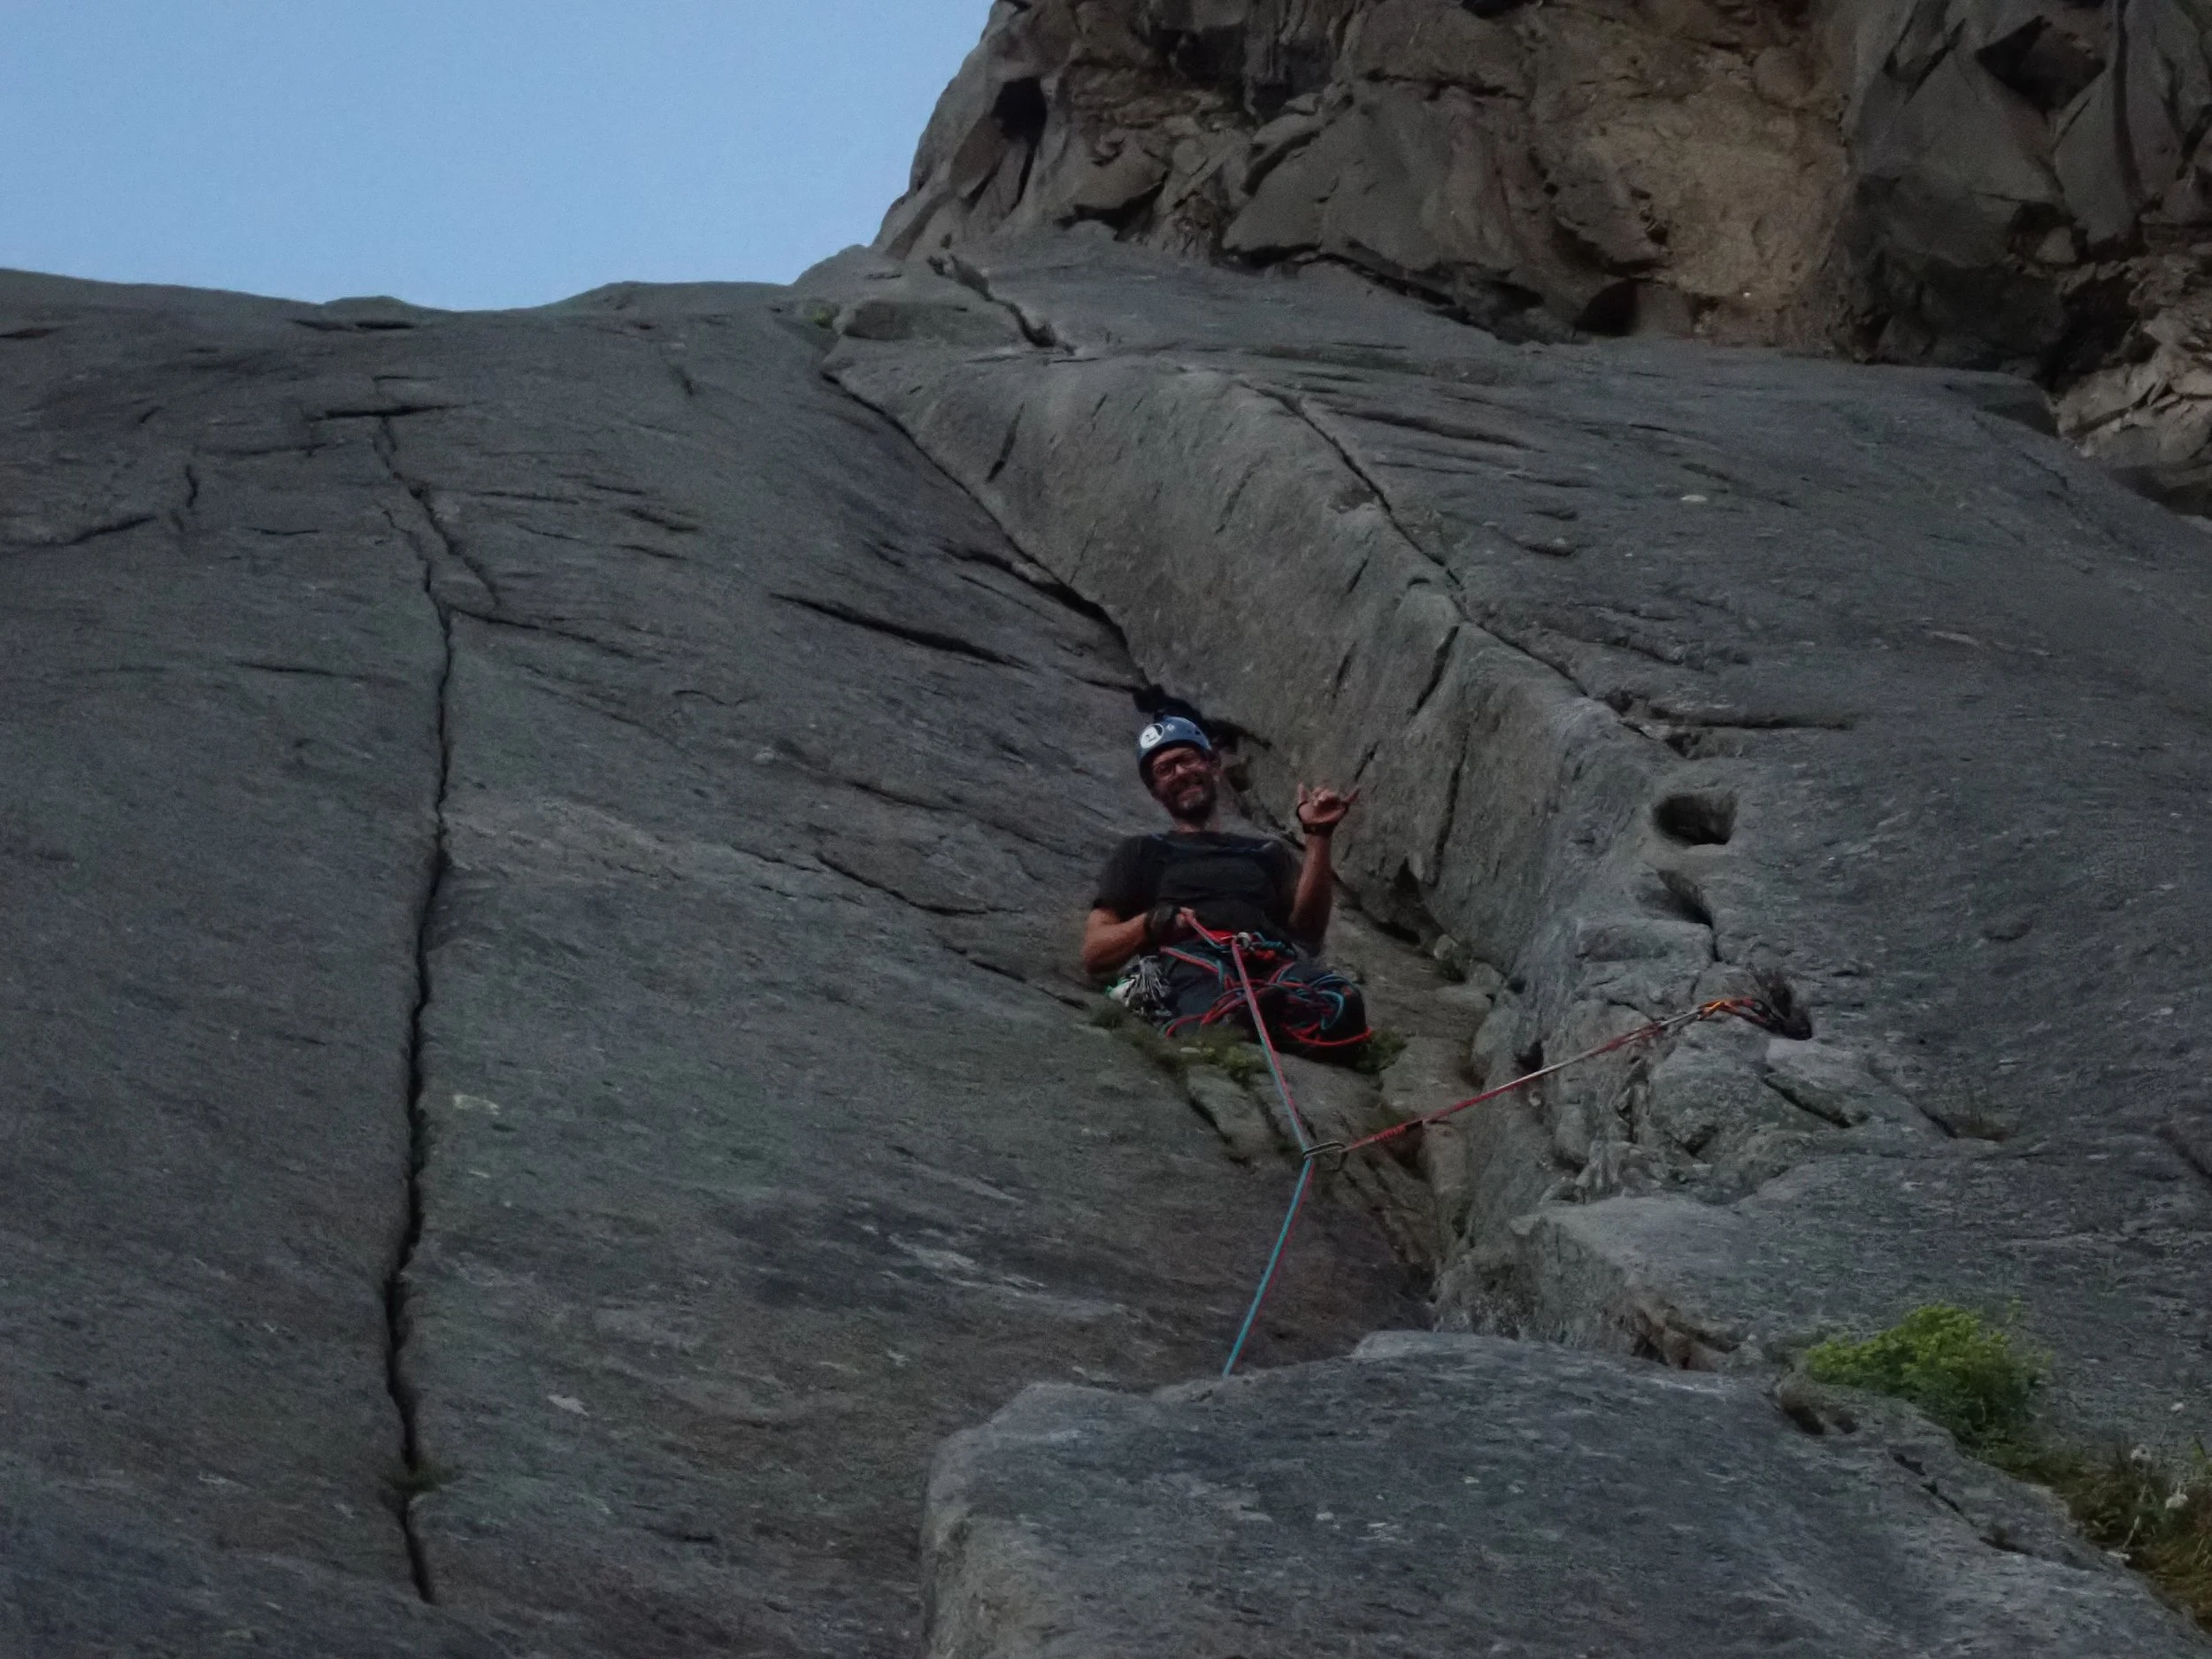
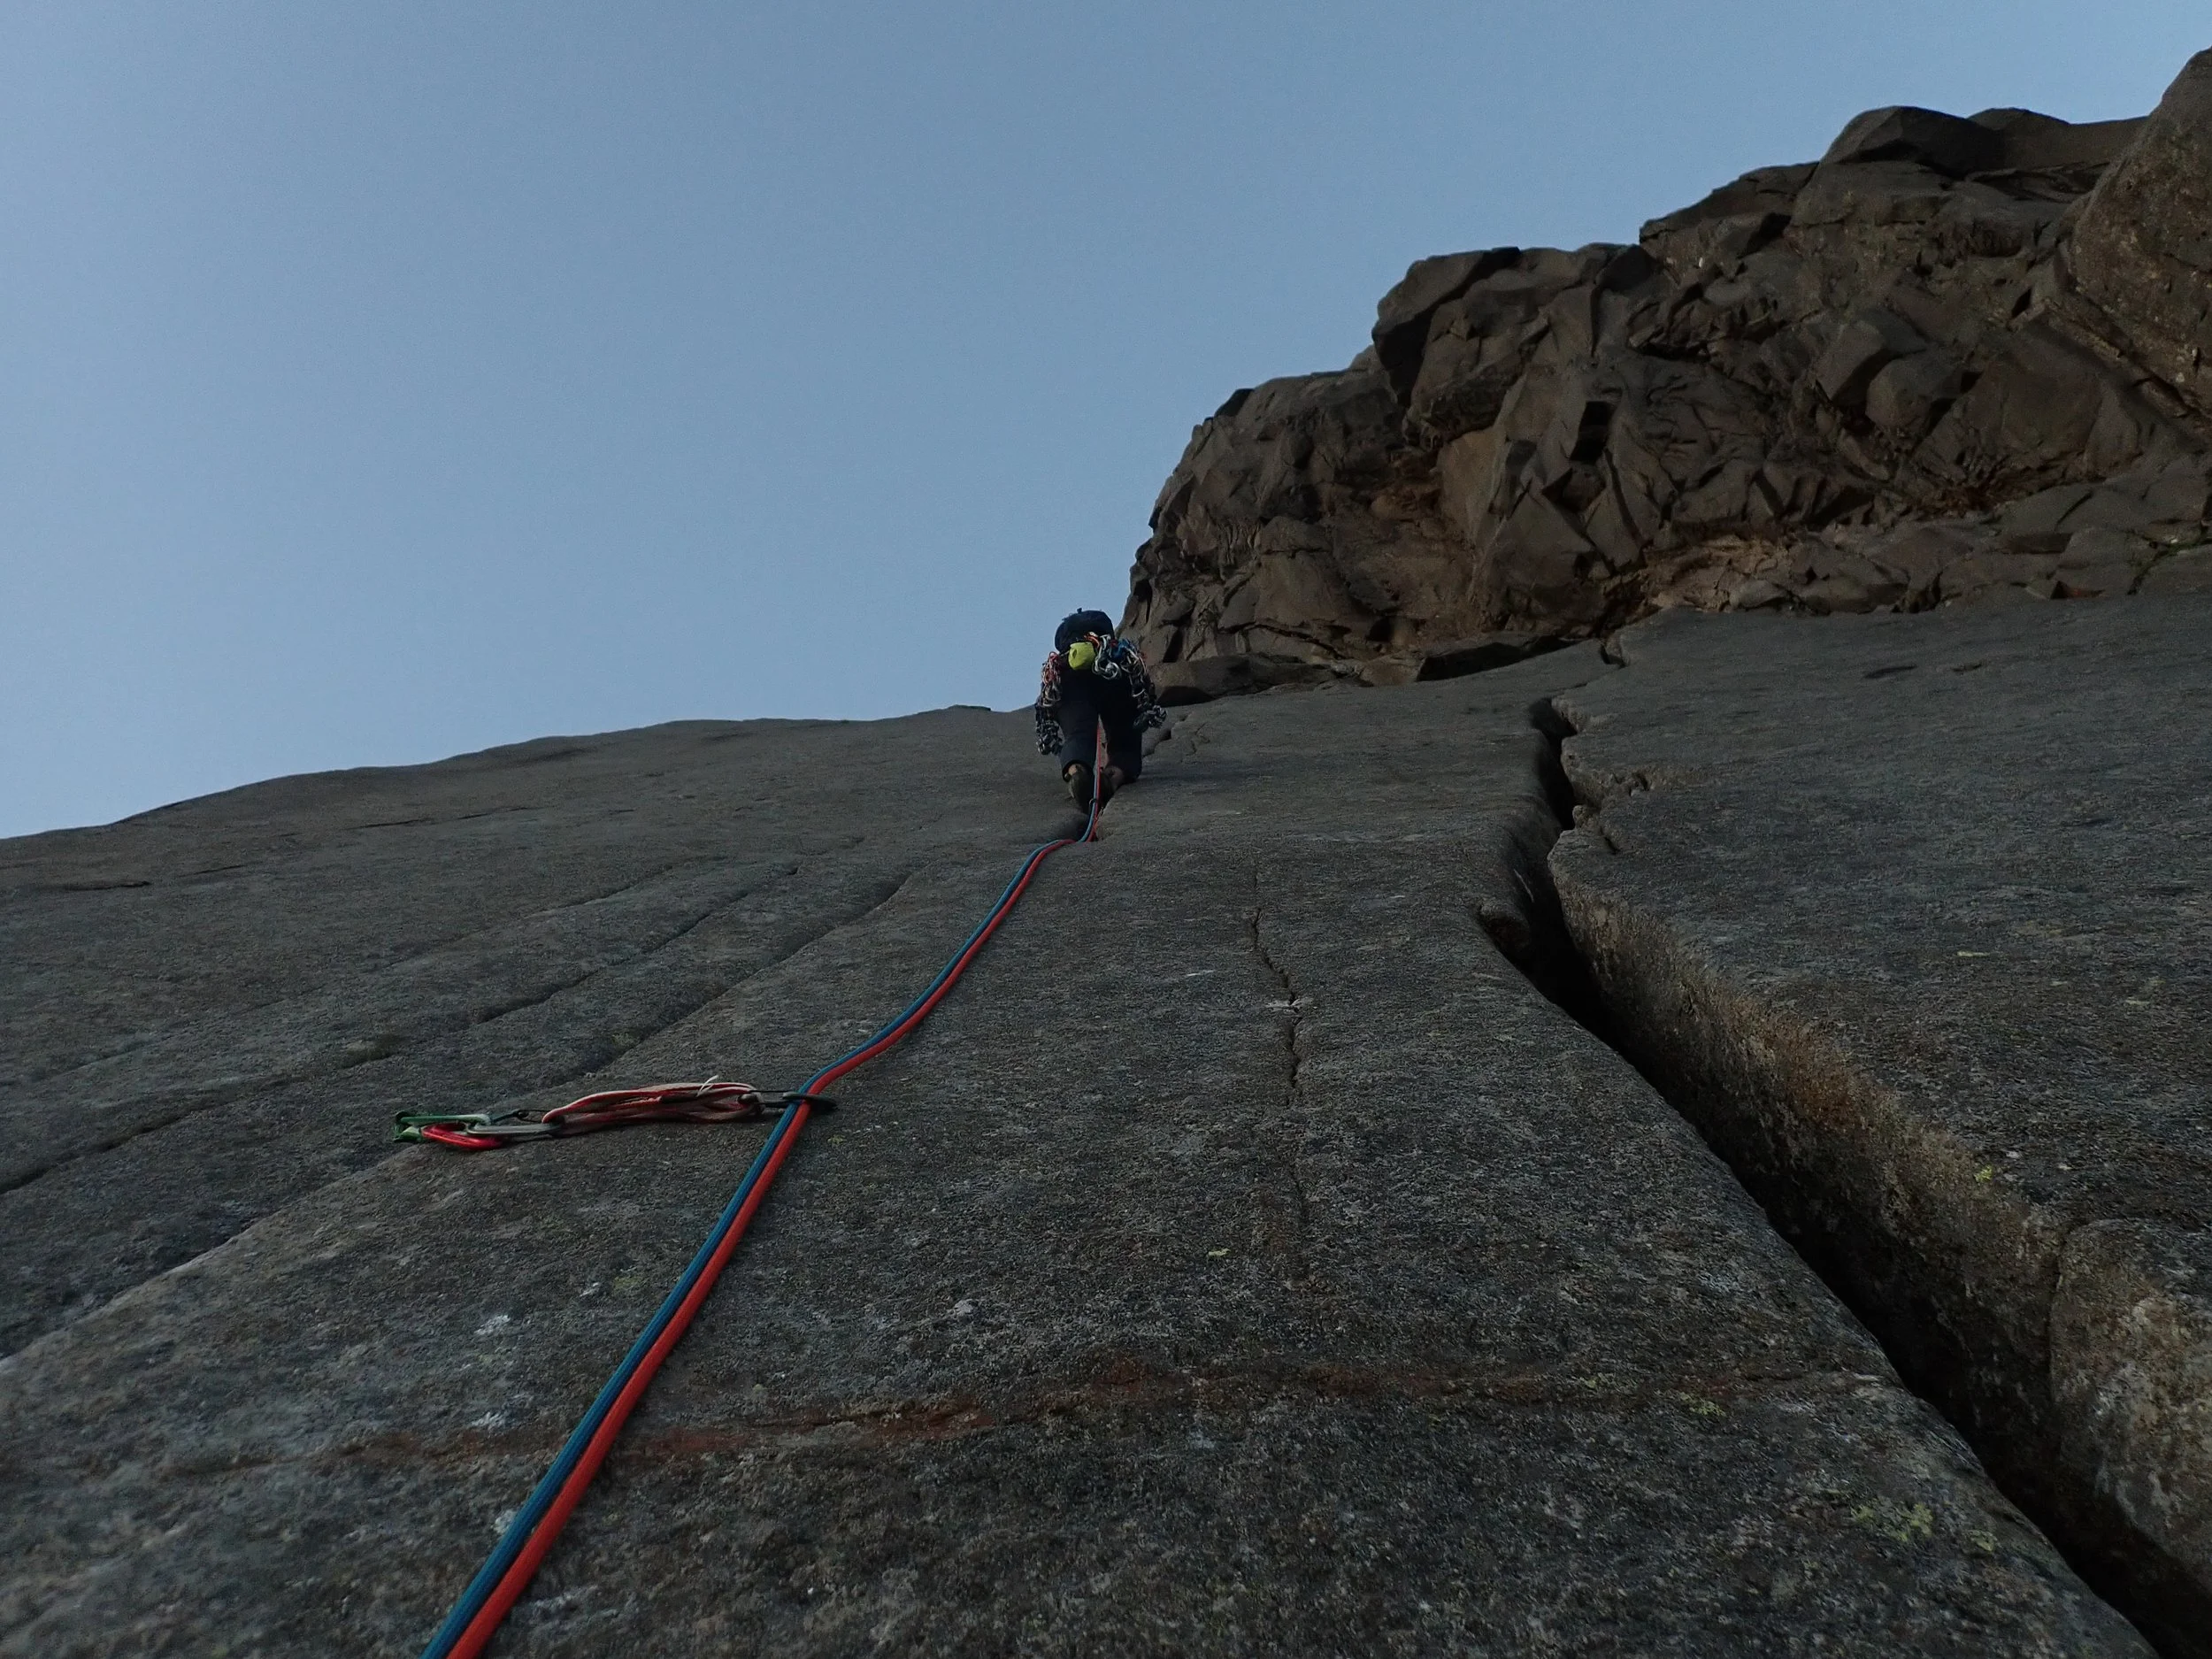
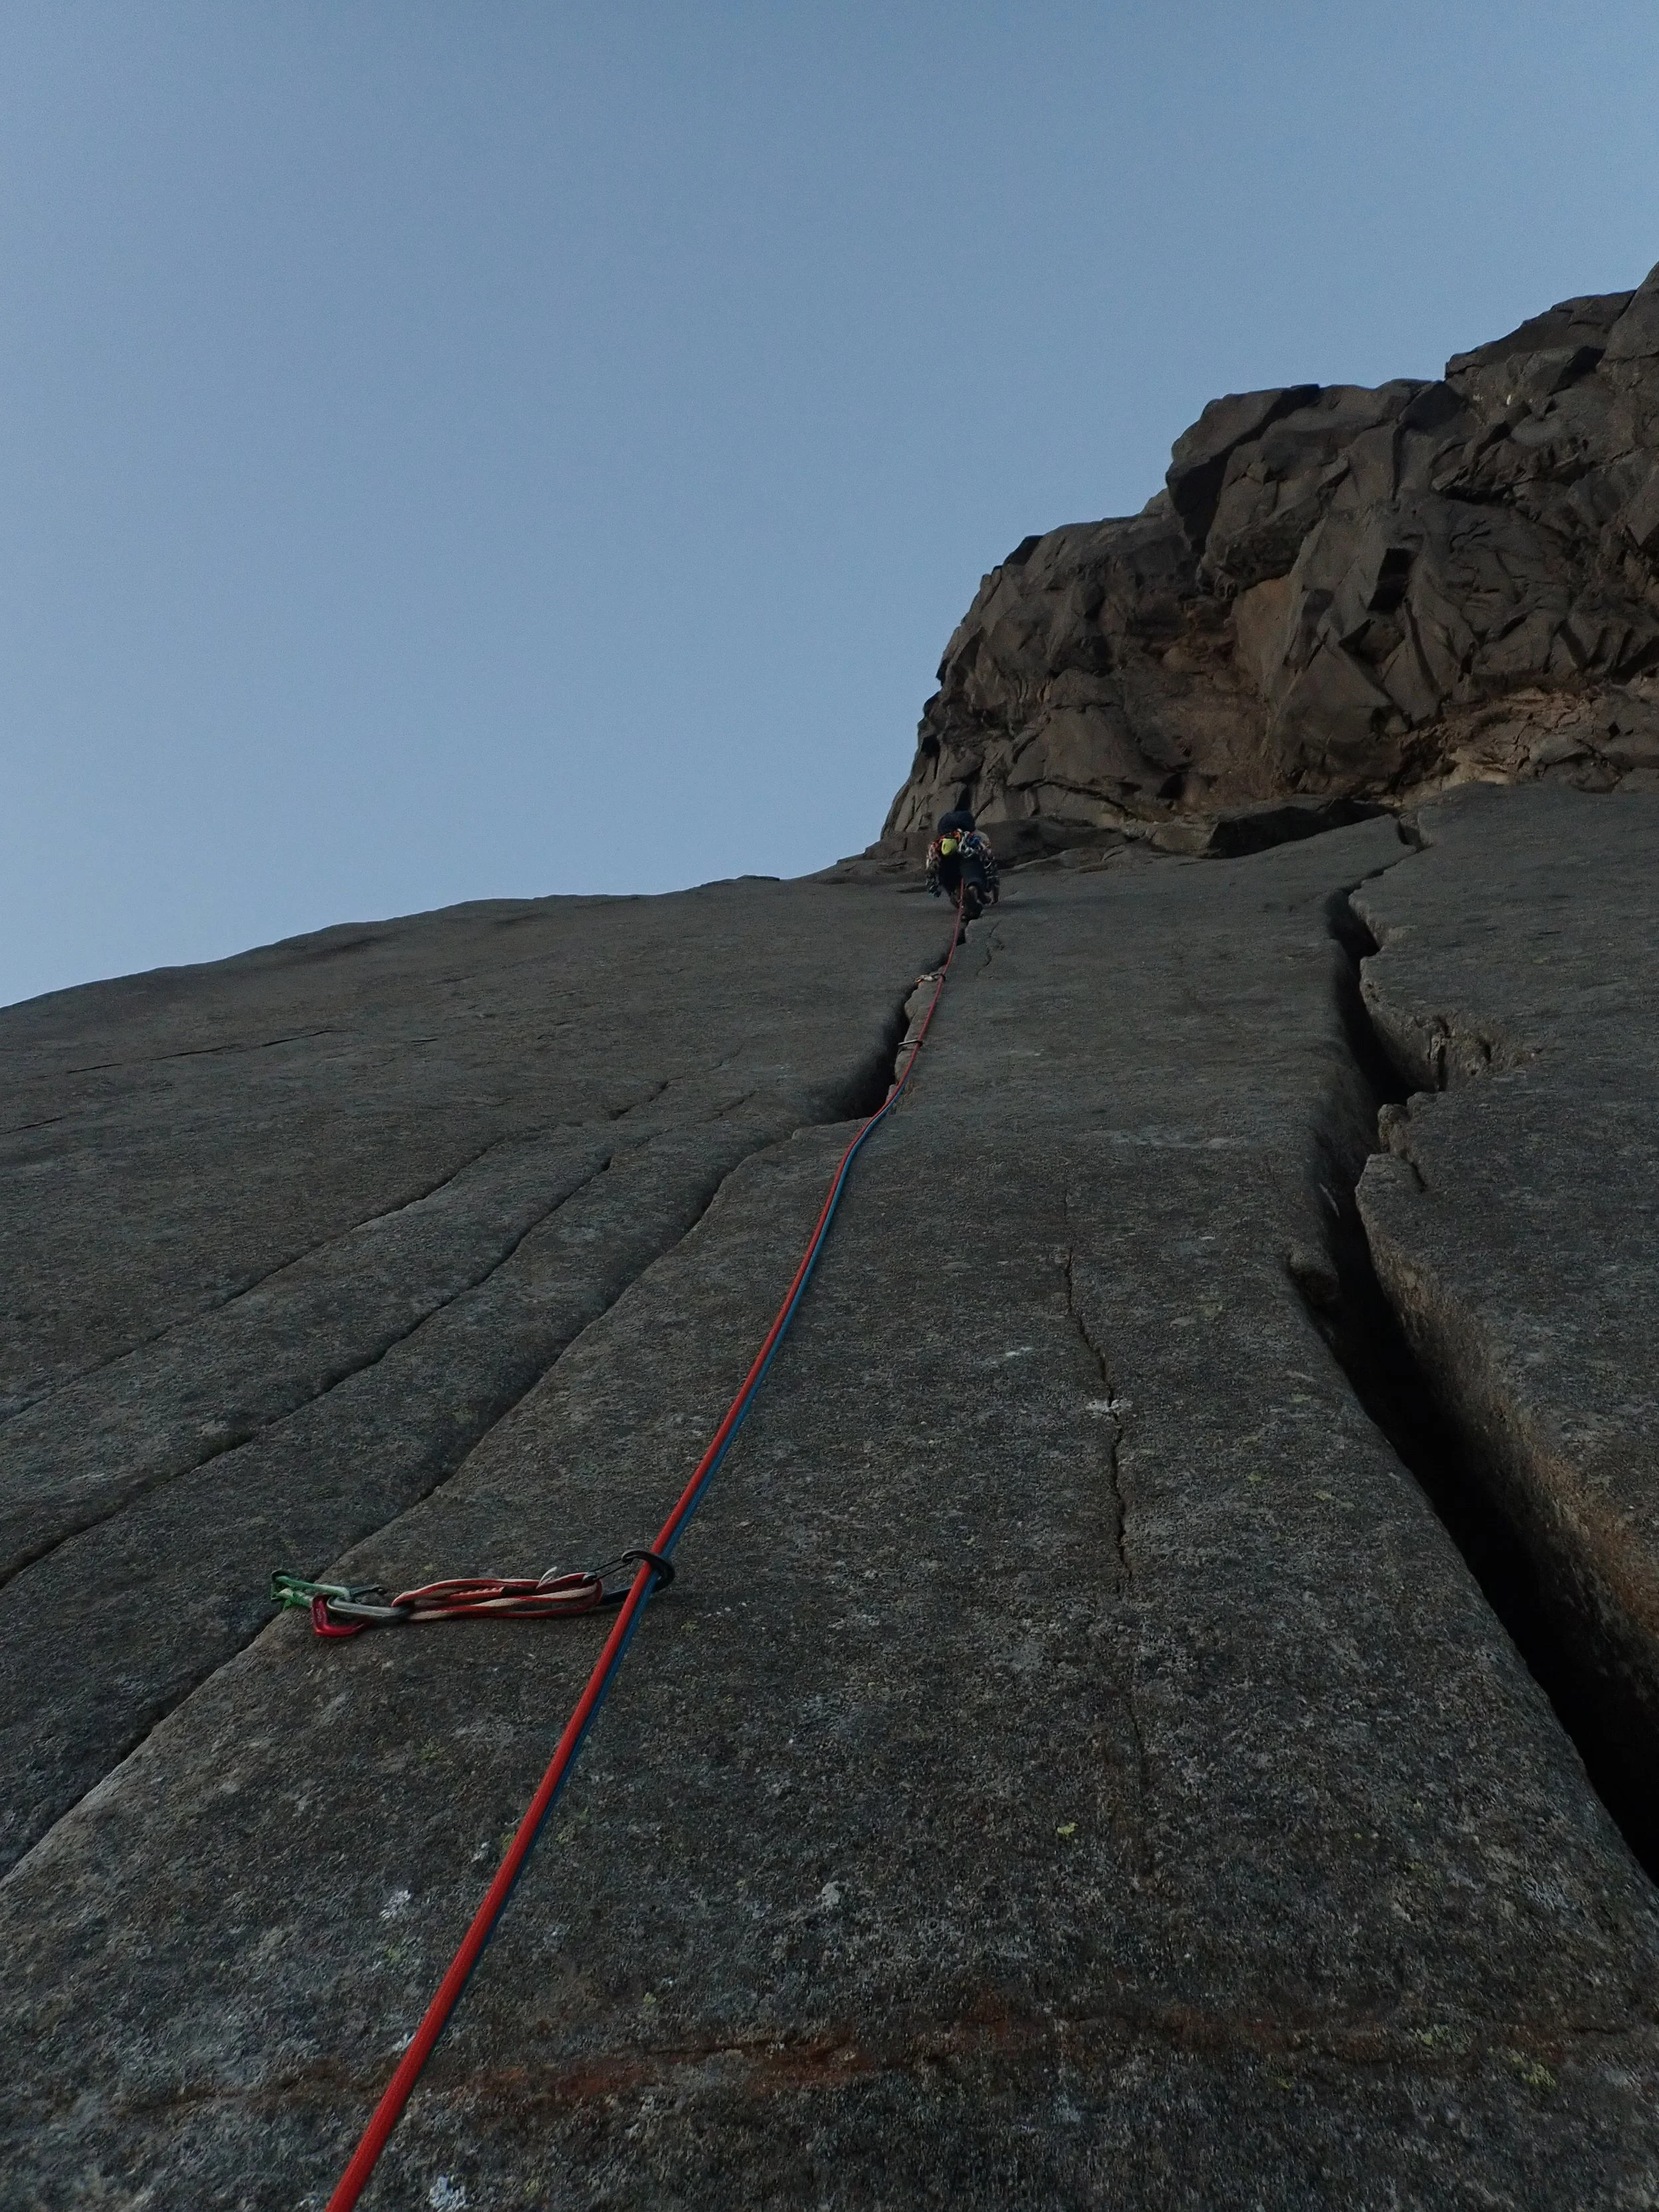
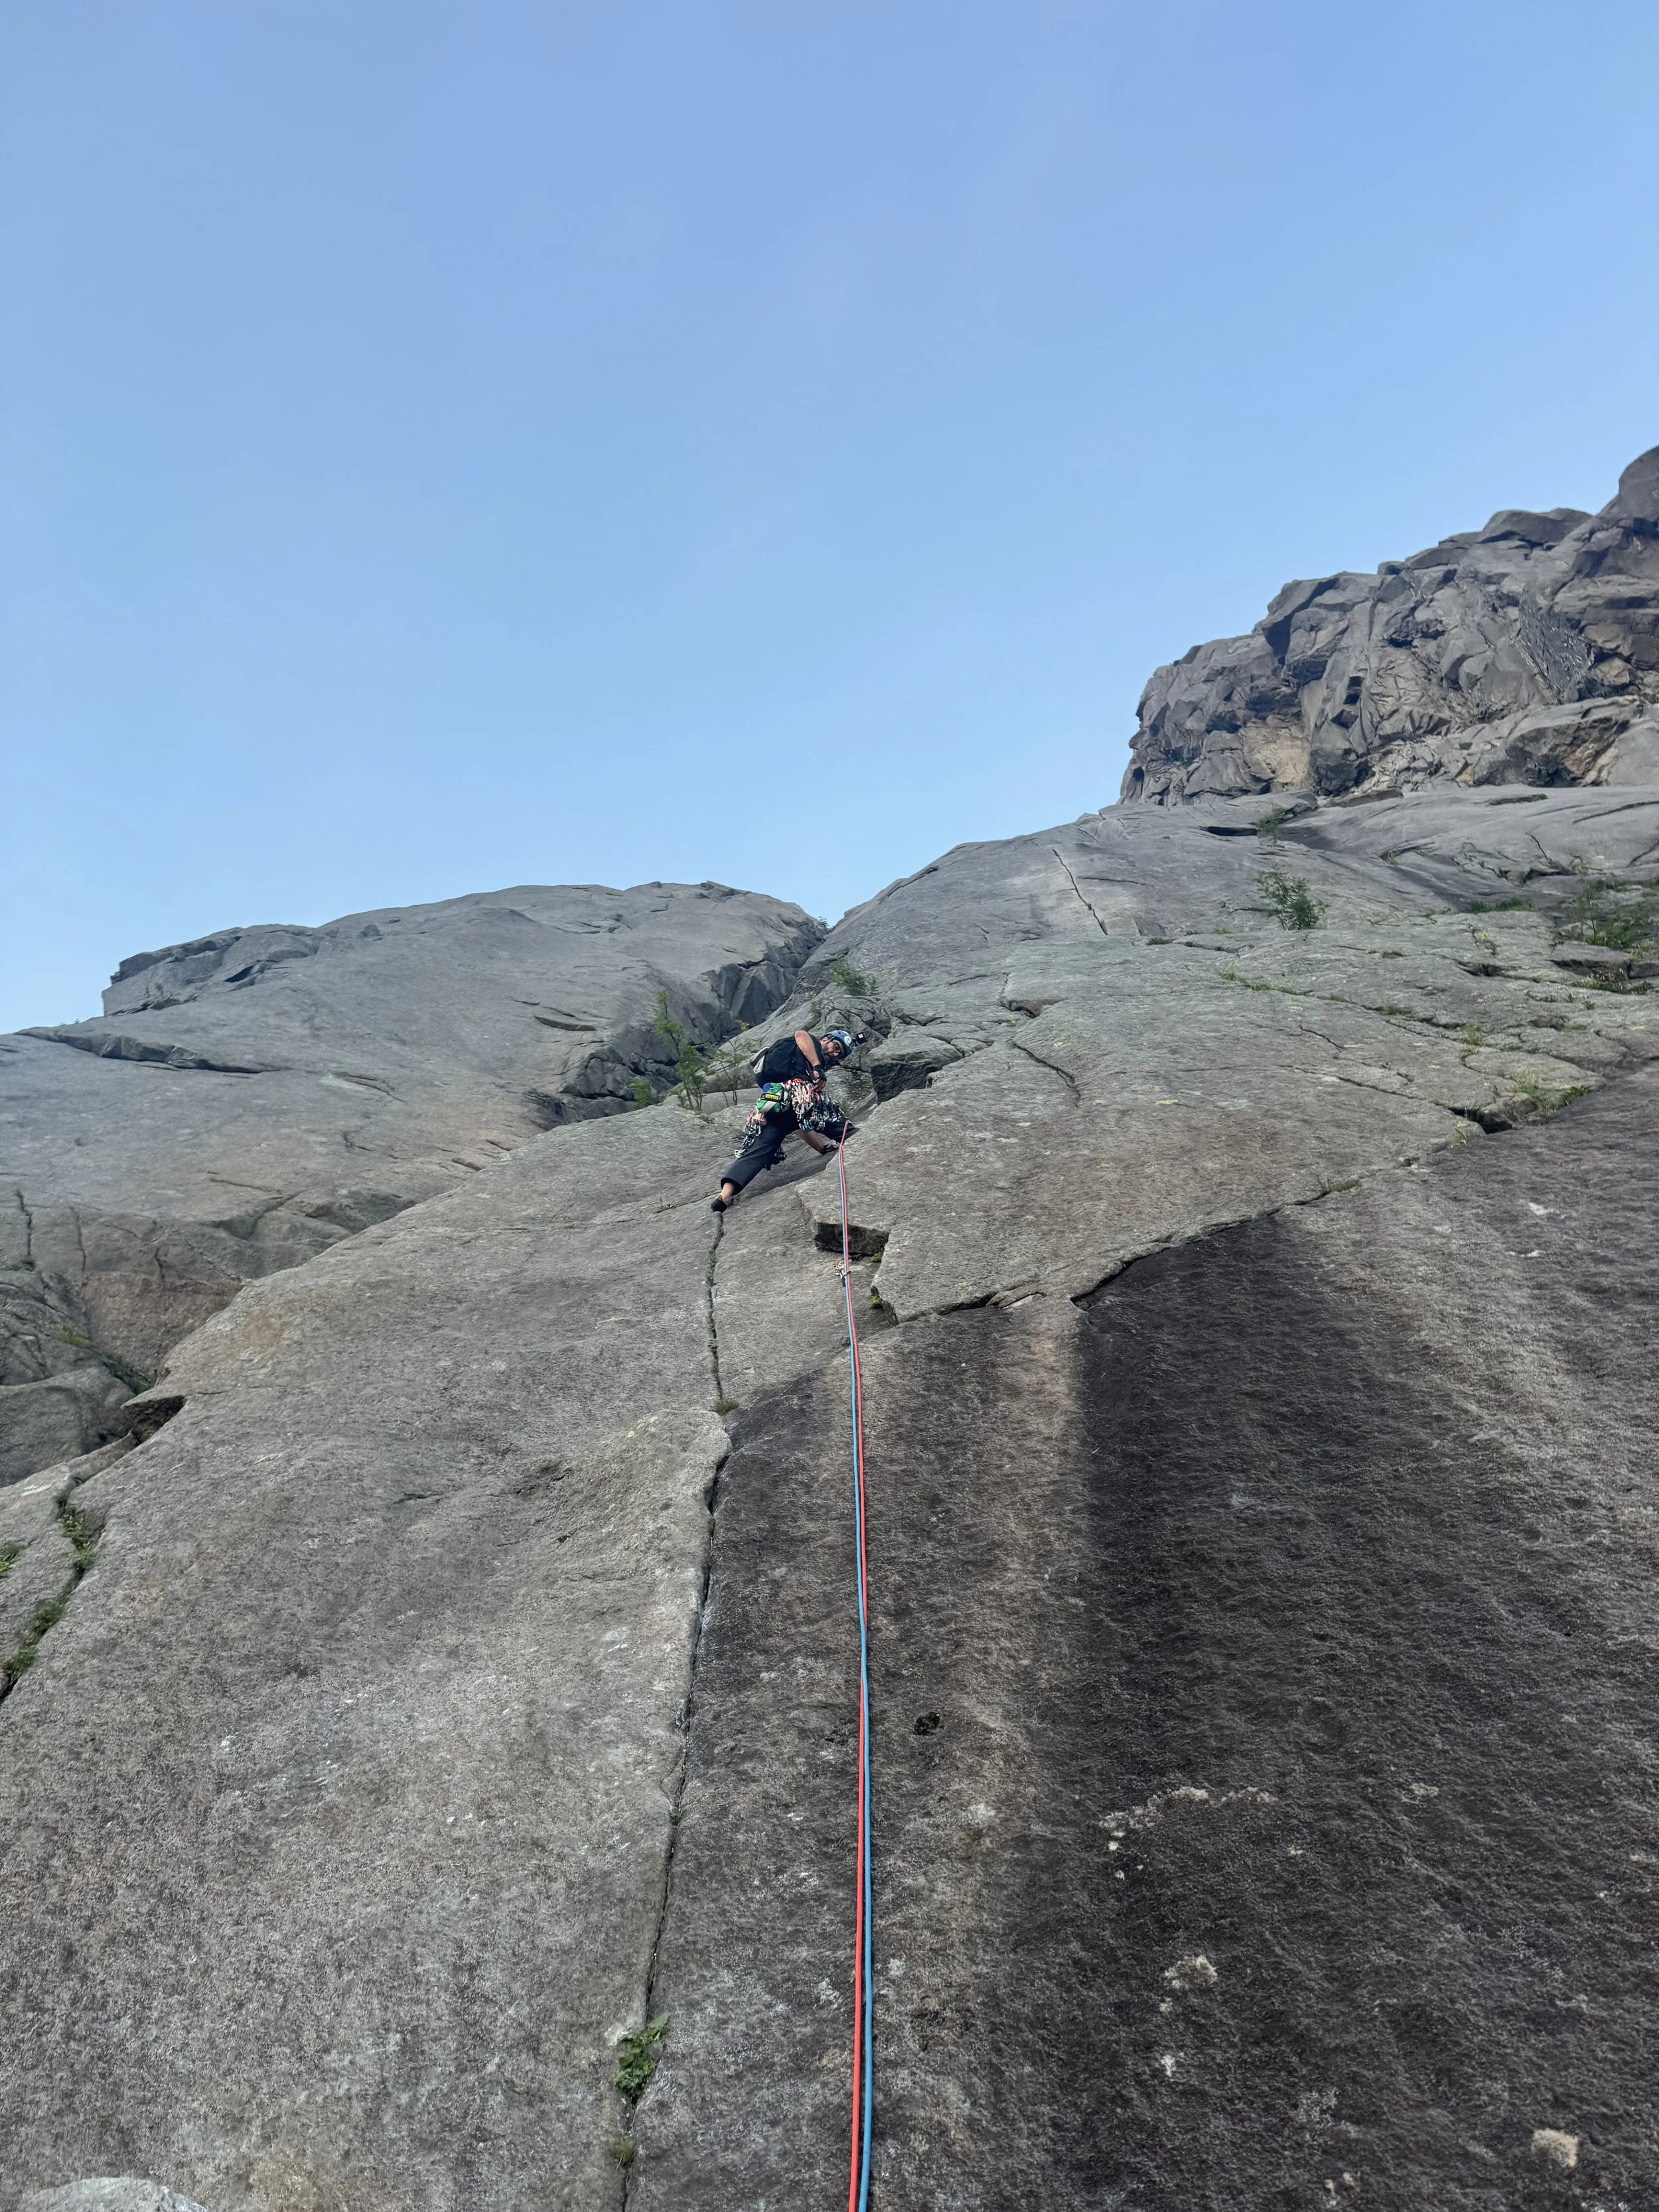
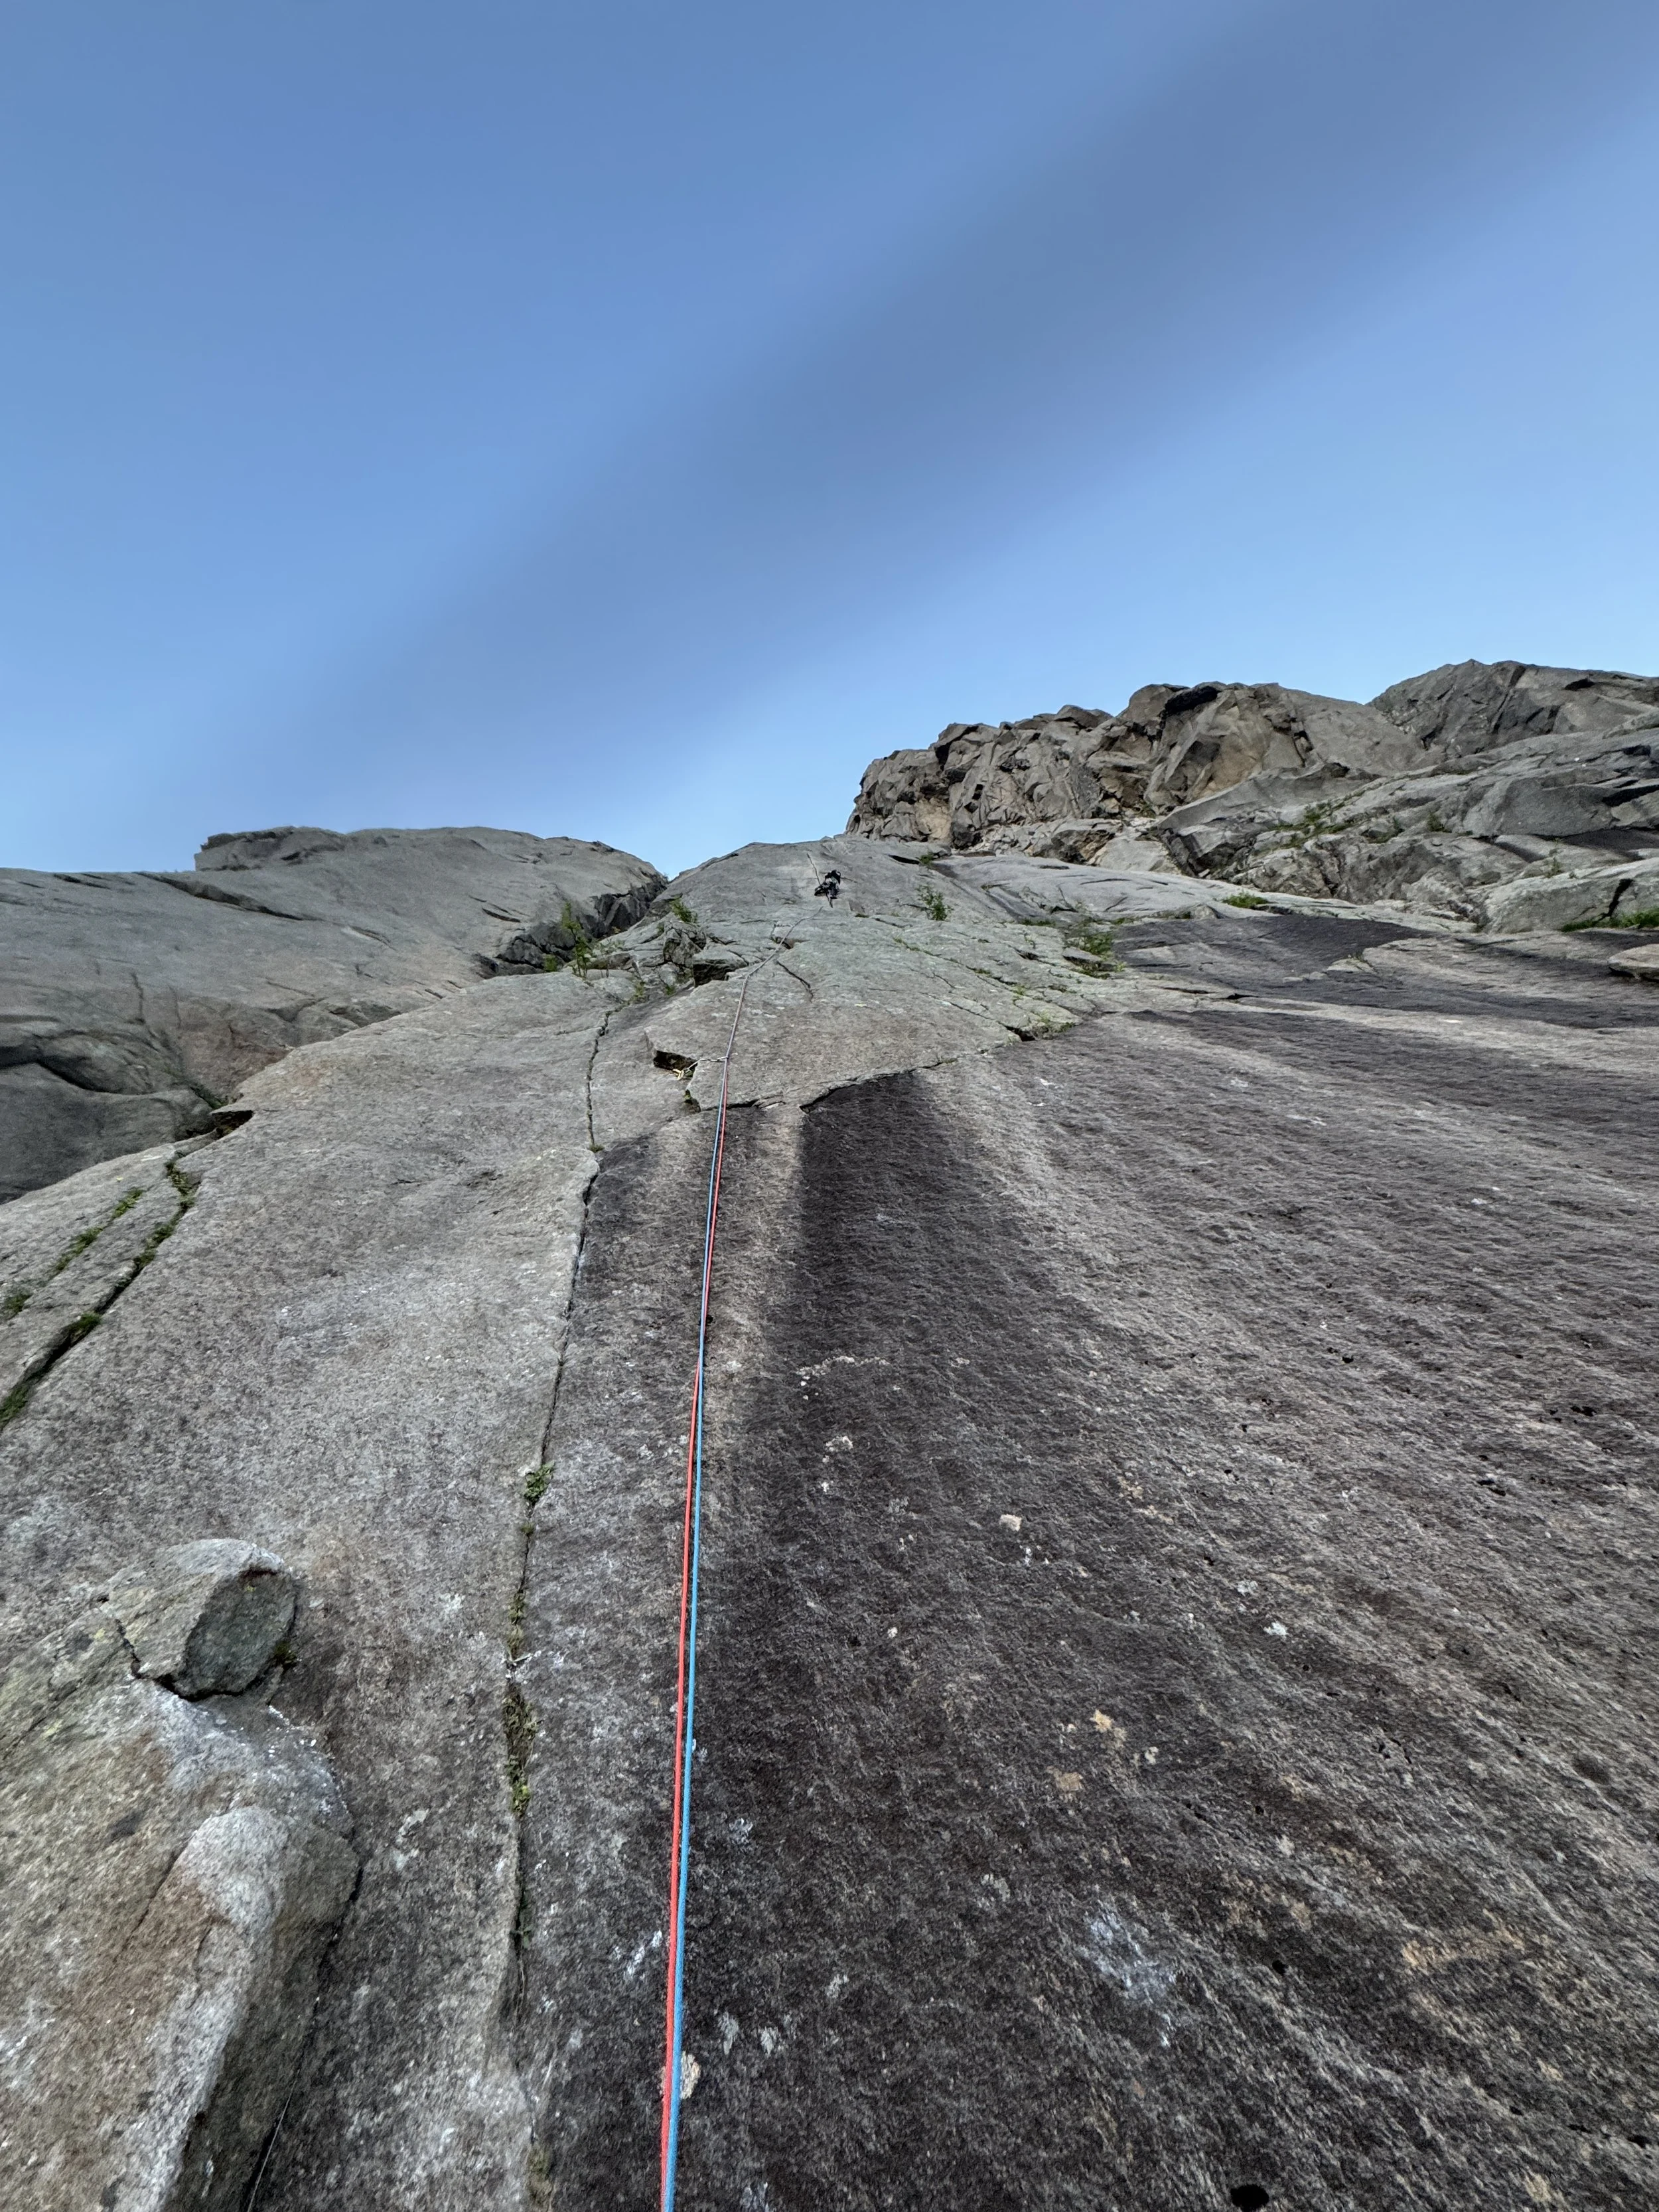
Starting at the base of an obvious finger crack (Pictured), start up on this amazing adventure! To make things go a bit faster overall, I’d highly recommend linking the first two pitches. Which are the shorter ones on this route, and a 60 meter rope will reach the second belay spot.
Starting the third pitch, move up the dihedral that has a nice wide hand crack in the corner of it (Pictured). This climbing is well protected and steep. If you think it will ease off, you are wrong, as it just keeps coming. Half way up youll have to move right into another set of cracks when the first set peters out. Once you reach a large ledge there is a nice spot to belay from. Dont make the same mistake that I made, where I continued up to another smaller ledge higher up. The positioning and gear wont be as good from here unless you kept some of your larger cams on your harness.
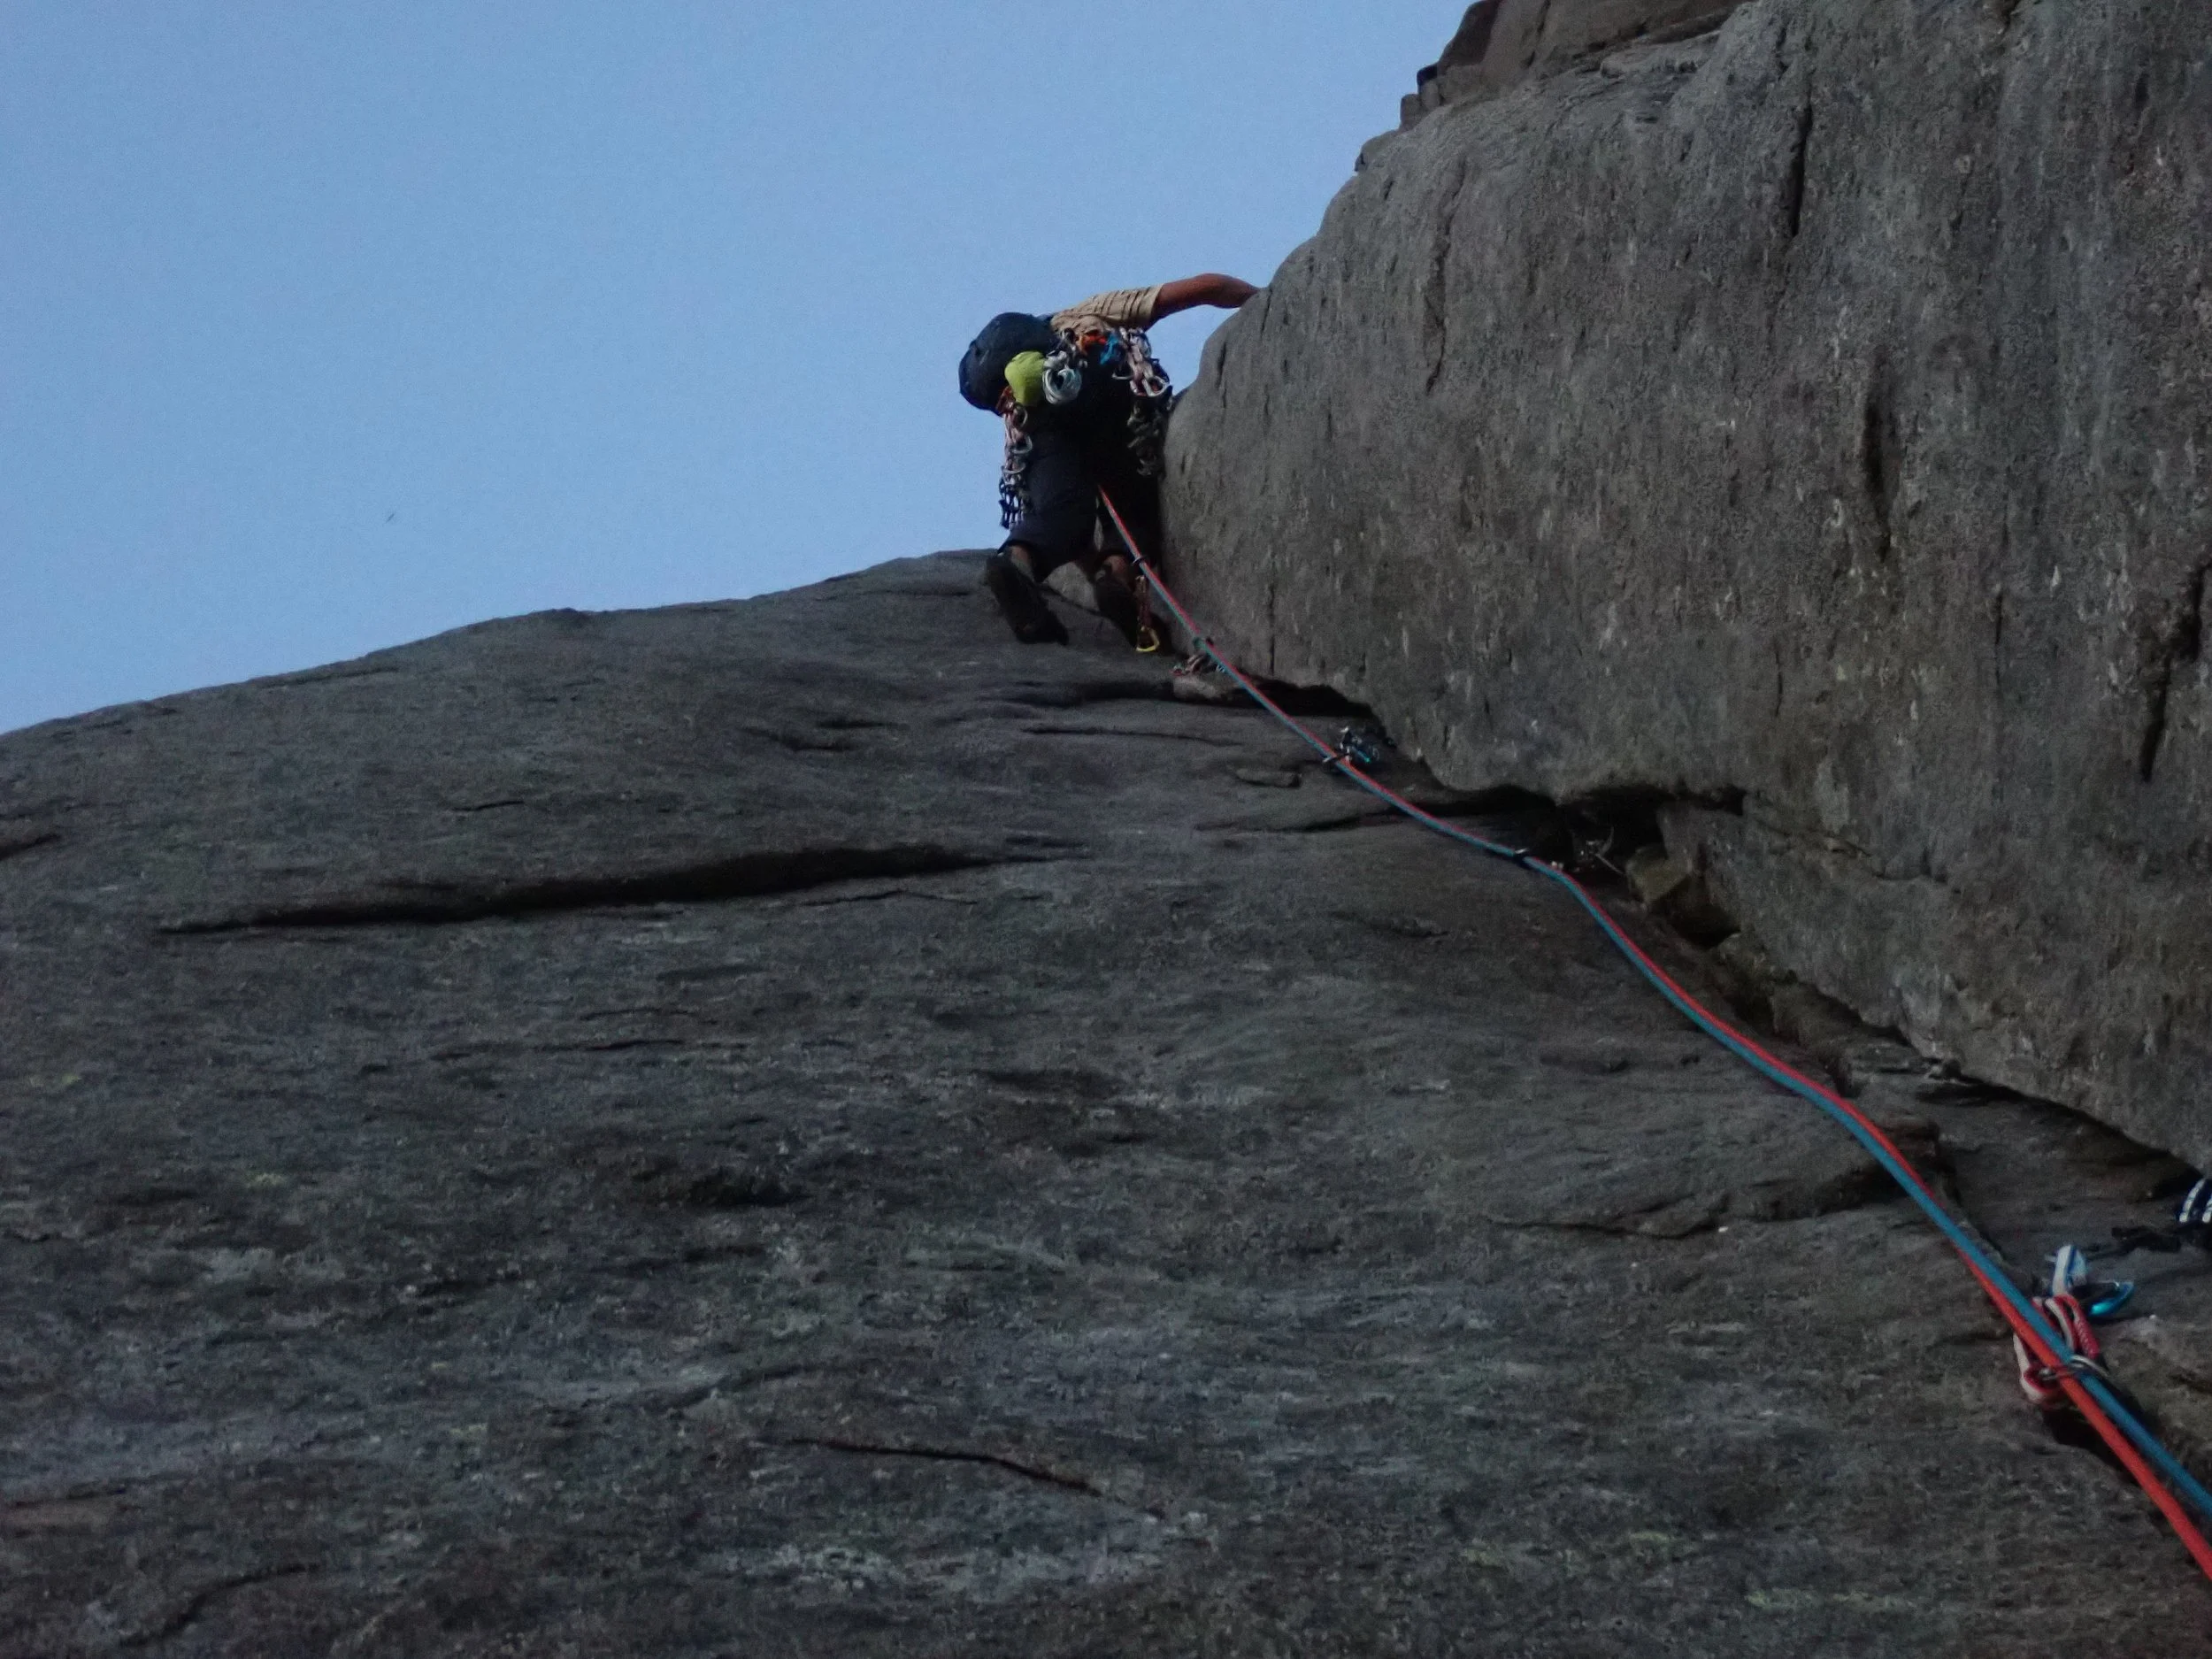
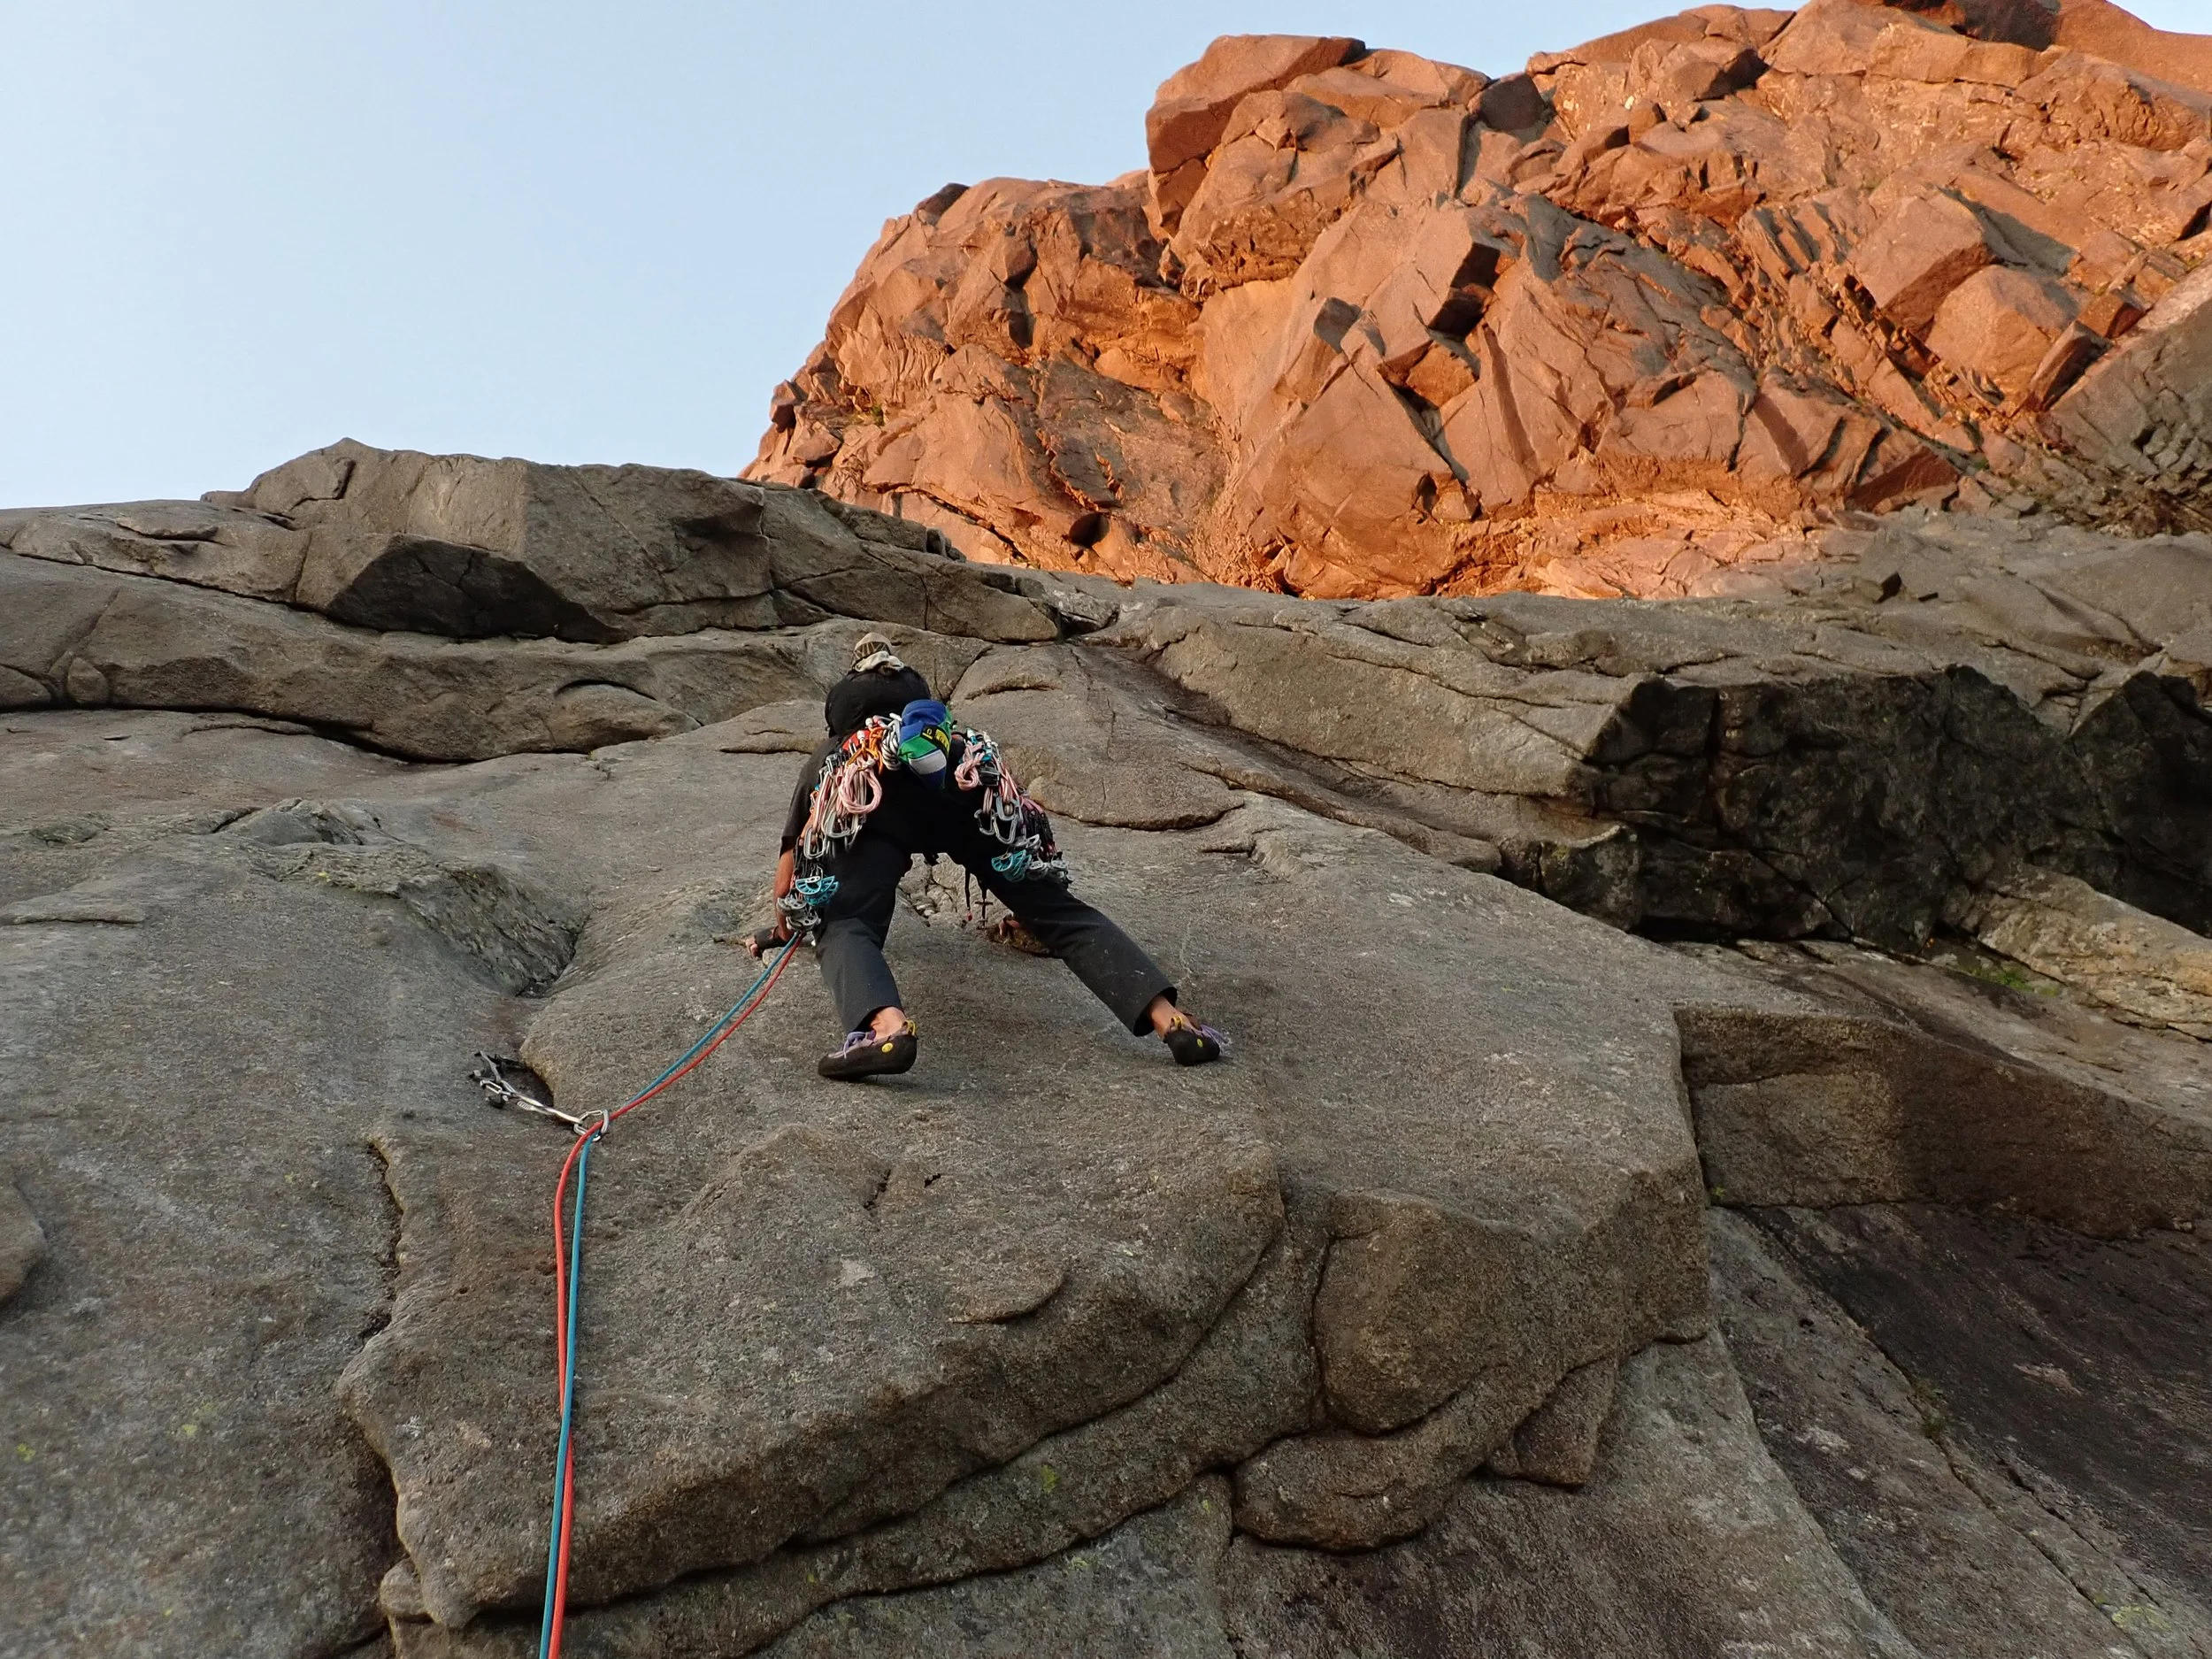
From the third belay, start up the fourth pitch continuing up the corners until you reach a smaller chimney below a wider crack with some chalkstones. Be careful as these chalkstones seemed to be loose and moving up into them is awkward (Pictured). My dad moved up before we realized that that was above the section you want to move right onto.

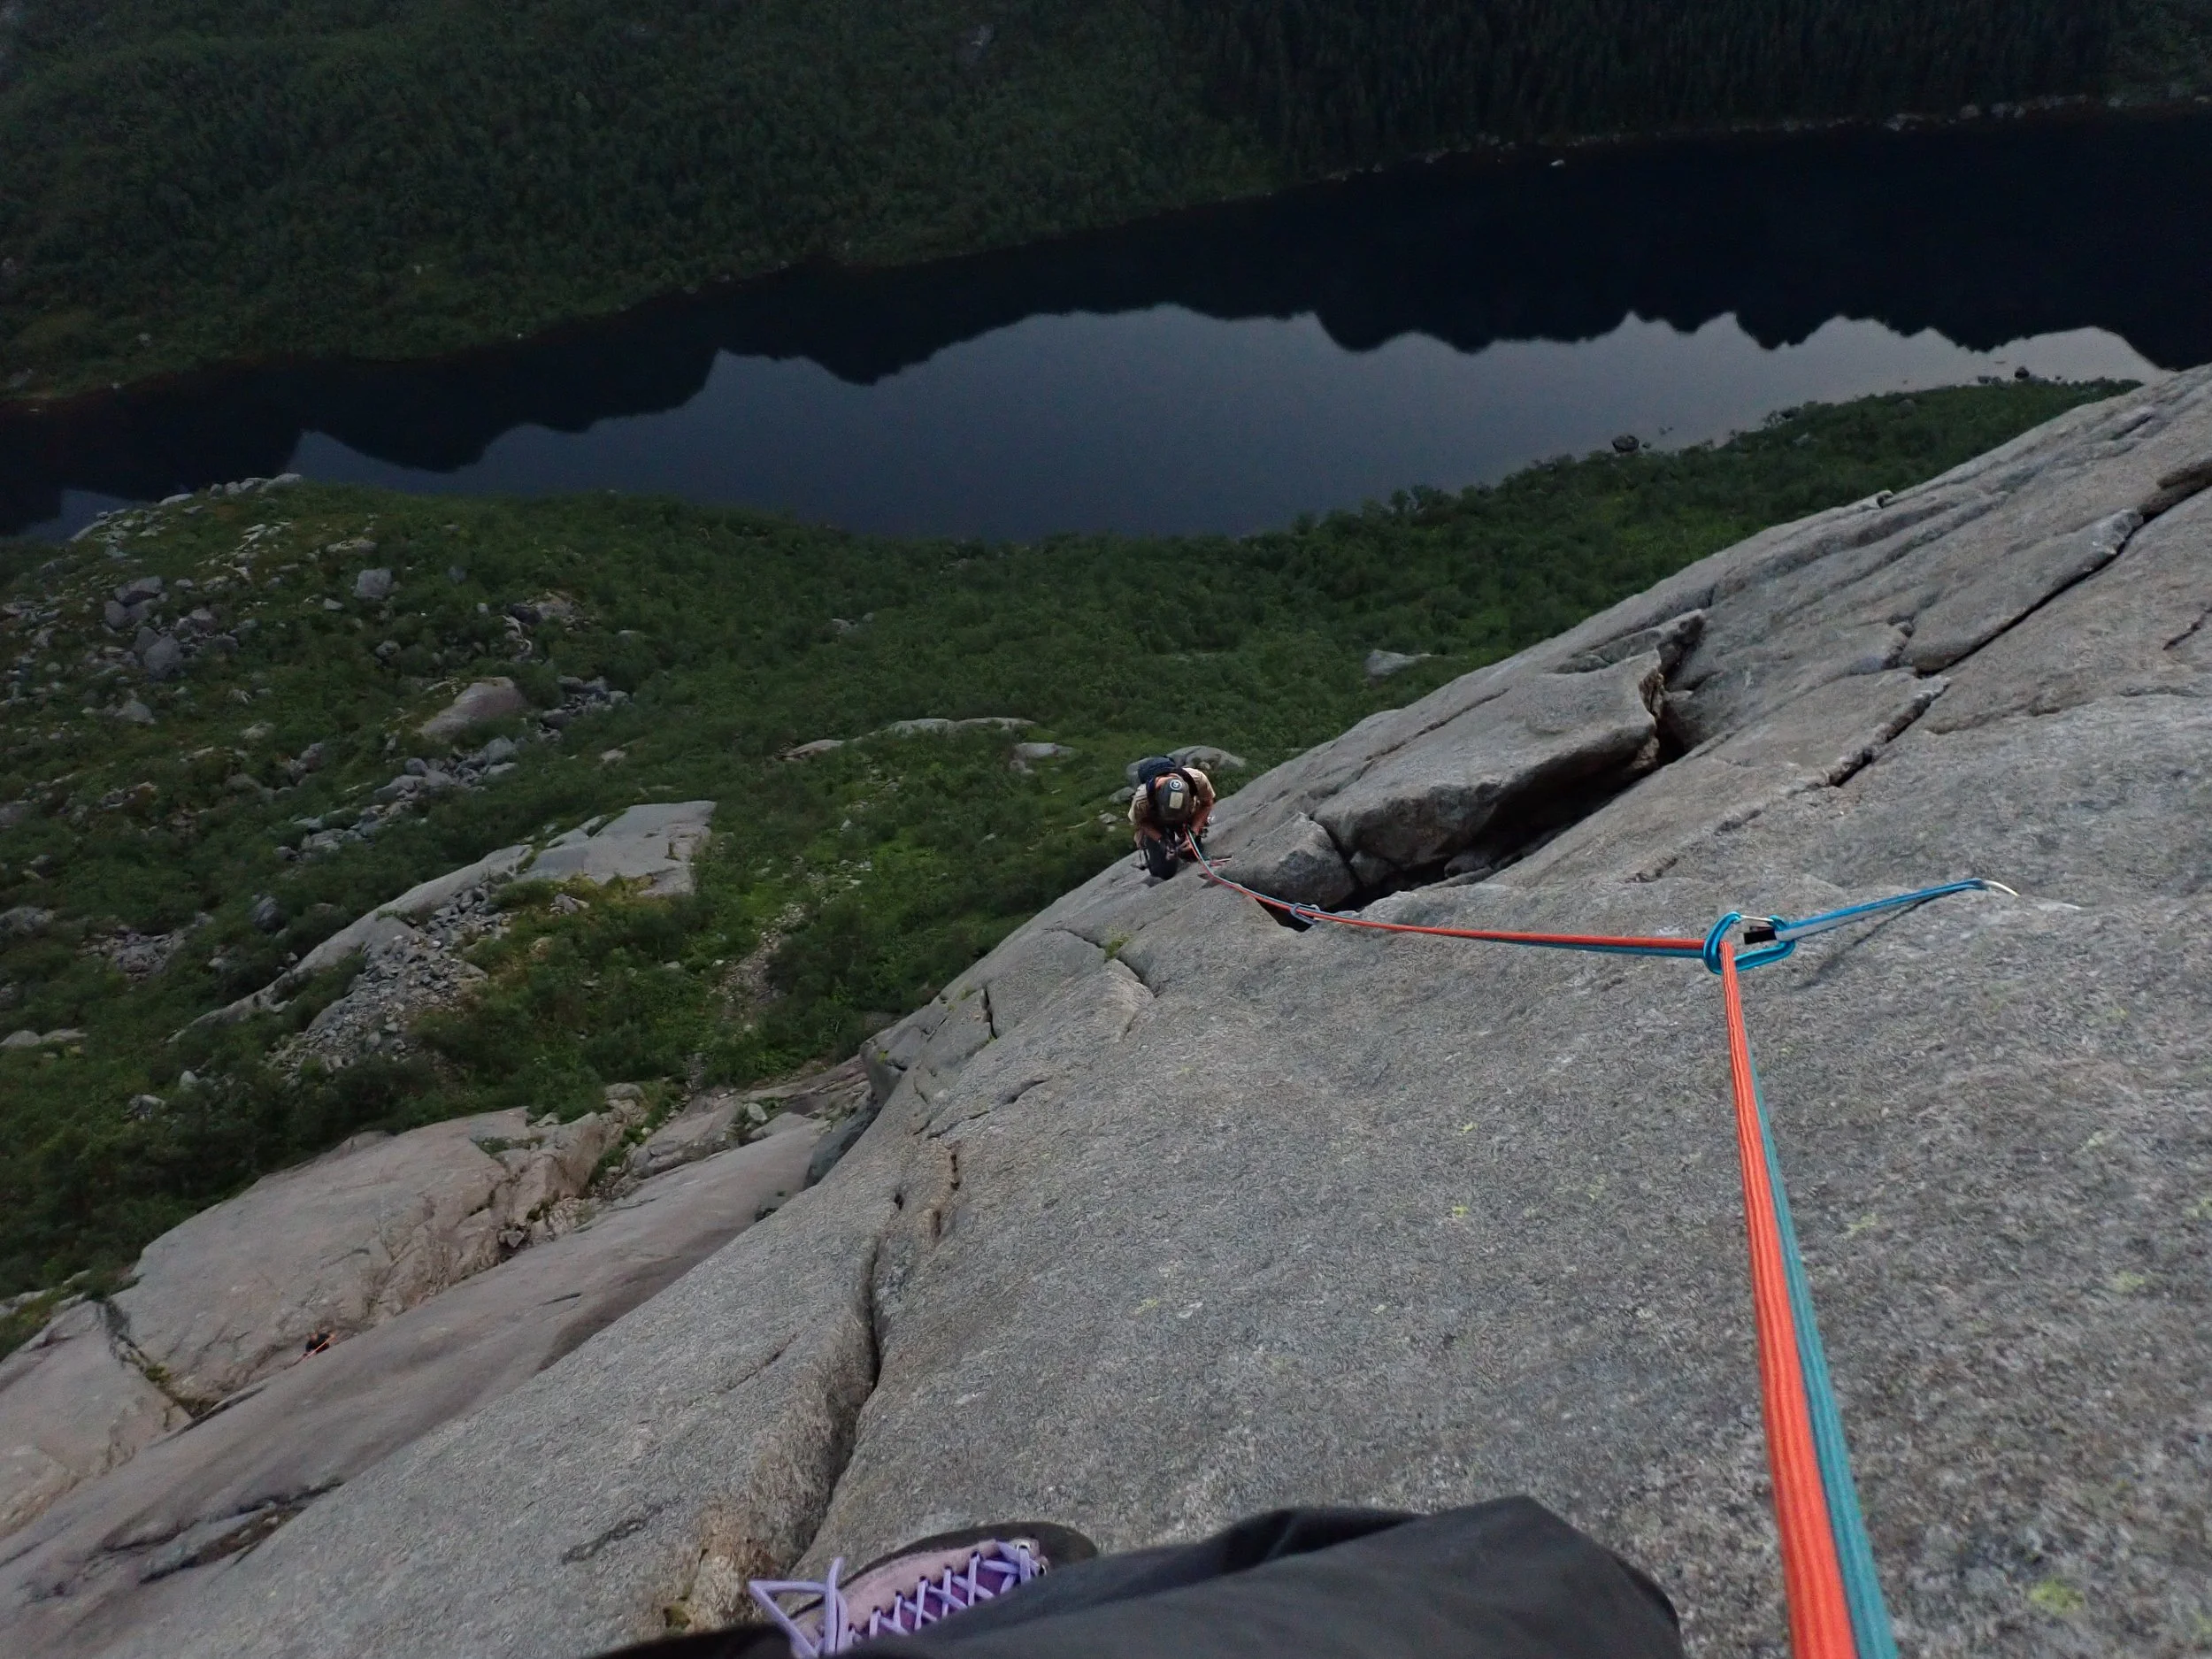
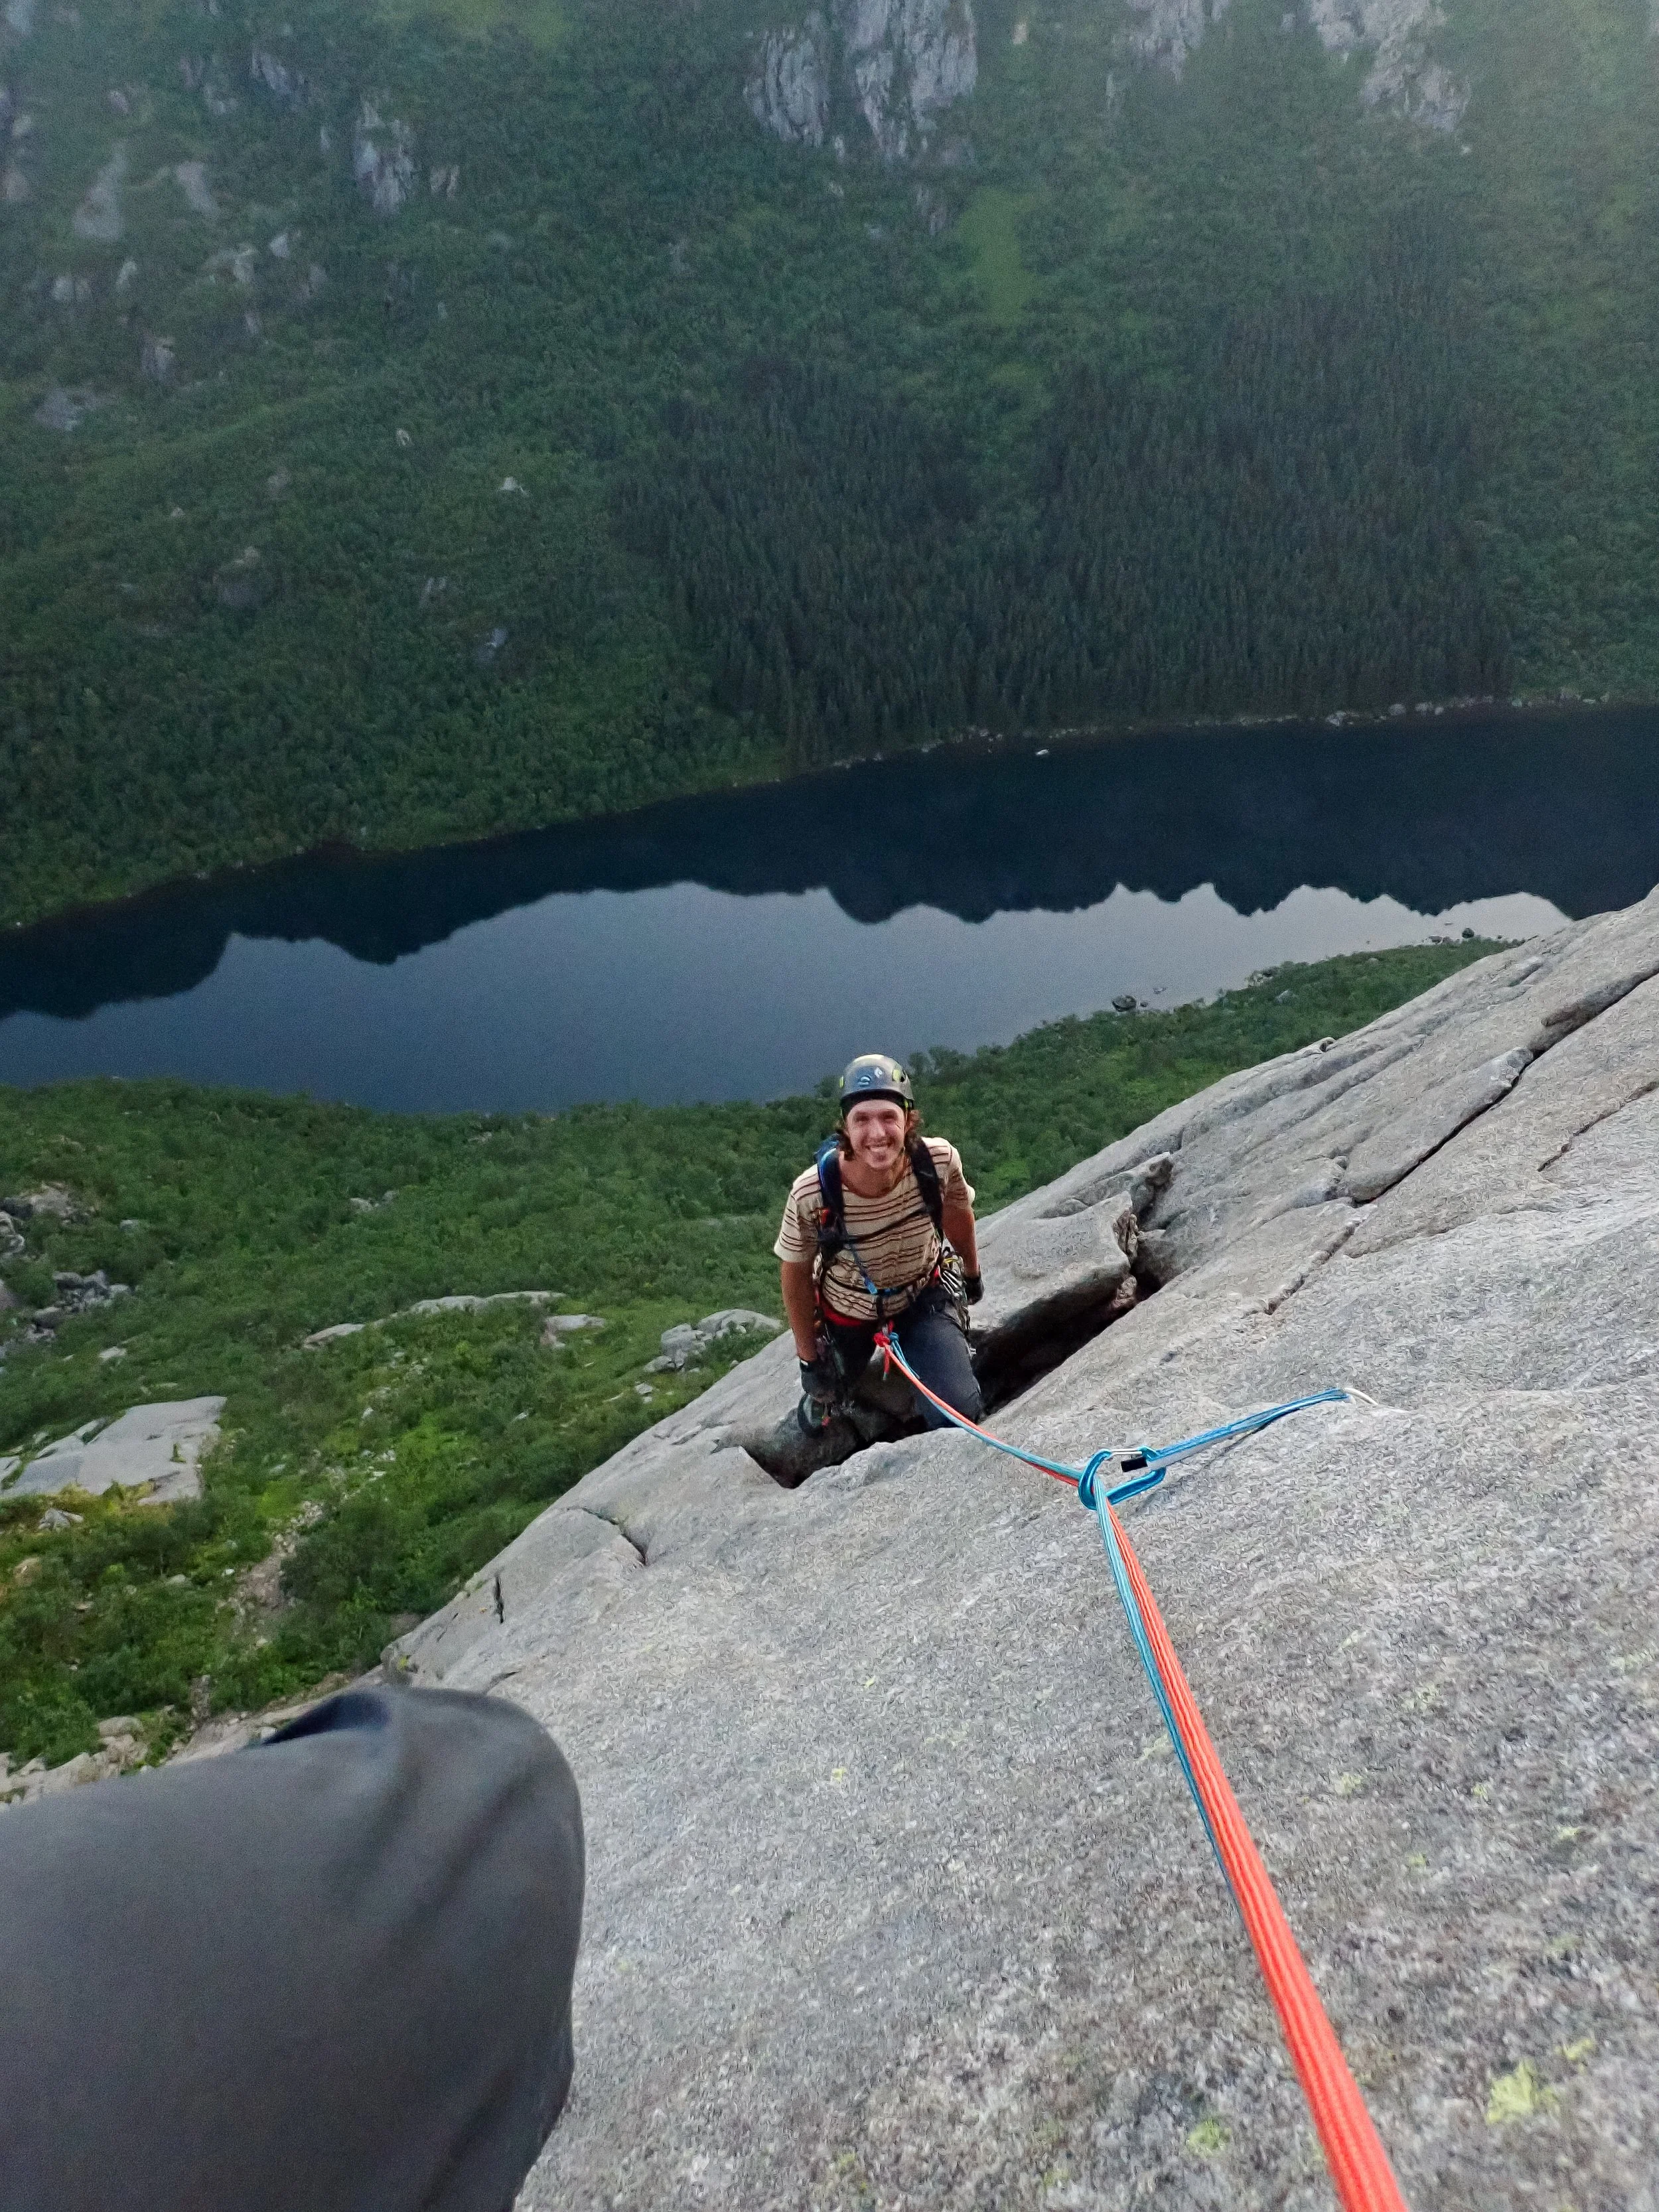
Move right on some nice holds towards a pair of parallel cracks (Pictured on follow). Should be able to place some small gear or nuts to protect the move over to the right. Once you step over, follow these cracks up to the bolted anchors. This crack system takes gear well and you’ll find that it opens up a bit as you move higher allowing you to place a number 3 friend of similar. The bolted anchors are positioned on a small ledge with a good stance. Hopefully you are following this pitch, because then you are up to lead the money pitch that lies ahead!
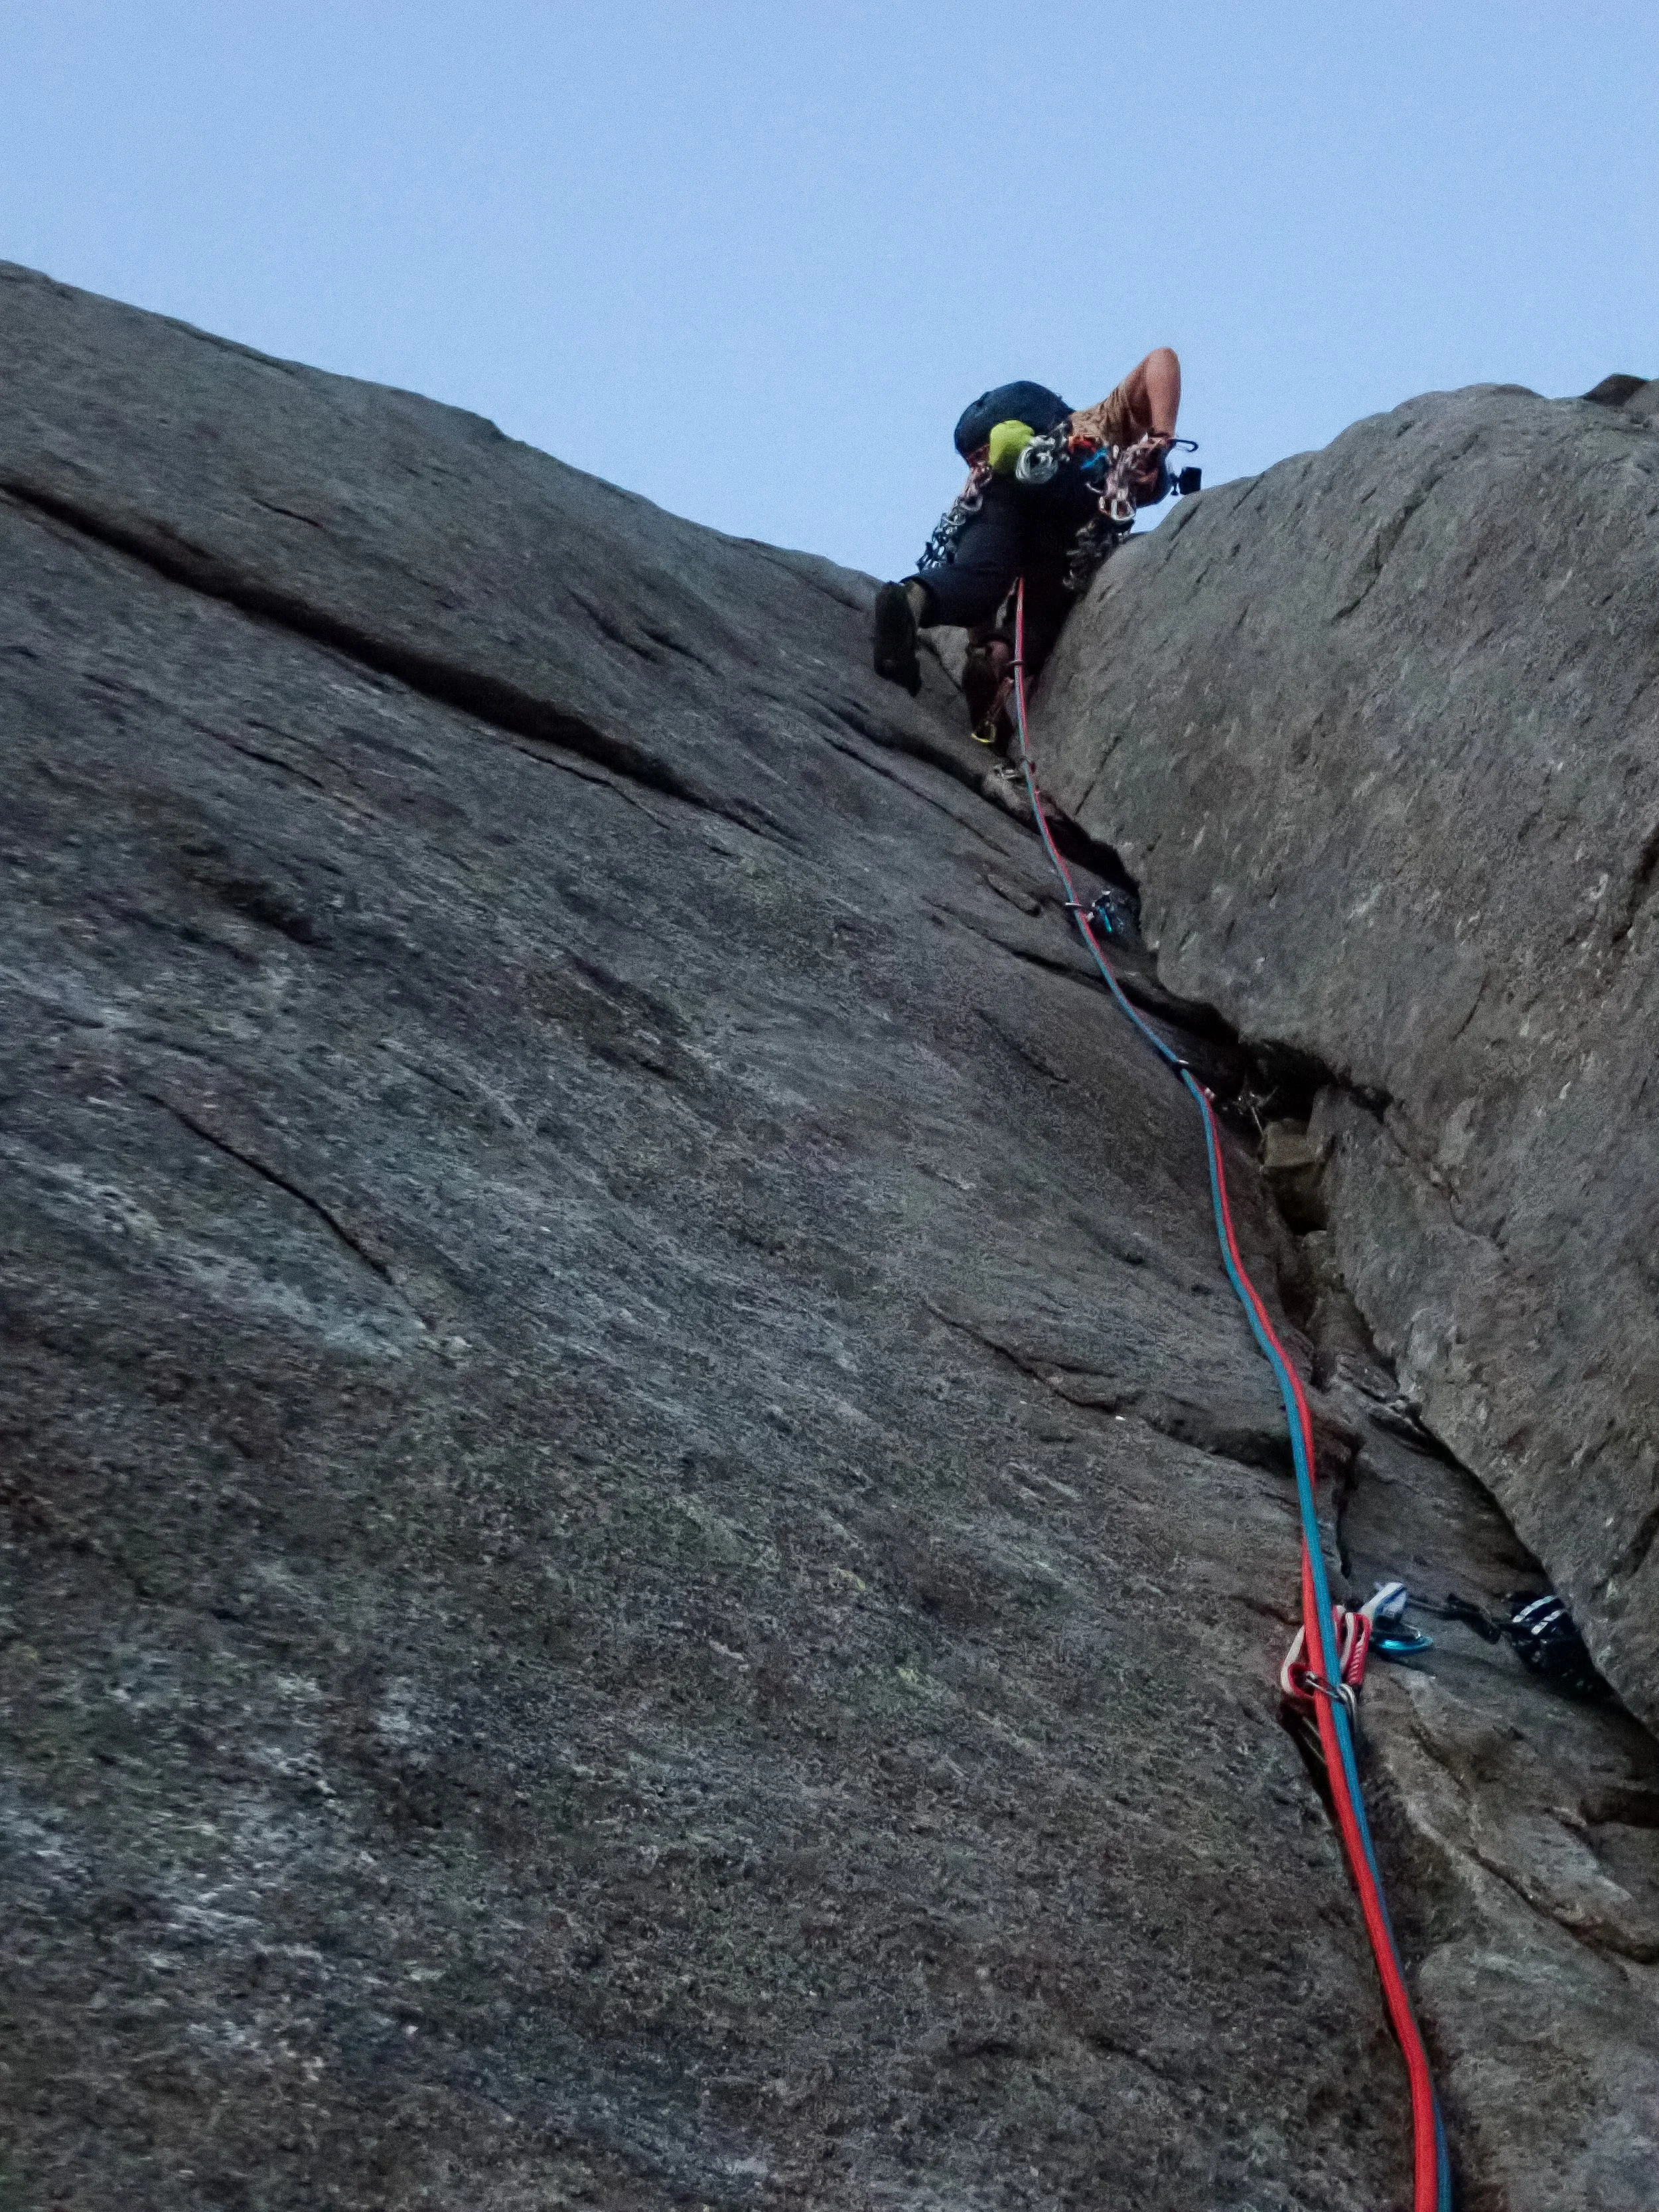
From the belay, stay left of the bolts starting in the perfect hand crack. Stepping up into it allows you to place a perfect piece. I plugged the metolius equivilant of a #1 black diamond or friend. Now begins tthe 40 meters of perfect crack climbing and hand jams!


Starting this pitch, it was about 2 in the morning. So the sun was starting to rise again after its very short 40 minute sunset. Follow the crack, jamming and moving your way through this amazing pitch. There wont be many spots where face holds will help you with a few exceptions. This pitch will require almost exclusive crack climbing technique. By the end of this beautiful pitch, it is likely that your ankles will be a bit sore from craming them into the crack.
Move up for about 30 meters until you get to a open pocket which allows you to place a larger cam. In our instance, I plugged a #3 friend into it. This is one of the few spots that allows for a bit of a rest before you start up the finger crack section of this pitch. The feet at this spot are also quite good, as there are some features on the face to edge on. Like other sections of this climb, this pitch is long and sustained, and it will keep coming.

Move up the finger crack, which is perhaps the crux of this pitch. After the previous 100 feet of sustained crack, the thin moves and finger jams will put you to work. Its best to keep moving and continuing to jam through this section. Again, there will be little sign of and features on the face to give you any reprieve. The gear will continue to be bomber, just in much smaller sizes. Which you should still have, as the lower section takes mostly larger sizes.
You will see the double bolted anchor at the top of this pitch just beyond a flake in the rock. So dont be shy using up all your gear before you get to this point.
Move up the rest of the finger crack. I placed first a yellow totem perhaps 10-15 feet above the blue friend. Then as I progressed, I placed a blue totem maybe another 10-15 feet above that last yellow. The last 15 feet, the crack starts to peter out, and youll have to make delicate moves to make it to the flake. Which is a relief to reach, as it is such a bomber hold, especially after not having a real face gold for the last 40 meters.
This flake ledge also provides a nice stance for building a belay and bringing up your second. If you wish, you can move about 30 feet to the right from here to access the rappel station as some folks choose to end their climb here. The remaining two pitches are much less of a crack climb, and the protection is far more limited as you progress. We chose to continue on.
From this belay, move up into a groove and make your way to the overlap above. Again, protection from this point will be far trickier to find than the previous pitches. Although no longer a crack climb, the climbing is excellent and exciting. Much sportier feeling than before.

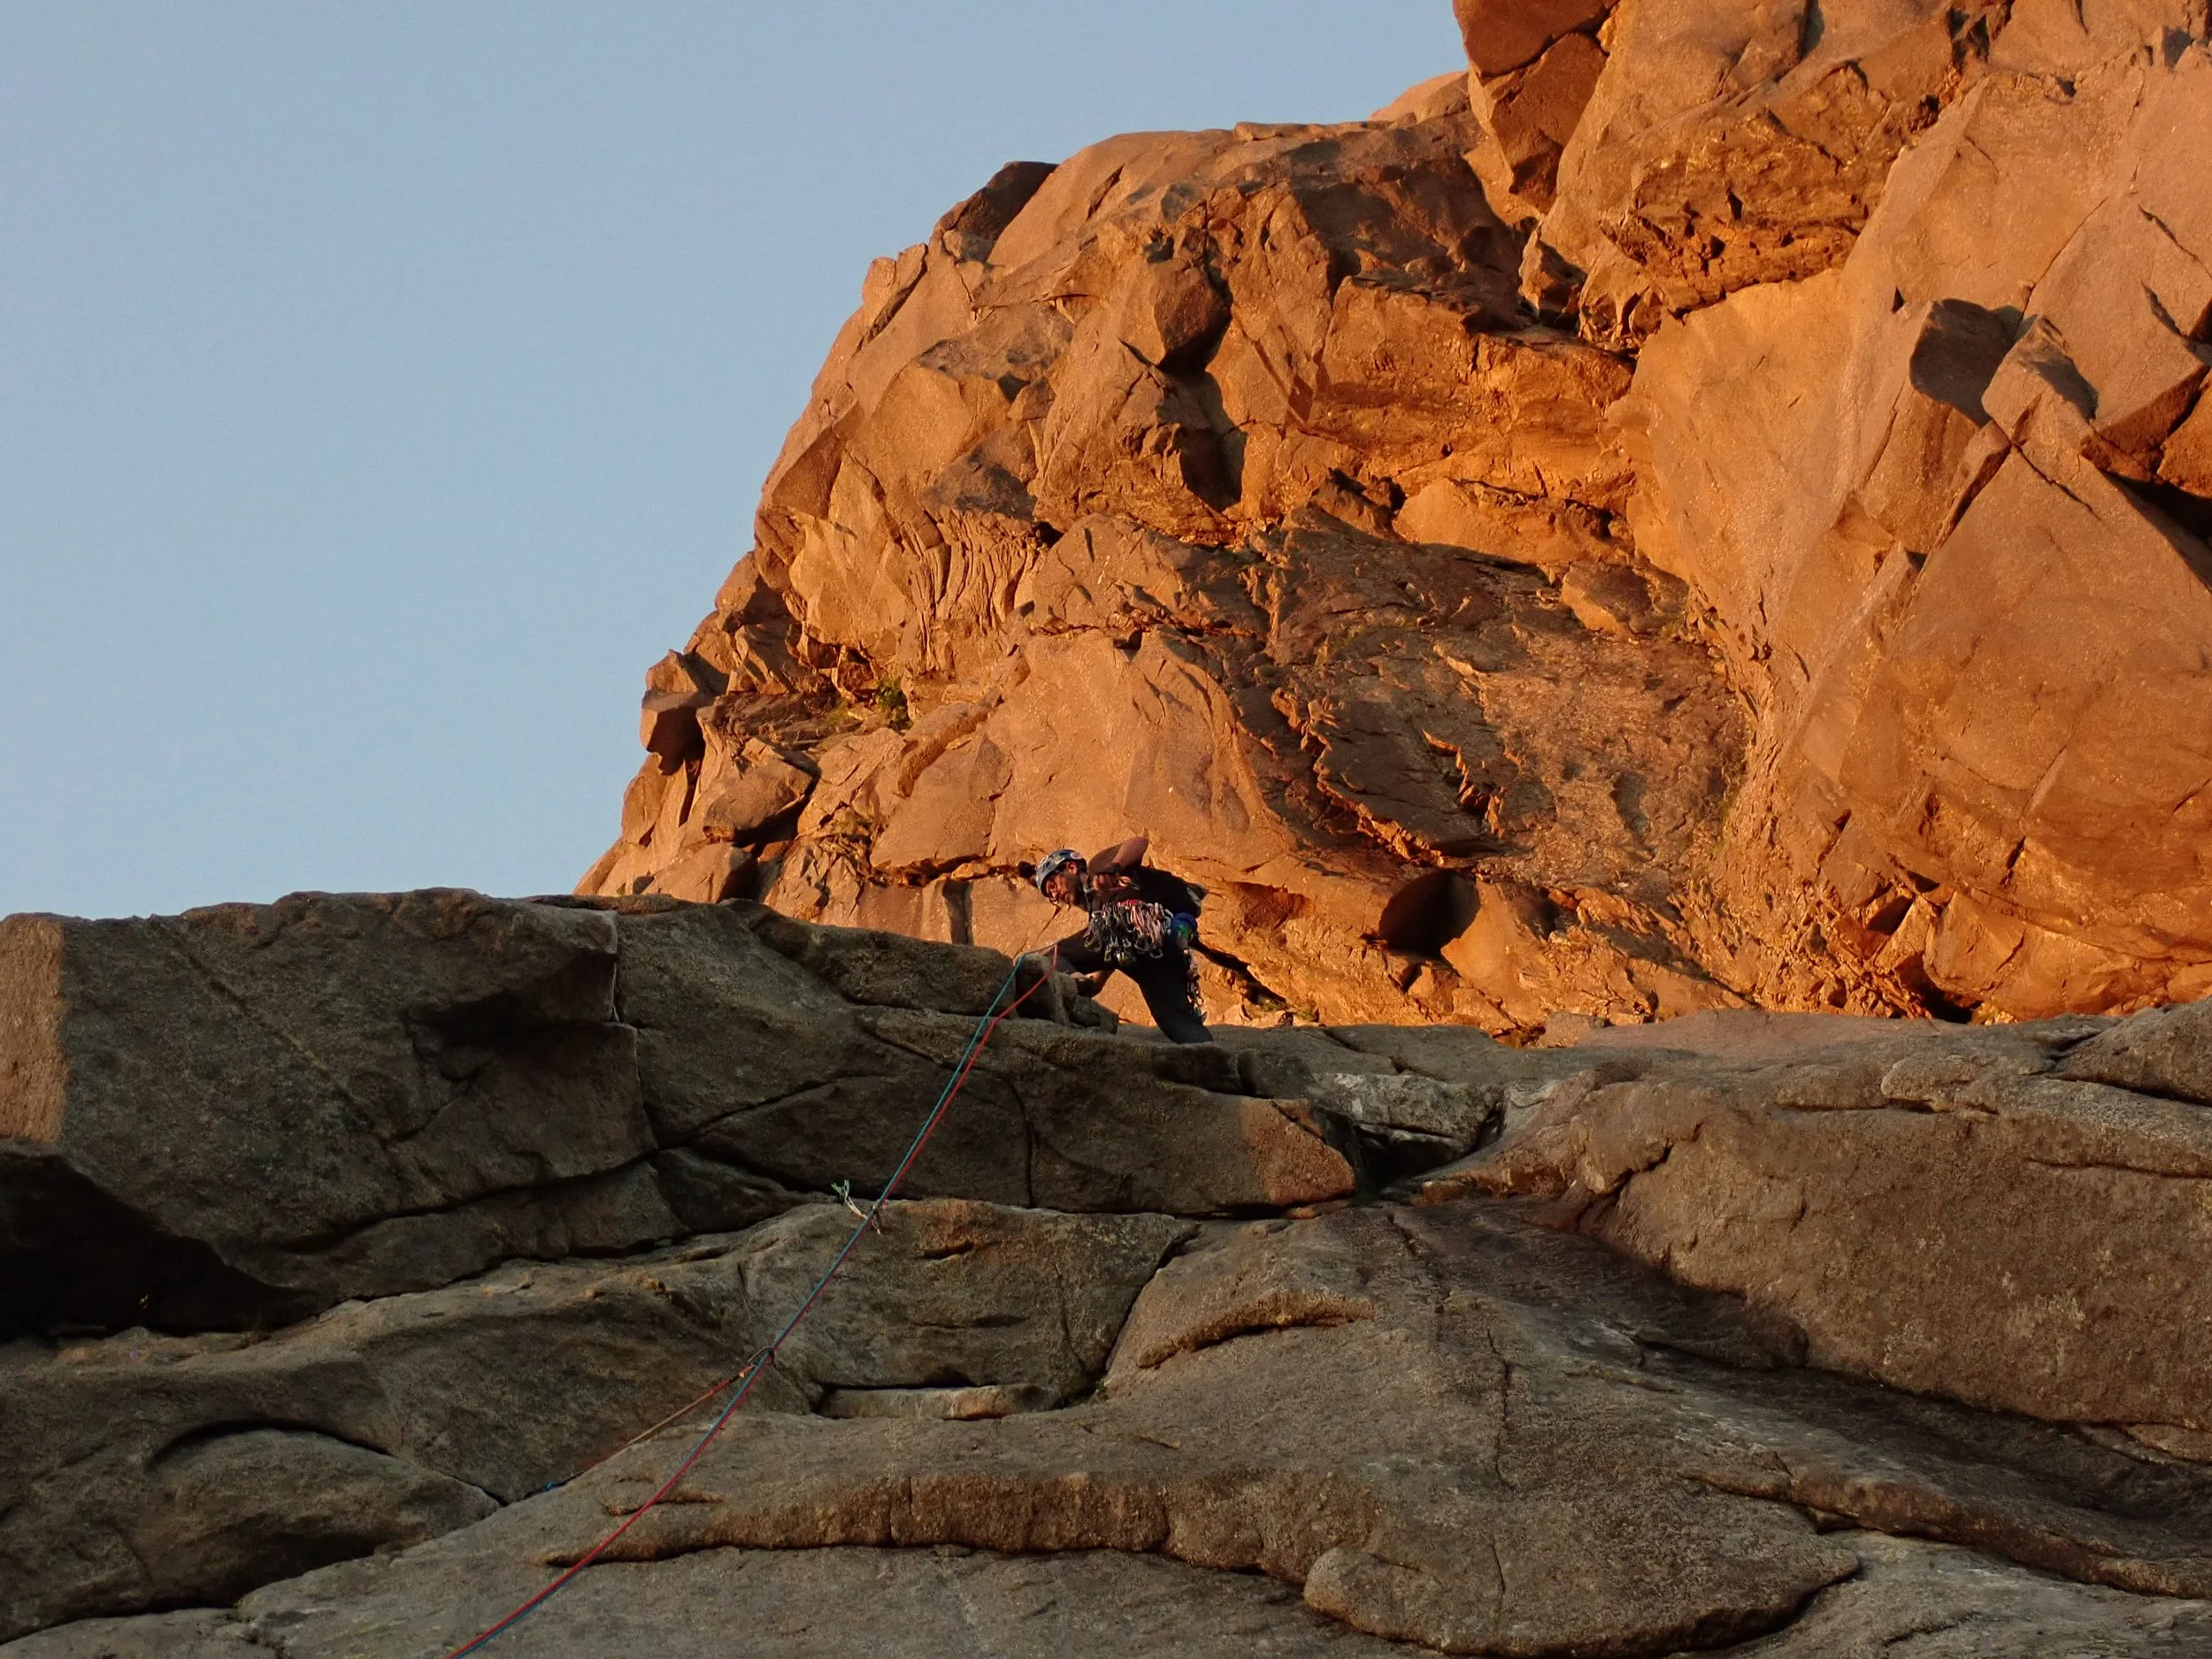

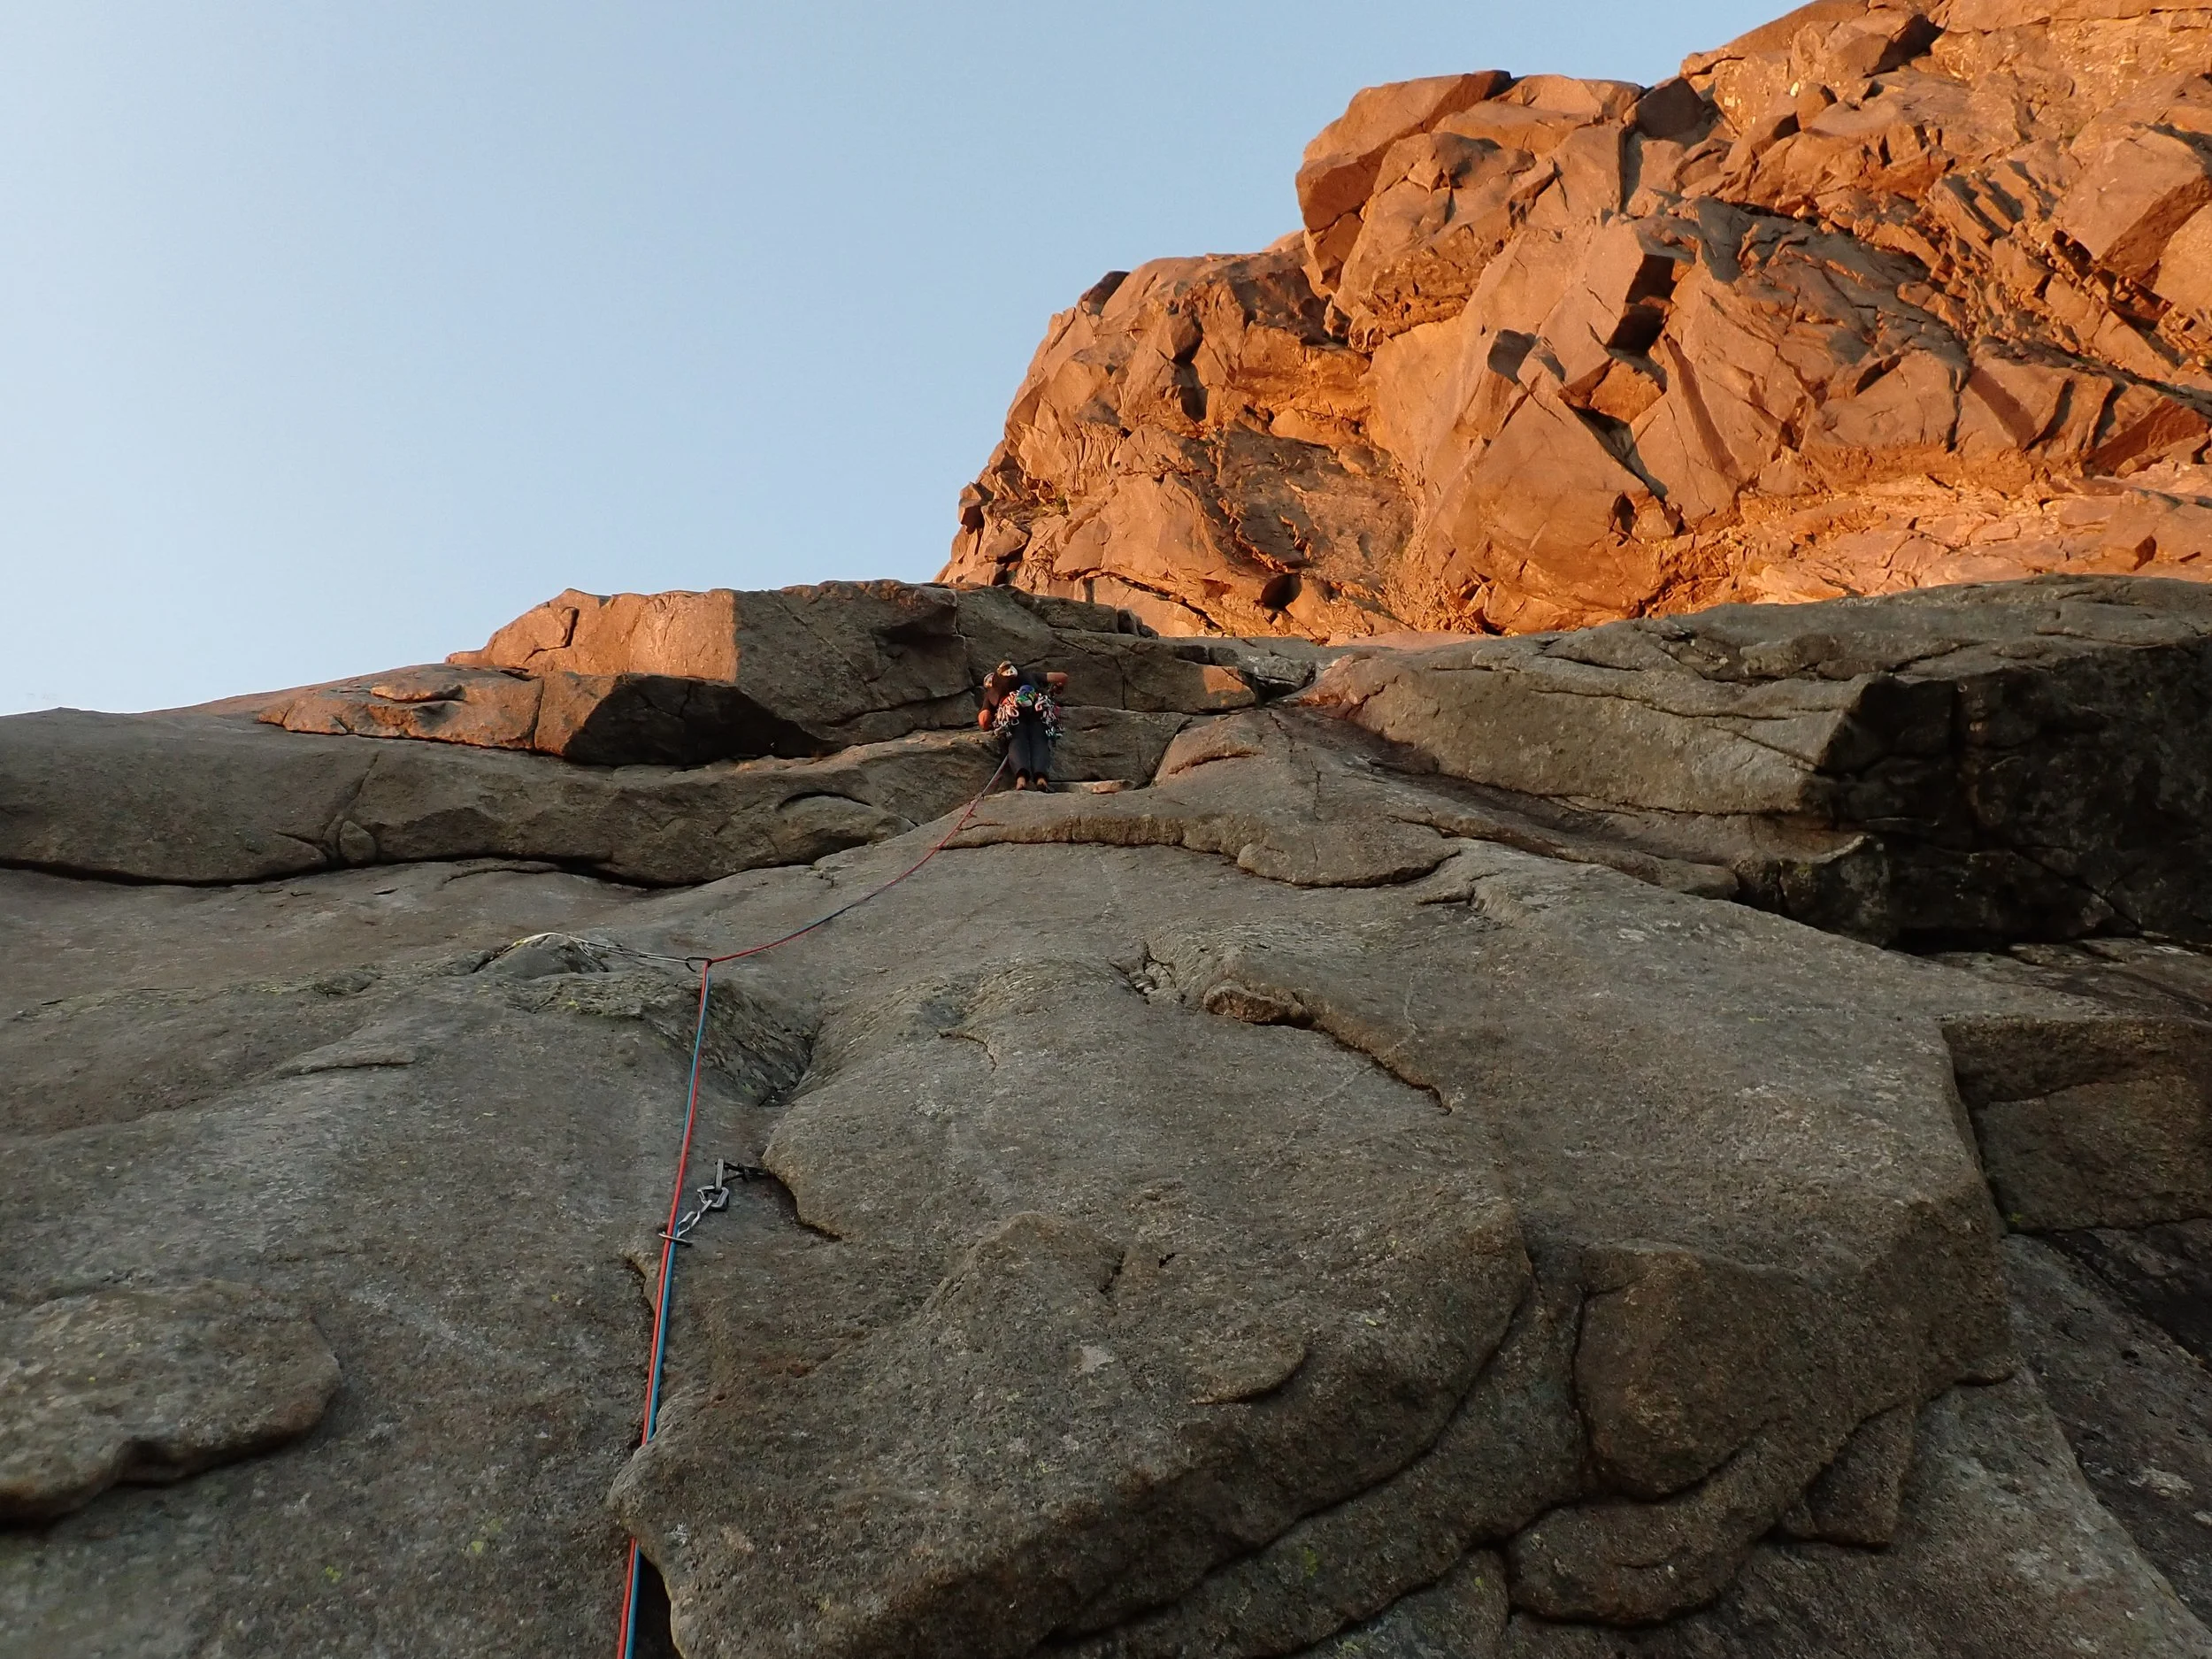
Move up the face and protect where you can. from the low angle roof, move to the right and step over the overlaps into a small right facing corner. With the sun rising and lighting up the imposing headwall above, we knew we were well into the morning. If I were to estimate the time when we started this pitch, I’d say it was about 3:30 am.
Continue up the climb, following the corner and flaired cracks for another 20 meters or so. Protection will be much better in this section than the face below the roofs. Its a straight shot up to a set of two double bolted anchors. There are two anchors so that multiple groups can be climbing and rappelling at the same time. Being so early in the morning, we were the only group on the rock, which was such a amazing way to experiance this.
From here starts the runout and easier last pitch. So groups that wish to exit here can rappel from this set of anchors and follow the rappel line down the right side. It will be a set of four double rappels from here. Otherwise if continuing to the summit, be prepared for long runouts and mediocre gear. Much of the protectable sections are flared and dont take much. When gear is able to be placed, it will mostly be smaller cams and pro. I chose to double or tripple up on these sections, as you’ll find yourself between 40 and 80 feet between protection at times. Until you reach the last 50 feet of the climb where protection starts to open up again.


Although there is a lack of protection, the climbing itself is very easy, falling within the 5.4 to 5.5 range. This takes a bit of the edge off those long runouts. Though the climbing itself stays very exciting, especially when you look back upon those distant pieces far behind you. As you climb, the climbing will level off and continue to get easier. Make your way up the final section of large jugs and easy 5th class until you reach the summit. Where you will find a set of bolted anchors waiting for you.
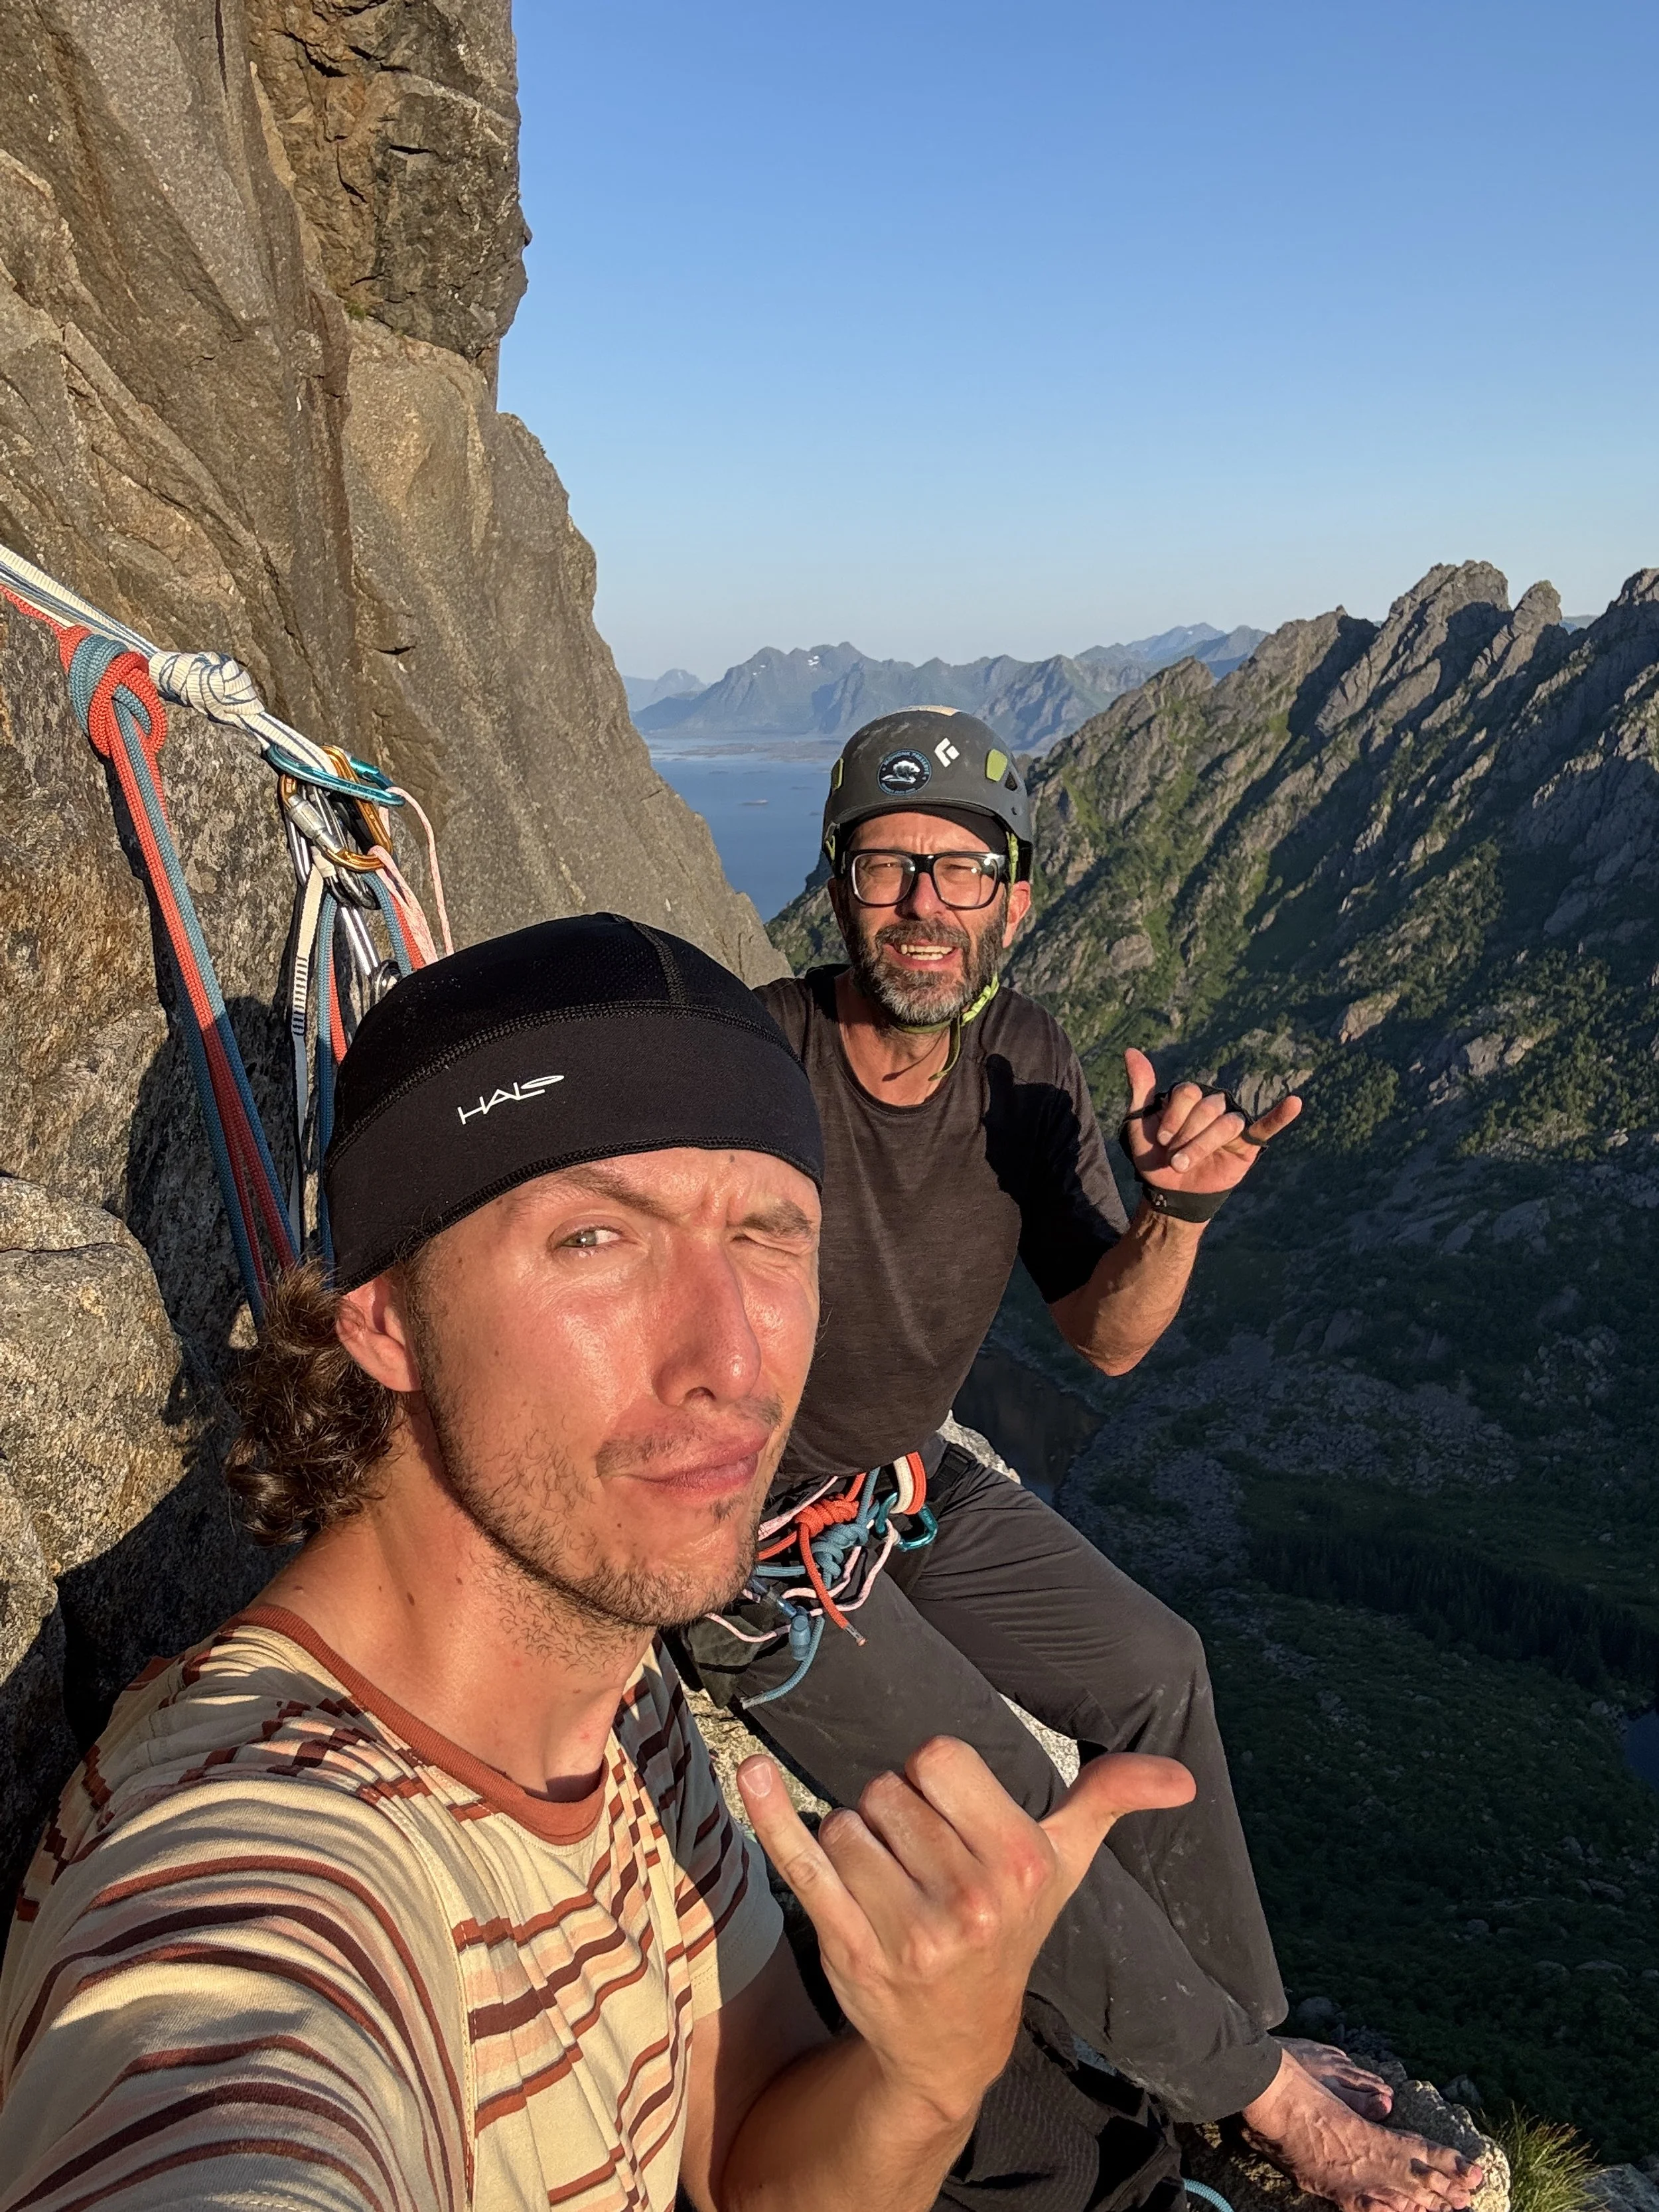
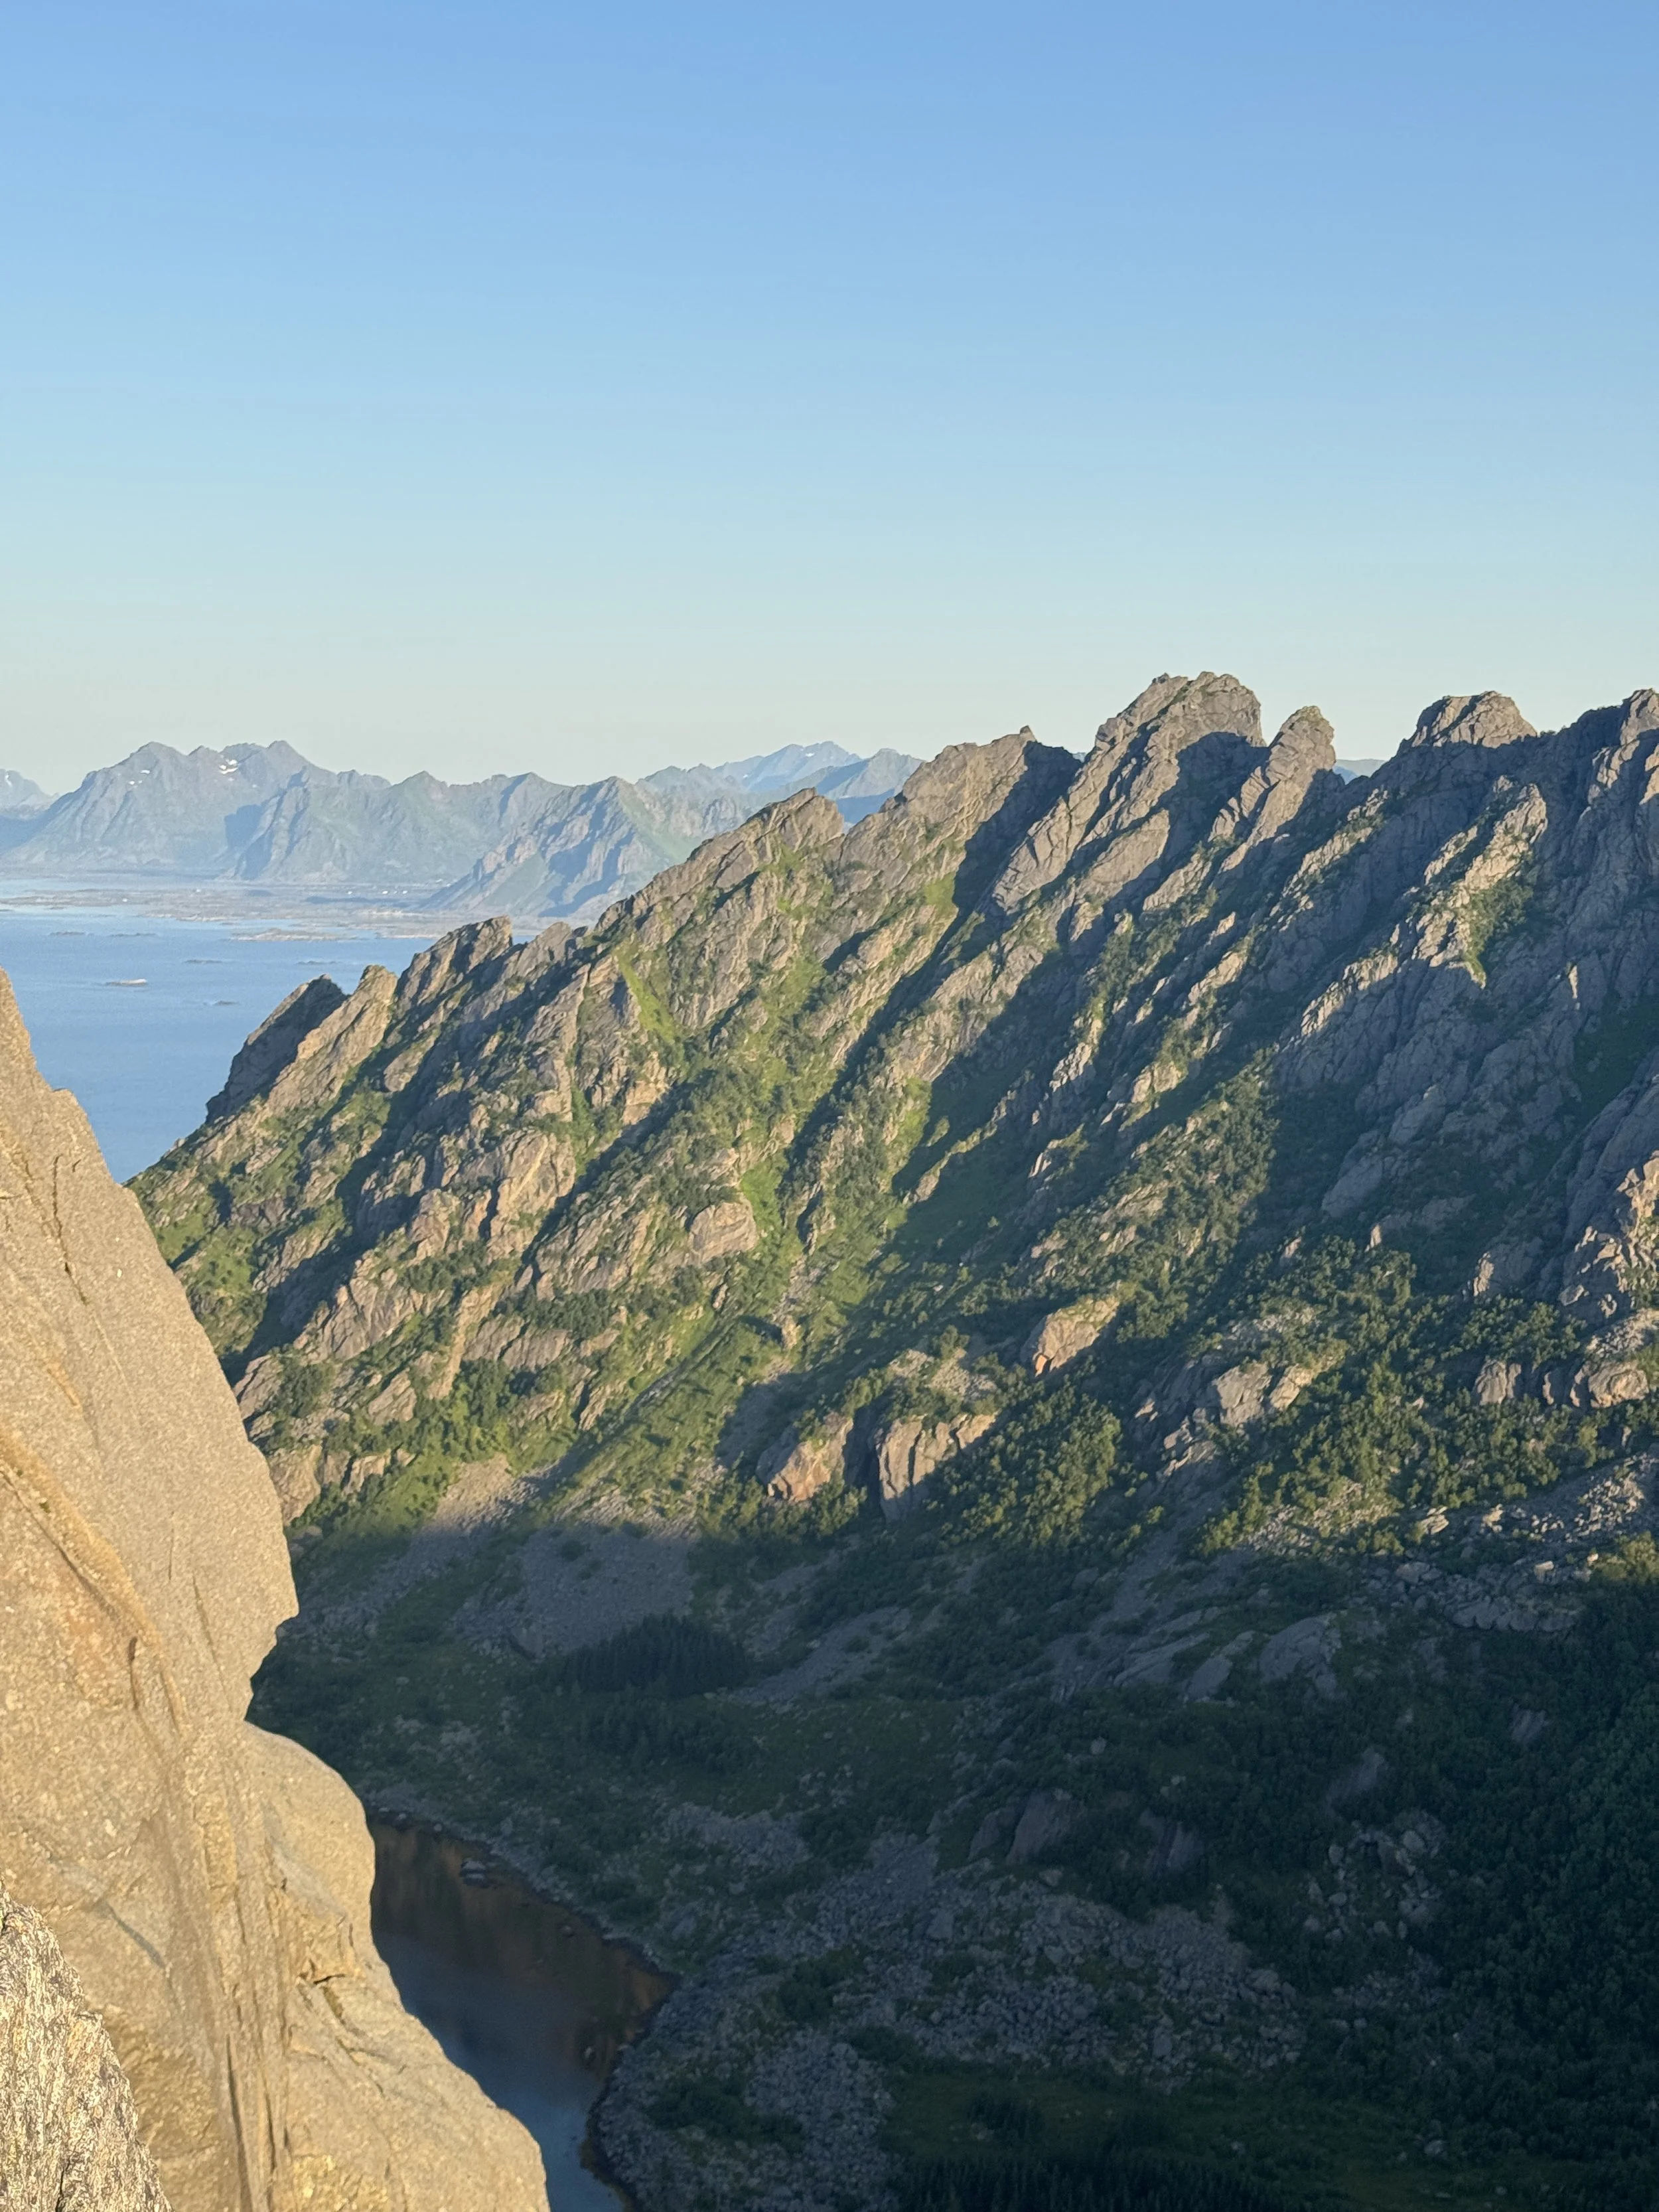
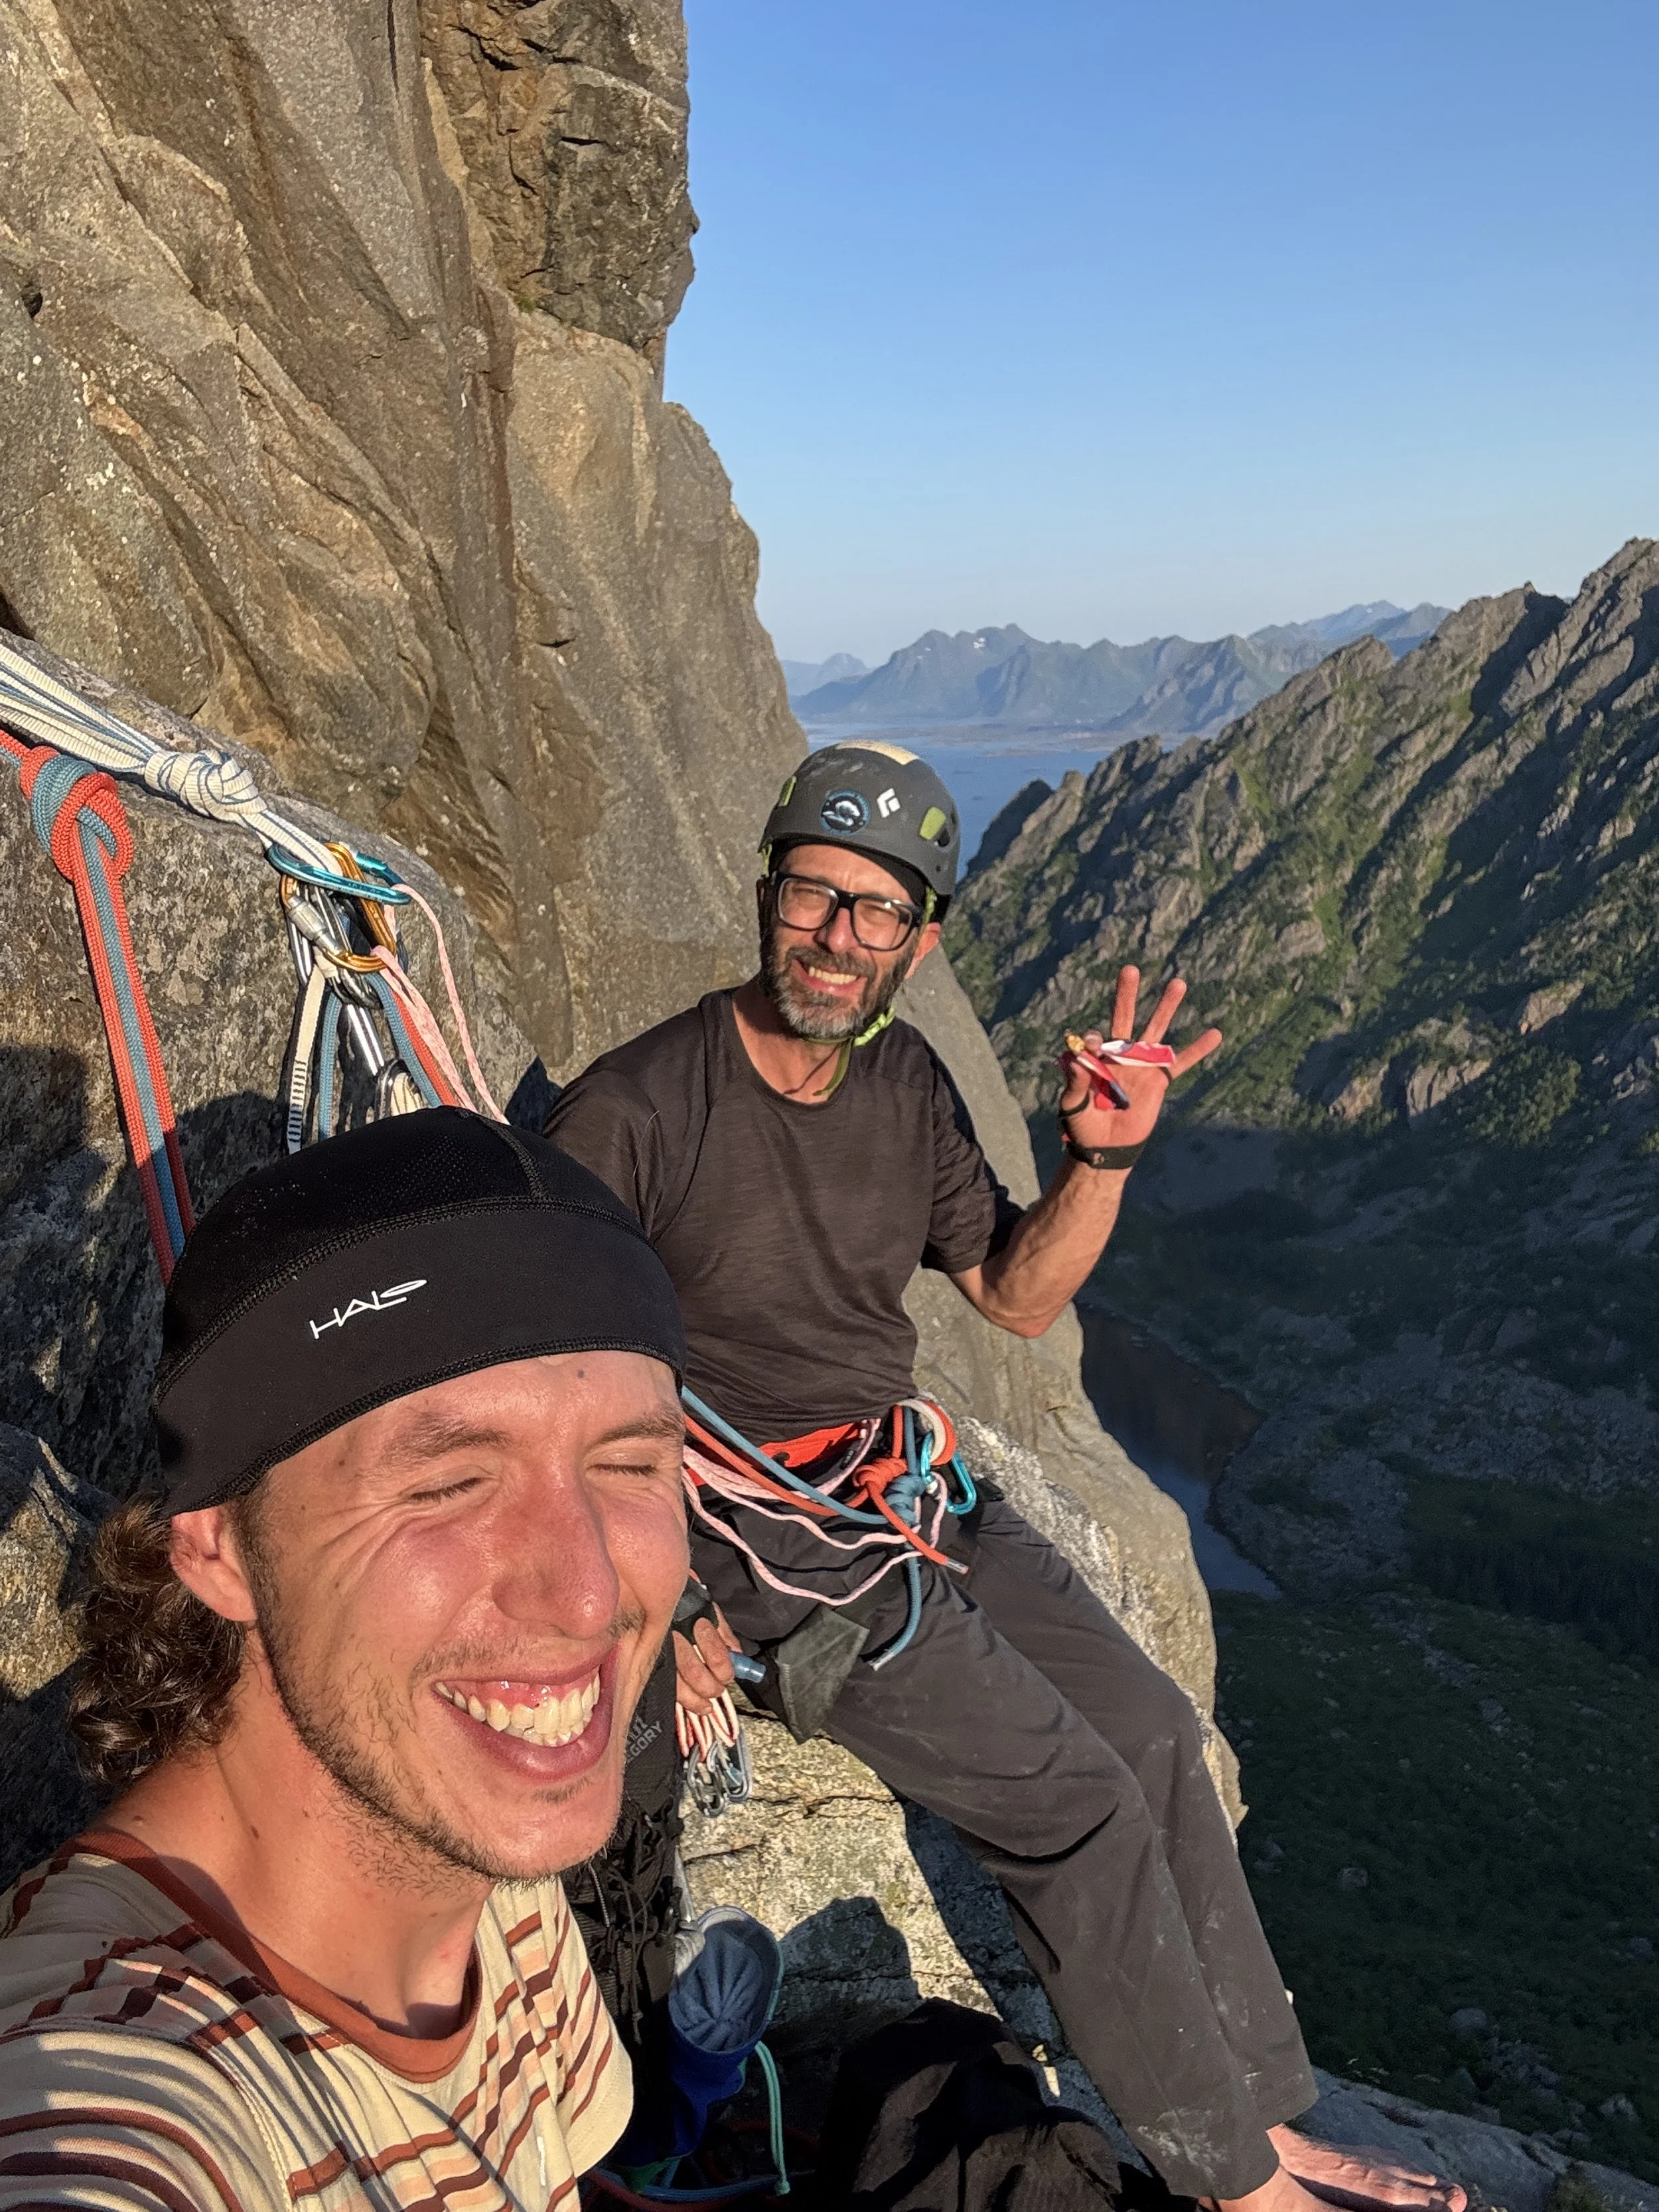
Build an anchor and belay your follower up this long pitch. Once on top, take some time to enjoy the absolutely stunning views around you. Towering above the fjords and surrounded by the high rocky peaks. We reached the summit at 5am and hung around for a bit to have a nice sunrise breakfast. Once we finished our meal and took in the sights, we organized our gear and preppared for the long decent awaiting us.
From the top, it takes 5 double rope rappels, with each beong about 50 meters if I were to guess. Rappel to the previous anchor at the top of the 6th pitch, then continue down to the right of the climb about 30 feet of the 5th belay. Where youll find another set of 2 bolted anchors and rings. Youll pass over a roof here and land on a large ledge. Continue down from here along the obvious line, until you eventually get back to the ground.
From the summit of the climb, it will probably take about an hour to get to the ground. Then from here you’ll start on the long trek back to the start of the trailhead. Hopefully you had brought enough water, because after the whole hike in, climb and hike out you will have had drank a lot of it. We each brought between 2 and 3 litters, and it was just enough to get back to the car.
We reached the start of the trailhead at around 8am and we were both exhausted. This didnt take away from the absolutely amazing overnight adventure. I’d highly recommend this climb to anyone who feels confident at the grade. With the climbing itself not sandbagged at all in our opinion. Bare Blåbær as a whole is one of the most fun climbs I have yet to do, with stellar crack climbing for 500 feet and exciting climbing the rest of the way. Topping out on this climb will be just under 820 feet of climbing. If able, make it out to this all time Lofoten classic. You wont be dissapointed!